Advertisement
Quick Links
For updates, check:
Support Contact Information
In case of any technical issues with SolarEdge
products, please contact us at:
https://www.solaredge.com/service/support
© SolarEdge Technologies, Ltd.
All rights reserved.
Version: 1.0, December 2022
Subject to change without notice.
What's in the Package
Mounting bracket
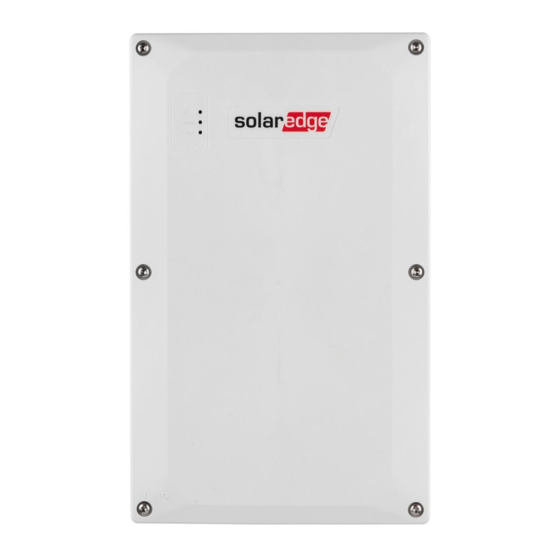
Backup Interface
SAFETY AND HANDLING INSTRUCTIONS
Read this entire document before installing or operating the Backup Interface (also referred to as BUI). Failure to do so or to follow any of the
•
instructions or warnings in this document can result in electrical shock, serious injury, or death, or may damage the Backup Interface and other
property, it can also lead to warranty void.
Do not discard this document! After installation, keep it adjacent to the Backup Interface for future reference!
•
Before operating the Backup Interface and inverter, ensure that they are properly grounded. The Backup Interface and inverter must be
•
connected to a grounded, metal, permanent wiring system, or an equipment-grounding conductor must be run with the circuit conductors and
connected to the equipment grounding terminal or lead.
Opening the Backup Interface and repairing or testing under power must be performed only by qualified service personnel familiar with the
•
Backup Interface.
Main connection scheme
1
3
4
4
Load section
Grid section
Mounting the Backup
Interface
1.
Select an installation location. Make sure you have enough
space between the Backup Interface and other objects to
securely access all its interfaces.
2.
Install the mounting bracket to the wall and secure it with
2-4 screws. If using only 2 screws, use left and right ones.
3.
Hang the Backup Interface on the mounting bracket.
2
4.
Hang the lower bracket on the hook behind the bottom
glands, secure it to the wall with a screw.
Quick Installation Guide
v. 1.0
Required Tools
Phillips
Level
screwdriver
Drill
Torque
M4, M5 Allen
CAT6 cable
wrench
keys
X 3
Mounting
screws and wall
plugs
WARNINGS
!
This symbol on the product or in the accompanying documentation denotes a hazard. It calls attention to a procedure that, if not
correctly performed or adhered to, could result in injury or loss of life. Do not proceed beyond a warning note until the indicated
conditions are fully understood and met.
This symbol on the product denotes risk of electric shock due to stored energy. Before handling the product, wait for at least 5
seconds after disconnecting it from all sources of energy.
DANGER!
Before opening the covers and connecting the grid, please make sure that the main CB and the Inverters are OFF.
Bottom interface of the Backup Interface
2
1
2
SolarEdge Home
Backup Interface, Three
Phase
BI-EU3P
for use with the SolarEdge Home Hub
Inverter, Three Phase
Watchmaker flat
screwdriver
Pencil
Removing the covers
WARNING
!
It is forbidden and dangerous to open the upper section.
Only the lower section is for user interface usage.
1.
Using M5 Allen key, release six screws and remove the Backup
Interface front cover.
2.
Using M4 Allen key, release two screws and remove the Backup
Interface internal lower cover.
3.
Make sure the ON/OFF switch is in the OFF position.
OFF
3
Advertisement

Related Manuals for SolarEdge BI-EU3P


Summary of Contents for SolarEdge BI-EU3P
- Page 1 SolarEdge Home Quick Installation Guide Backup Interface, Three v. 1.0 Phase Support Contact Information In case of any technical issues with SolarEdge BI-EU3P products, please contact us at: https://www.solaredge.com/service/support for use with the SolarEdge Home Hub © SolarEdge Technologies, Ltd.
- Page 2 Connect the wires Ground (yellow) ,L1 (brown) ,L2 (black), L3 (gray), and Neutral (blue) and to their respective terminals. If your system doesn’t use solaredge home network, connect the Backup Interface to your inverter using a CAT5 E or a Neutral: CAT6.