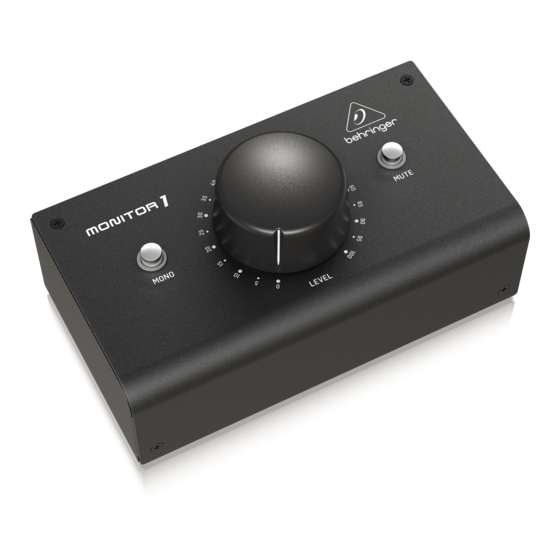
Summary of Contents for Behringer MONITOR1
- Page 1 Quick Start Guide MONITOR1 Premium Passive Stereo Monitor and Volume Controller A54-00000-00000...
-
Page 2: Limited Warranty
TC ELECTRONIC, TC HELICON, técnico cualifi cado. ventilation openings. Install when unused for long periods instructions in the product will contribute to the BEHRINGER, BUGERA and DDA in accordance with the of time. accompanying literature. Please Este símbolo, effi cient use of natural are trademarks or registered manufacturer’s instructions. -
Page 3: Garantía Limitada
Attention el aparato. tierra dispone de tres contactos: de este aparato, póngase en Behringer, Bugera y DDA son cable de suministro de energía dos polos y la puesta a tierra. contacto con el Ayuntamiento Atención... -
Page 4: Garantie Limitée
2. Conservez ces consignes. Behringer, Bugera et DDA qu’il soit protégé d’arêtes liquide ou un objet a pénétré Geräteabdeckung bzw. naturelles. Pour plus sont des marques ou marques 3. -
Page 5: Beschränkte Garantie
TC Electronic, TC Helicon, instalações e modifi cações Informationen zur Entsorgung werden kann. Achten Sie bitte Hinweise. 16. Lassen Sie alle Behringer, Bugera und DDA devem ser efetuadas por Ihrer Geräte bei einer insbesondere im Bereich der Wartungsarbeiten nur von sind Warenzeichen oder 2. -
Page 6: Garantia Limitada
Turbosound, TC Electronic, TC eliminação correcta deste palheta larga ou o terceiro não proceda a reparações não for utilizado durante longos Helicon, Behringer, Bugera produto irá contribuir para a dente são fornecidos para sua ou intervenções, que não as períodos de tempo. - Page 7 Monitor1 zwischen einem Audio Interface und einem Paar Monitorlautsprechern Monitor1 entre um computador e um Passo 1: Conexões (PT) par de alto-falantes de monitor Monitor1 entre uma interface de áudio e um par de alto-falantes de monitor XLR cable XLR cable Balanced ¼" cable...
- Page 8 MONITOR1 Quick Start Guide MONITOR1 Controls Step 2: Controls MONO button sums the (EN) left and right inputs, sending a mono signal to all outputs. LEVEL knob adjusts the output level sent to the speakers. Set the output on your source audio fairly high to achieve the least noise possible.
- Page 9 MONITOR1 Quick Start Guide MONITOR1 Controls Paso 2: Controles Étape 2 : Réglages El botón MONO suma Le bouton MONO permet (ES) (FR) las señales de entrada de mélanger les entrées izquierda y derecha, gauche et droite en un enviando una única señal seul signal mono envoyé...
- Page 10 MONITOR1 Quick Start Guide MONITOR1 Controls Schritt 2: Die MONO-Taste Passo 2: Controles O botão MONO adiciona (DE) (PT) Bedienelemente summiert den linken und as entradas esquerda e rechten Eingang und direita enviando um sinal leitet ein Monosignal zu mono a todas as saídas.
-
Page 11: Specifications
MONITOR1 Quick Start Guide Specifi cations Inputs Connectors 2 x XLR-TRS combo jacks, 1 x 1⁄8" TRS jack Impedance 10 kΩ balanced / 5 kΩ unbalanced Max. input level 22 dBu Outputs Connectors 2 x XLR jacks, 1 x 1⁄8" TRS jack Impedance 800 Ω... - Page 12 Internet 3. Power Connections. 3. Stromanschluss. Bevor allí. De forma alternativa, envíenos a sur le site behringer.com AVANT de nous Before plugging the unit into a power Sie das Gerät an eine Netzsteckdose 3. Ligações. Antes de ligar a través de la página web una solicitud...
- Page 13 Dedicate Your Life to MUSIC...


