Teledyne Lecroy Everywhereyoulook WaveSurfer 4000HD Quick Start Manual
Rackmount accessory
Hide thumbs
Also See for Everywhereyoulook WaveSurfer 4000HD:
- Operator's manual (138 pages) ,
- Operator's manual (137 pages)
Advertisement
Quick Links
WaveSurfer 4000HD Rackmount Accessory
5. Remove the outside top two screws from the back of the oscilloscope body
using the T10 Torx driver.
6. Use the remaining two M4x10 Phillips screws to attach the positioning
brackets to the side plates behind the body of the oscilloscope.
Use the two M3x12 Phillips screws to secure the positioning brackets to the body
of the oscilloscope.
7. Install the fully assembled rackmount into your equipment rack following your
manufacturer's instructions.
Contact Us
For a complete list of Teledyne LeCroy offices by country, including our sales and
distribution partners, visit: teledynelecroy.com/support/contact
© 2021 Teledyne LeCroy, Inc. All rights reserved.
WaveSurfer and Teledyne LeCroy are trademarks of Teledyne LeCroy, Inc. Other product or brand names are
trademarks or requested trademarks of their respective holders. Information in this publication supersedes all
earlier versions. Specifications are subject to change without notice.
Unless otherwise specified, all materials and processes are compliant with RoHS Directive 2011/65/EU in its
entirety, inclusive of any further amendments or modifications of said Directive. For the full list of current
certifications, see the EC Declaration of Conformity shipped with the product.
933085-00 Rev A
wavesurfer-4000hd-rackmount-instructions.pdf
February, 2021
4
CAUTION: Do not block the
cooling vents on either side
or back of the oscilloscope.
WaveSurfer 4000HD Rackmount Accessory
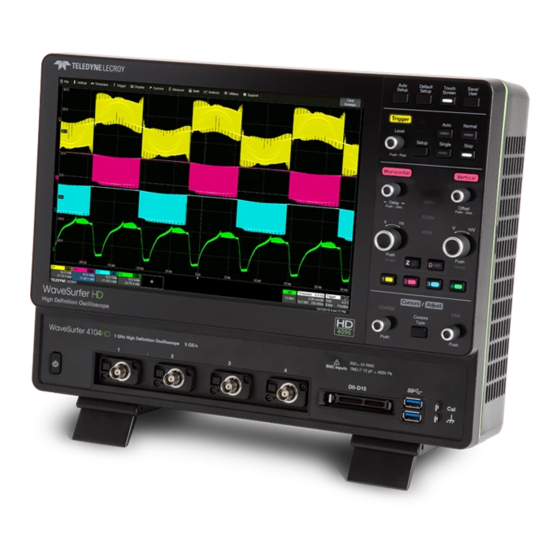
Thank you for purchasing a Teledyne LeCroy WaveSurfer 4000HD rackmount
accessory. Please review these instructions before installing the rackmount.
Parts
The rackmount kit is shipped with the following parts. Contact our Customer Service if
parts are missing.
Parts
Face plate
Handles for face plate
Base plate
Side plates (1 ea. left and right)
Positioning brackets
M3x12 pan-head Phillips screws
M4x10 pan-head Phillips screws
M5x10 pan-head Phillips screws
Note: The kit does not include the fasteners needed to attach the rackmount to your
rack. Consult your rack manufacturer regarding the appropriate type, size and number
of fasteners required to install the rackmount securely.
Tools
You will need a Phillips screwdriver and a T10 Torx driver to attach the rackmount to
the oscilloscope.
Dimensions
The rackmount is designed to occupy 7U of a standard EIA 19-inch rack.
Installed Dimensions
Weight
Height
Width at face plate
Width behind face plate
Depth with handles
Depth without handles
933085-00 Rev A
QTY
1
2
1
2
2
2
16
4
Metric
English
7.9 kg
17.42 lbs
310 mm
12.20 in
480 mm
18.90 in
430 mm
16.93 in
210 mm
8.27 in
142 mm
5.59 in
1
Advertisement

Related Manuals for Teledyne Lecroy Everywhereyoulook WaveSurfer 4000HD


Summary of Contents for Teledyne Lecroy Everywhereyoulook WaveSurfer 4000HD
- Page 1 © 2021 Teledyne LeCroy, Inc. All rights reserved. The rackmount is designed to occupy 7U of a standard EIA 19-inch rack. WaveSurfer and Teledyne LeCroy are trademarks of Teledyne LeCroy, Inc. Other product or brand names are Installed Dimensions Metric English trademarks or requested trademarks of their respective holders.
- Page 2 WaveSurfer 4000HD Rackmount Accessory Assembly Instructions 1. Using the T10 Torx driver, remove the feet from the oscilloscope. 3. Attach the handles to the face plate using the four M5x10 Phillips screws, then attach the face plate to the side plates using eight M4x10 Phillips screws. Note: Be sure the thinner rib of the face plate is on top, as shown below.