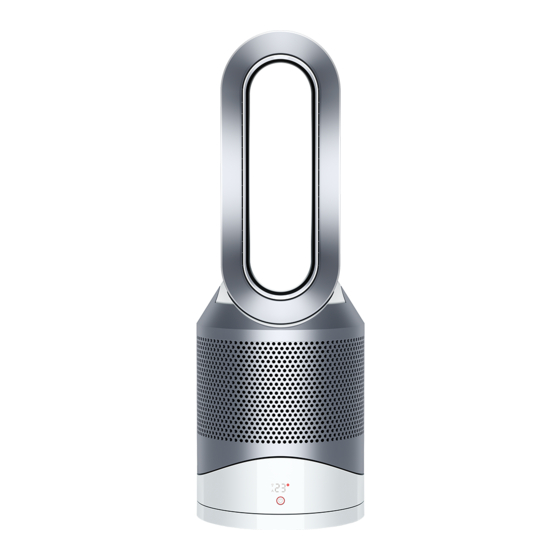
Dyson Pure Hot+Cool HP00 User Manual
Hide thumbs
Also See for Pure Hot+Cool HP00:
- Operating manual (101 pages) ,
- Operating manual (93 pages) ,
- Operating manual (136 pages)
Advertisement
Advertisement
Table of Contents

Related Manuals for Dyson Pure Hot+Cool HP00


Summary of Contents for Dyson Pure Hot+Cool HP00
- Page 1 USER MANUAL REGISTER YOUR DYSON 2-YEAR GUARANTEE TODAY HP00...
- Page 2 Dyson Helpline with your serial number and details of where and when you bought the machine. Most questions can be solved over the phone by one of our trained Dyson Helpline staff. Your serial number can be found on your rating plate which is on the base of your machine.
-
Page 3: Important Safety Instructions
3. Use only as described in the Dyson User manual. Do not carry out any maintenance other than that shown in the manual, or advised by the Dyson Helpline. Any other use not recommended by the manufacturer may cause fire, electric shock, or injury to persons. -
Page 4: Important Safety Features
Dyson Helpline. 26. Contact the Dyson Helpline when a service or repair is required. Do not disassemble the appliance as incorrect reassembly may result in an electric shock or fire. -
Page 6: Remote Control
Power Each time the heating mode is selected, it conducts a short calibration cycle. Airflow will be automatically controlled during this cycle. Once the calibration cycle is complete, it will revert to the selected airflow speed. On first use, the machine will default to a temperature 3°C higher than the detected room temperature. - Page 7 Sleep timer Tilt function To set the sleep timer, select the desired time. When time reaches zero, the machine will go into standby mode. To cancel, increase the time until two dashes appear. When using the sleep timer, the LED display will turn off Carefully hold the base and the main body.
-
Page 8: Clearing Blockages
Clearing blockages Cleaning Unplug from the mains electricity supply. If the machine has been in Ensure that the machine is unplugged. If the appliance has been use, leave for 1 to 2 hours before cleaning to allow the machine to cool in use, leave for 1 to 2 hours in order to allow the machine to cool completely. - Page 9 Replacing the filter unit When your non-washable filter unit needs replacing, the machine will display the pattern shown. To replace the non-washable filter unit, follow these steps. If the machine has been in use, leave for 1 to 2 hours before replacing the filter unit to allow the machine to cool down completely.
- Page 10 Replacing the filter unit click click click click When you have reassembled your machine, press and hold the Standby on/off button for 6 seconds on the remote control to reset the filter indicator. A clockwise-rotating loading pattern will be Once the loading pattern is complete, the shown on the LED display.
-
Page 11: Operation
Always disconnect the plug from the mains before inspecting for problems. If the disposal. You can send your old Dyson machine back to us (at our cost) and we will machine will not operate, first check that the mains socket has an electricity supply organise for it to be recycled.*... - Page 12 Any parts replaced by Dyson or its service agents will become the property of Dyson Appliances (Aust.) Pty Limited or Dyson New Zealand Limited (NZ). • You must provide proof of purchase for your Dyson machine in order to make a claim under the Dyson guarantee. •...
- Page 14 DYSON CUSTOMER CARE If you have a query about your Dyson machine, contact us via the website. Alternatively, call the Dyson Helpline quoting your serial number and details of where and when you bought the machine. www.dyson.com.au 1800 239 766 aucustomercare@dyson.com...
- Page 16 New Zealand dyson.co.nz/register Why register? Exclusive owner benefits Expert advice Priority access to previews of new Dyson Free phone and live chat support. technology, events and offers. Hassle-free replacement Free Dyson parts and labour The Dyson Guarantee includes The Dyson Guarantee covers...