Behringer 2500 Series Quick Start Manual
Dual noise / random voltage generator module
Hide thumbs
Also See for 2500 Series:
- Manual (25 pages) ,
- Quick start manual (9 pages) ,
- Quick start manual (4 pages)
Advertisement
Quick Links
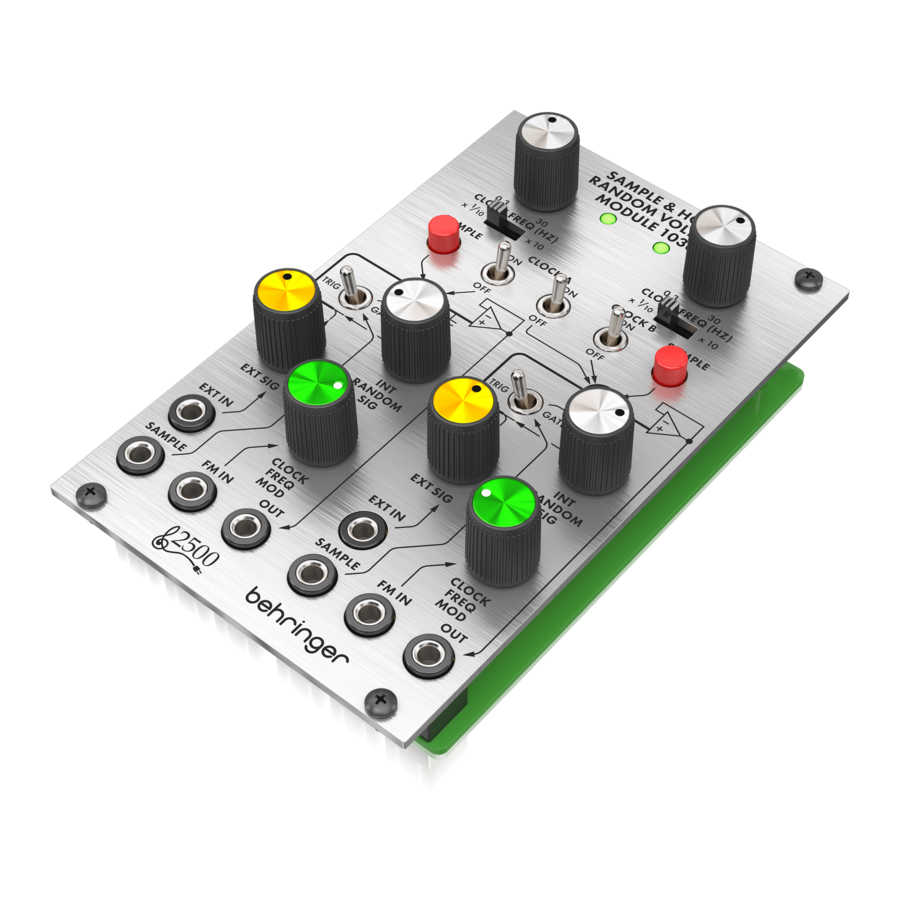
Quick Start Guide
DUAL NOISE / RANDOM
VOLTAGE GENERATOR
MODULE 1016
Legendary 2500 Series Dual Noise
Source Module for Eurorack
Controls
(1)
(2)
(3)
(4)
(5)
(6)
LEDs – Indicate whether the associated knob is active.
(1)
NOISE knob – Attenuates the output of the noise
(2)
generator.
SLOW RANDOM knob – Attenuates the output of the
(3)
slow random voltage generator.
WHITE/PINK/OFF switch – Selects between white or
(4)
pink noise, or disengage the output.
OFF/ON switch – Engages or disengages the slow
(5)
random voltage output.
NOISE A/B – Send the noise A and B signals to other
(6)
modules via 3.5 mm TS cable.
RANDOM A/B – Send the random voltage signals to other
(7)
modules via 3.5 mm TS cable.
V 1.0
(7)
Power Connection
The unit comes with the required power cable for connecting
to a standard Eurorack power supply system. Follow these
steps to connect power to the module. It is easier to make
these connections before the module has been mounted into
a rack case.
1.
Turn the power supply or rack case power off and
disconnect the power cable.
2.
Insert the 16-pin connector on the power cable into the
socket on the power supply or rack case. The connector has
a tab that will align with the gap in the socket, so it cannot
be inserted incorrectly. If the power supply does not have
a keyed socket, be sure to orient pin 1 (-12 V) with the red
stripe on the cable.
3.
Insert the 10-pin connector into the socket on the back of
the module. The connector has a tab that will align with the
socket for correct orientation.
4.
After both ends of the power cable have been securely
attached, you may mount the module in a case and turn on
the power supply.
Advertisement

Related Manuals for Behringer 2500 Series


Summary of Contents for Behringer 2500 Series
- Page 1 Quick Start Guide DUAL NOISE / RANDOM Power Connection VOLTAGE GENERATOR MODULE 1016 Legendary 2500 Series Dual Noise Source Module for Eurorack Controls The unit comes with the required power cable for connecting to a standard Eurorack power supply system. Follow these steps to connect power to the module.
- Page 2 Midas, Klark Teknik, Lab Gruppen, Lake, spaced 2 HP apart along the length of the case, or a track that Tannoy, Turbosound, TC Electronic, TC Helicon, Behringer, Bugera, Auratone allows individual threaded plates to slide along the length and Coolaudio are trademarks or registered trademarks of Music Tribe of the case.