Advertisement
Quick Links
FCC ID:2AOKB-T8113
IC:23451-T8113
Anker Innovations Limited. All rights reserved. eufy Security and eufy Security Logo are
trademarks of Anker Innovations Limited, registered in the United States and other
countries. All other trademarks are the property of their respective owners.
QUICK
START GUIDE
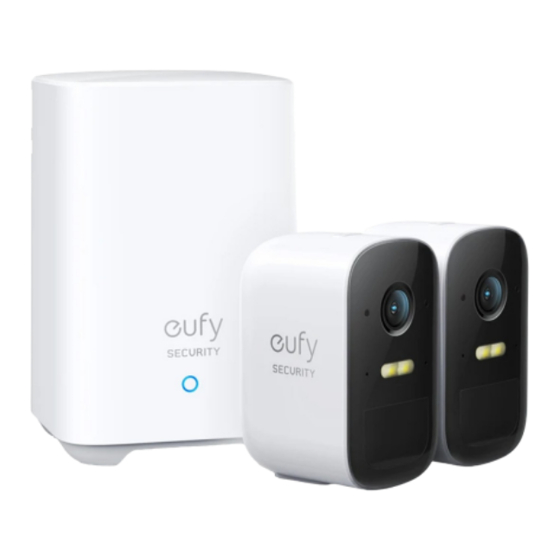
EUFYCAM 2C
WIRE-FREE HD SECURITY CAMERA SET
51005001739 V01
Advertisement

Related Manuals for Anker EUFY EUFYCAM 2C


Summary of Contents for Anker EUFY EUFYCAM 2C
- Page 1 EUFYCAM 2C WIRE-FREE HD SECURITY CAMERA SET Anker Innovations Limited. All rights reserved. eufy Security and eufy Security Logo are trademarks of Anker Innovations Limited, registered in the United States and other countries. All other trademarks are the property of their respective owners.
- Page 2 TABLE OF CONTENTS Getting Started Mounting the Camera Product Overview Charging eufyCam 2C Connecting the HomeBase 2 Safety Statement Settings Up the System...
- Page 3 GETTING PRODUCT STARTED OVERVIEW HomeBase 2 For HomeBase 2 installation HomeBase 2 Power Adapter Ethernet Metal Pin 4 5 6 for HomeBase 2 Cable for Resetting (T8010) 1. Status LED 5. Ethernet port 2. Speaker 6. SYNC/ALARM OFF button 3. Power port 7.
- Page 4 CONNECTING SETTING UP THE HOMEBASE 2 THE SYSTEM Connecting the HomeBase 2 to the Internet Getting the App and Setting up the System 1. Power on the HomeBase 2, then use the ethernet cable provided to Download the Eufy Security app from the App Store (iOS devices) or connect the HomeBase 2 to your home router.
-
Page 5: Find A Good Mounting Spot
MOUNTING Height and Location THE CAMERA Hang eufyCam 2C 7-10 ft (2-3 m) above the ground. This height maximizes the detection range of the motion sensor of eufyCam 2C. Avoid placing eufyCam 2C under direct sunlight. Find a Good Mounting Spot Use the “Mounting Guide”... -
Page 6: Mounting The Camera
Mounting the camera Mounting the camera 3. Firmly screw the base of the mounting bracket onto the wall. Fasten The camera can be mounted both indoors and outdoors. the ball knob of the bracket to the base of the bracket. 1. - Page 7 Declaration of Conformity communications. However, there is no Hereby, Anker Innovations Limited declares that guarantee that interference will not occur in a this device is in compliance with the essential particular installation. If this equipment does...
-
Page 8: Customer Service
RF exposure requirements. (contact for EU matters only) Lors de l'utilisation du produit, maintenez une Importer:Anker Technology (UK) Ltd distance de 20 cm du corps afin de vous Importer Address:Suite B, Fairgate House, 205 conformer aux exigences en matière Kings Road, Tyseley, Birmingham, B11 2AA, d'exposition RF.