Table of Contents
Advertisement
Quick Links
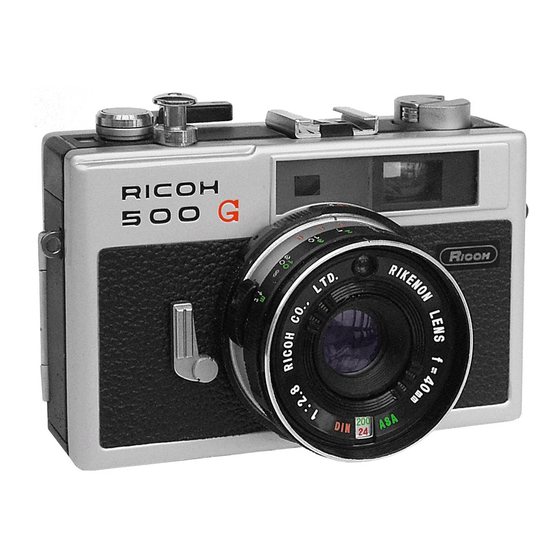
Ricoh 500G
This camera manual library is for reference and historical purposes, all rights reserved.
This page is copyright by
, M. Butkus, NJ.
This page may not be sold or distributed without the expressed permission of the producer
On-line camera manual library
If you find this manual useful, how about a donation of $3 to:
M. Butkus, 29 Lake Ave., High Bridge, NJ 08829
This will help me to continue to host this site, buy new manuals, and pay their shipping costs.
It'll make you feel better, won't it?
If you use Pay Pal, use the link below. Use the above address for a check, M.O. or cash.
www.PayPal.me/butkus
Back to my main Camera Manual page
Features you'll like
· Compact and light weight: Ricoh 500G is so small that you can carry it in your pocket with ease. Nevertheless
it's a GREAT camera with up-to date features packed.
· Electric eye: The built-in CdS electric eye automatically sets correct lens opening for optimum result at any
time. Also manual lens-opening setting is possible if you so desire.
4www.bu t kus. org
· Coupled Rangeflnder: Just bring two images together for a crisp, detailed photo. The parallax correction mark
will help to prevent an accidental cropping of subject.
· Single-stroke Film wind lever: One motion advances film, cocks shutter, counts exposure and prevents double
exposure.
Advertisement
Table of Contents

Related Manuals for Ricoh 500G

Summary of Contents for Ricoh 500G
- Page 1 Back to my main Camera Manual page Features you'll like · Compact and light weight: Ricoh 500G is so small that you can carry it in your pocket with ease. Nevertheless it's a GREAT camera with up-to date features packed.
-
Page 2: Principal Parts
·Sharp, fast Rikenon f2.8 40mm lens: Always assures you of corner-to-corner sharp photos. · Built-in self-timer: Lets you get yourself into your photo. · Hot shoe: The direct-contact type accessory shoe enables you to use direct-contact type flash unit electronic flash unit without difficulty.. -
Page 3: Film Loading
Q Film Speed Selector P. Rangeflnder Q. Film Rewind Knob R. Flash Synchronization Socket S. Film Rewind Spindle T. Film Chamber U. Film Take-up Spool V. Sprocket Teeth W. Film Pressure Plate X. Film Rewind Button Y. Tripod Screw Z. Electric-eye Battery Chamber Film loading Always camera in shade, never in bright or direct sunlight. -
Page 4: Correct Exposure
Pull tapered end of film across back of camera and insert into and through the slit of Film Take-up Spool (U) (Fig. 3). Rotate Film Take-up Spool (U) in direction of are row to take up film slack . . . check to see that sprocket holes in film have engaged both sets of Sprocket Teeth (V). -
Page 5: Manual Override
Manual override If you want to operate your camera manually, you can do so. Simply rotate Auto/Manual Ring (G) and set the desired lens opening number at red marker. The instance you rotate Auto/Manual Ring (G) off "A" (Auto), the letter "M"... - Page 6 Viewing and focusing Look into viewfinder to compose your picture and focus the lens. Rotate Focusing Ring (K) until the double image in the rangefinder (center of viewfinder), has merged to a single image (Fig. 11). . . your subject will now be in sharp focus.
- Page 7 For Electronic Flash any shutter speeds from 1/8 through 1/500 second could be used. However, the shutter speeds ranging from 1/60 up to 1/500 second are recommended for better flash picture. (Webmaster: this is a leaf shutter, meaning at any instant all of the film is exposed at any given shutter speed.
- Page 8 · When you reach the end of the roll of film (check Film Counter), the Film Wind Lever becomes harder to advance . . . don't try for " just one more shot". It's time to rewind. · When the camera is not in use, set Shutter Speed Ring at "B" (bulb) and protect lens with lens cap, which will prevent unnecessary consumption of exposure meter battery.