Advertisement
Quick Links
T ools ne ed ed
Cau t io n : Alw a ys
t urn you r w at e r
supp li e s o f f
bef o r e
dis a ss e mbl ing
you r f au c et .
W it h t he
supp li e s t ur ne d
of f , mov e you r
Locate the hole in either the front or back of the handle. If this hole is
fau cet ' s h an dl e
covered by a small plug, pry the plug off to remove. Next, use the 3/32"
t o t h e " on "
Allen wrench in the hole to unscrew the Allen screw. This screw does not
pos it io n t o
need to be fully removed, only loosened until the handle will slide off.
re li ev e p r es su r e.
1 2 5 5 C a r t r i d g e a n d O - r i n g s
R e m o v a l a n d I n s t a l l a t i o n
OR
the spout O-rings:
Grab the dome and pull
upward to remove.
Replacing only
Move to step 9.
Replacing the
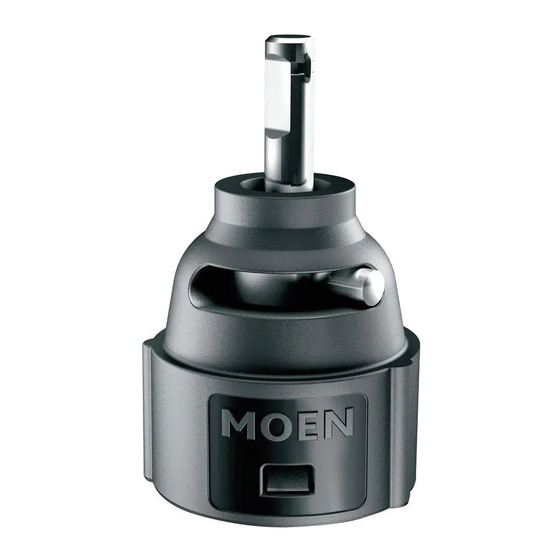
1255 cartridge:
Move to step 4.
Advertisement

Summary of Contents for Moen 1255
- Page 1 Next, use the 3/32” upward to remove. t o t h e “ on ” 1255 cartridge: Allen wrench in the hole to unscrew the Allen screw. This screw does not pos it io n t o Move to step 4.
- Page 2 These must line up. Using the grey assembly tool, View the 1255 cartridge to find the three small tabs protruding. Insert the 1255 cartridge into the chamber making pliers or a wrench, tighten the Look into the chamber of the faucet to find the location of the...
- Page 3 To reassemble the handle: Work backwards from steps 3 through 1. Gently pry up on the black crown ring. Be careful not Grab the spout and lift up In the photo above, the to damage the crown ring; this will be used again to remove the item from upper and lower O-rings To install spout...
- Page 4 Use a soft brush to Secure the crown ring To insure the crown To reassemble the Slide the spout handle: Work clean the inside of into the top of the spout ring is seated back on until it is backwards from the spout.


