Advertisement
Quick Links
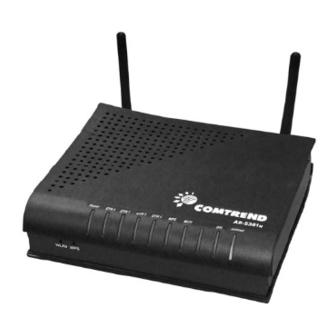
Comtrend AR-5381u Complete Setup Guide
Logging into your Comtrend AR-5381u Modem:
1. Open a web browser (such as Internet Explorer, or Mozilla Firefox).
2. Enter 192.168.1.1 into the address bar to navigate to the modem set-up page.
3. You need to know the username and password to login to your Comtrend AR-5381u. The default username and
password for the Comtrend AR-5381u are listed below:
Comtrend AR-5381u Default Username
Comtrend AR-5381u Default Password
root
12345
4. Enter your username and password in the dialog box that pops up. It looks like this:
5. You should now see the Comtrend AR-5381u Home Screen, which looks like this.
Advertisement

Related Manuals for Comtrend Corporation AR-5381u


Summary of Contents for Comtrend Corporation AR-5381u
- Page 1 2. Enter 192.168.1.1 into the address bar to navigate to the modem set-up page. 3. You need to know the username and password to login to your Comtrend AR-5381u. The default username and password for the Comtrend AR-5381u are listed below:...
- Page 2 PPPoE Manual Setup 1. First, you will need to add the DSL ATM interface for the Comtrend to function. Start by clicking on “add”. 2. Then, enter the VPI as “0”, and the VCI as “35”. The rest of the settings should be fine as defaulted.
- Page 3 3. Next, click on WAN service (from the menu on the left) and select the ATM interface you just created, and hit “Next” to configure the WAN service for this interface. 4. Now you should be at "WAN Service Configuration" and you can leave these settings as is and click "Next".
- Page 4 5. You will then be prompted for the username and password for the PPP connection (supplied by Varnet). Enter “varnet” in the field marked PPPoE Service Name under the username and password fields. Ensure “Enable NAT” and “Enable Firewall” is checked and click “Next”. 6.
- Page 5 7. On the following “DNS Server Configuration” page, the DNS can be left to the PPPoE connection, or manually set if you choose. Click “Next” to see the “WAN Setup – Summary” page and then “Apply/Save” to complete the setup. Wifi/Wireless Setup and Security 1.
- Page 6 2. Next, you will want to specify the security settings and passphrase that you will need to enter when connecting to your SSID by selecting the “Security” option from the menu on the left. 3. Generally, it is best to go with the highest/most recent encryption type such as “WPA2” when setting up a wifi network.