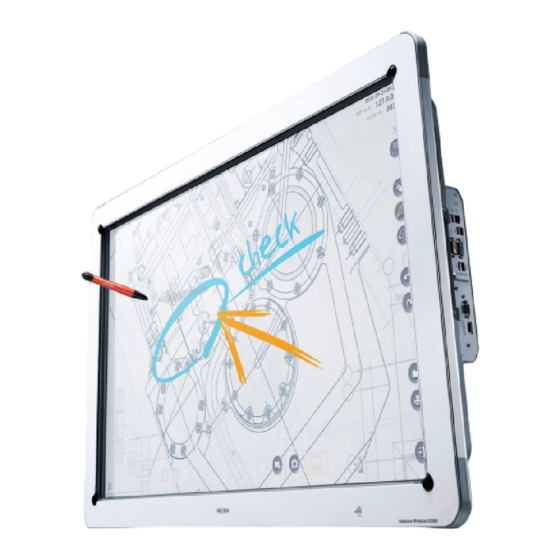
Ricoh D5500 Quick Start Manual
Hide thumbs
Also See for D5500:
- Operating instructions manual (224 pages) ,
- Read this first manual (48 pages) ,
- User manual (48 pages)
Table of Contents
Advertisement
Quick Links
Advertisement
Table of Contents

Summary of Contents for Ricoh D5500
- Page 1 Quick Start Guide ...
-
Page 2: Table Of Contents
Exi ng Mee ng ..................................11 Using the D5500 To Remotely Operate Your PC Installing So ware ..................................14 Ini a ng Connec on between PC and D5500 .......................... 15 Ending Connec on ..................................15 Collabora on Star ng Mee ng from Host ............................... 18 Joining mee ng from other D5500 ............................ - Page 3 Quick Start - Stand-alone Usage ...
-
Page 4: Interac Ve Whiteboard Func Onality Overview
18. Informa on Display 17. Auto Firmware Download Display IP address, and Pass code to Check and Download new IWB firmware automa cally connect from other IWB, and PC 1. Remote Screen Share Share screen with other IWB and PC 2. -
Page 5: Choosing Pen Style
1. Turn on the power switch by the line cord and then press the power bu on on the front of the D5500 So Power Switch found Main power Switch found by power cord 2. -
Page 6: Erasing / Modifying Wri Ng
2. Erasing / Modify Wri ng Click on the Erase / Modify Icon using the pen, •Erase complete line Erase Segment of line Select area for moving / resizing Use the rear side of the pen to erase 3. -
Page 7: Email
4. Email Whiteboard Click on the eMail Icon using the pen, To use email feature, SMTP server must be setup in the Admin se ngs. When selected, the pages will be converted to a PDF file and emailed. Pre-configured email addresses are displayed For other email addresses, select Manual ... -
Page 8: Saving A File
6. Saving a file Using the Pen, click on the file icon All the pages can be saved together to a USB memory device or in a shared folder. They can also be saved temporarily on the ma-‐ chine. -
Page 9: Using Finger To Highlight
7 Using Finger to highlight screen You can drag your finger across any image on the screen to temporarily highlight a key point. 8. Using Finger to zoom in or move image Touch the screen with your fingers to change the display magnifica on of a displayed page or to move the display area of an en-‐ larged page. -
Page 10: Prin Ng
9. Prin ng Using the Pen, click on the Print icon One or all pages can be printed using a preconfigured Ricoh printer or MFP. Click on the print icon and select if it is color or B&W, paper size, number ... -
Page 11: Capturing Ac Ve Screen To New Page
11. Capturing screen to new page With the page / image on the screen, click on the capture icon and the screen will be captured as a new page. Duplicate Delete page Add Page Capture 12. Adding new page To add a new page, click on Add page icon on the bo om of the page (up to 99 pages can be added. -
Page 12: Using The D5500 To Remotely Operate Your Pc
Quick Start - Using the D5500 To Remotely Operate Your PC ... - Page 13 A er you install IWB Remote Desktop So ware on your computer, you can display your computer screen via a network. You can also perform opera ons on the computer screen from the display of the machine. ...
-
Page 14: Installing So Ware
1. Install the IWB Remote Desktop So ware (First Time User) A) From the PC, use your Web browser to connect to the IWB’ s IP address and select “Download So ware”. B) Click on download and Run C) A er the applica on is downloaded, it will start the installa on process. -
Page 15: Ini A Ng Connec On Between Pc And D5500
D) A er the applica on is installed, double click on the icon to launch the applica on. 2. To connect the PC to the whiteboard, enter the IP address of the whiteboard and the password that is dis-‐ played in the informa on area. You can also set an auto disconnect me . 3. -
Page 16: Collabora On
Quick Start - Collabora on ... - Page 17 As an op on, the D5500 can connect to up to a combina on of 4 other D5500’s or Ricoh interac ve projec-‐ tors. Each D5500 in the mee ng can have up to 20 devices viewing the mee ng through the boards web ...
-
Page 18: Star Ng Mee Ng From Host
Host will need to provide IP Address and Password From the Host D5500 to a endees. 1. Turn on the D5500 and confirm it is connected to the network. 2. Using the Pen select the mee ng icon and select “Open”... -
Page 19: Joining Mee Ng From Other D5500
Joining a Remote Mee ng From an addi onal D5500 1. Turn on the D5500 and confirm it is connected to the network. 2. Using the Pen select the mee ng icon and select “Join” 3. A er connec ng, you will be prompted on the me it ... -
Page 20: Viewing A Mee Ng From A Web Browser
You can connect to a shared mee ng as a viewer from any device with a web browser. 1. A er the Host starts a mee ng, using the devices web browser, navigate to the IP address of the D5500. - Page 21 ...
- Page 22 ...
- Page 23 ...
- Page 24 ...


