Ricoh D5510 Quick Start Manual
Hide thumbs
Also See for D5510:
- Operating instructions manual (296 pages) ,
- User manual (52 pages) ,
- Operating instructions manual (236 pages)
Table of Contents
Advertisement
Quick Links
Download this manual
See also:
User Manual
Advertisement
Table of Contents

Related Manuals for Ricoh D5510


Summary of Contents for Ricoh D5510
- Page 1 D5510 Quick Start Guide...
-
Page 2: Table Of Contents
A. Opening a File ............................10 B. Saving a File ............................11 C. Emailing a File ............................12 D. Printing ..............................12 5. External Connections..........................13 A. Explanation of Connections ........................13 B. Using The D5510 as a Monitor ......................14 4/2015 V. Jacksier... -
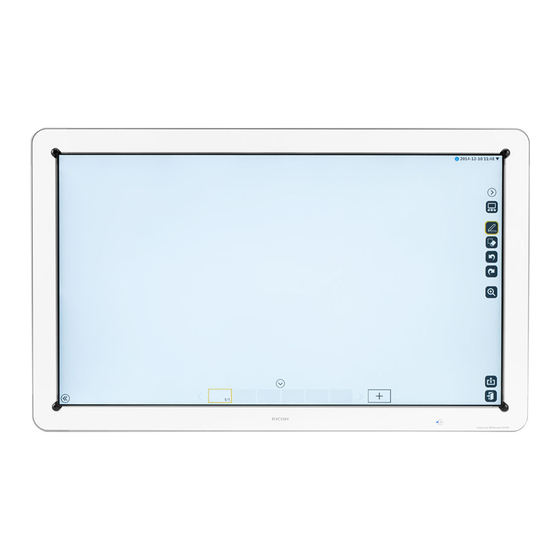
Page 3: Screen Layout
Contents 6. Using the D5510 to Remotely Control A PC ....................15 A. System Requirements ........................... 15 B. Installing the IWB Remote Desktop Software ..................16 C. Using the IWB Remote Desktop Software .................... 17 7. Collaboration ............................. 18 A. Starting a remote Meeting ........................19 B Joining a Remote Meting ........................ - Page 4 Board Layout...
-
Page 5: General
1. General A. Using Finger to highlight screen You can drag your finger across any image on the screen to temporarily highlight a key point. B. Using Fingers to zoom in or move image Touch the screen with your fingers to change the display magnification of a displayed page or to move the display area of an enlarged page. -
Page 6: Magnify
1. General D. Magnify By selecting the magnification icon you can select between six magnification ratios. E. Page Management At the bottom of the page you will find the page management tools. You can navigate between all the pages, add, delete or duplicate pages in the presentation. Duplicate page Add a new page Delete page... -
Page 7: Turning On The D5510
2. Choose your pen color by selecting one of the 20 available colors 3. Choose you line thickness by clicking on one of the 4 thicknesses 4. Select background grid You are now able to free write on the D5510... -
Page 8: Free Copying Of Handwriting (Icr)
2. Basic Features B. Free Copying of Handwriting (Intelligent Character Recognition (ICR)) This function, called "Fair Copy Mode" in the Operator Manual, automatically recognizes freehand characters and converts them to editable text. This not only clarifies text drawn on the screen, but when pages are converted to PDF files, users can extract data from the file. -
Page 9: Shapes And Stamps
2. Basic Features D. Shapes and Stamps Insert perfectly round circles, sharp triangles, arrows, stars, and properly squared boxes and rectangles onto pages. Select the color of the stamp, tap the desired shape, and then touch the screen surface in 1. -
Page 10: Editing / Modifying Writing
3. Editing / Modift Writing A. Erasing or Modifying a Document Once you have written on the D5510, you can erase, undo or redo, move and resize and magnify all or parts of the page. There are several ways you can erase your writing 1. -
Page 11: Document Management
You can open PDF or PowerPoint files from this menu. All files must either be on a USB drive, temporary storage in the D5510 or on a mapped network shared drive, These files can be used a backgrounds, or working documents. They can not be edited. -
Page 12: Saving A File
4. Document Management B. Saving a file All pages can be saved together to a USB memory device, a network shared folder or temporarly to the D5510. All documents are saved as a PDF file Save to USB Save to Temporary... -
Page 13: Emailing A File
4. Document Management C. Emailing a file To use the email feature, your SMTP server must be setup in the D5510 administrator settings. When selected, the pages will be saved as a PDF file and then emailed. Pre-configured email addresses are displayed. -
Page 14: External Connections
Audio out RCA R/L Audio Out 8Ω 10W HDMI HDCP Compatible - supports devices like BlueRay players. Will only display. No D5510 features are available DVI-D Output to connect to additional monitors/projectors Network 10/100/100BaseT 2—USB 3.0 for file storage / firmware updates 2—USB 2..0 for file storage... -
Page 15: Using The D5510 As A Monitor
B. Using The D5510 as a Monitor Using a VGA or HDMI connection from your computer to the D5510 will display your computer on the D5510. While connected, images can be captured from your computer to a slide on the D5510. -
Page 16: Using The D5510 To Remotely Control A Pc
6. Using the D5510 to Remotely Operate Your PC With the D5510 connected to the network, you can connect your PC to the IWB using the “IWB Remote Desktop Software” to control your PC from the IWB. A. System Requirements... -
Page 17: Installing The Iwb Remote Desktop Software
6. Using the D5510 to Remotely Operate Your PC B. Installing the IWB Remote Desktop Software (First Time User) 1. From the PC, use your Web browser to connect to the IWB’ s IP address and select “Download Software”. 2. Click on Download and Run. -
Page 18: Using The Iwb Remote Desktop Software
6. Using the D5510 to Remotely Operate Your PC 3. After the application is downloaded, it will start the installation process. 4. After the application is installed, double click on the icon to launch the application. C. Using the IWB Remote Desktop Software 5. -
Page 19: Collaboration
7. Collaboration As an option, the D5510 can connect to up to a combination of 8 other D5500’s, D5510’s or Ricoh interactive projectors. Each IWB in the meeting can have up to 20 devices viewing the meeting through the boards web portal. -
Page 20: Starting A Remote Meeting
7. Collaboration A. Starting a Remote Meeting From the Host D5510 1. Turn on the D5510 and confirm it is connected to the network. 2. Using the Pen select the meeting icon and select “Open” select options to require password to be used. -
Page 21: B Joining A Remote Meting
7. Collaboration B. Joining a Remote Meeting 1. Turn on the D5510 and confirm it is connected to the network. 2. Using the Pen select the meeting icon and select “Join” 3. If the board that you are looking to connect to was... - Page 22 7. Collaboration B. Joining a Remote Meeting 5. All slides from the host board will be imported. 6. Meeting opens Click on the Meeting icon to display attendees and highlighter color. 7. All features available in the “Standalone Quick Start” are available across the meeting.
-
Page 23: Viewing A Meeting From A Web Browser
C. Viewing a Meeting for a Web Browser 20 devices can connect to each D5510 through a web browser to view a meeting in progress. After a host starts a meeting, using a web browser on a device connected to the same network can navigate to the IP address of the D5510. -
Page 24: Remotely Accessing Files On The D5510
A. Downloading saved files From a computer on the same network as the D5510, go to the IP Address shown on the D5510. * Please note that the D5510 must be powered on to access the web portal. - Page 25 8. Accessing Saved Files for your Computer 3. Click enter Select download for the file you want to access.