TP-Link TL-PA4010 Quick Installation Manual
Hide thumbs
Also See for TL-PA4010:
- User manual ,
- Quick installation manual (2 pages) ,
- Installation manual (2 pages)
Advertisement
Quick Links
Quick Installation Guide
* TL-WPA4220 TKIT (European version) is used for demonstration in this guide.
Image may differ from actual product.
N
L A
Router
N
W A
u i t
i r c
l C
i c a
c t r
E l e
m e
S a
Adapter
1
TL-PA4010
Plug the adapter into a power outlet and
connect it to the router's LAN port via an
Ethernet cable.
m e
S a
On
2
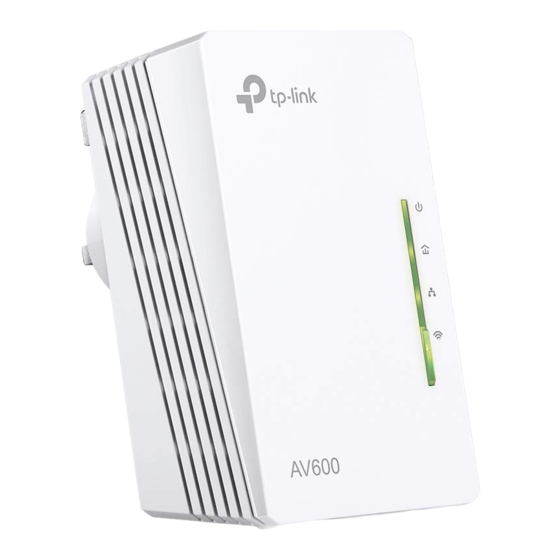
Plug the extenders into power outlets on the same electrical circuit. Wait until
the extender's Powerline LED
Note: If the LED is blinking or off, please refer to FAQ > Q2.
Extender A
TL-WPA4220
3
Connect your devices to the internet using the default SSID (network name)
and password on the label at the top of the extender.
Attention
Plug powerline devices into wall outlets instead of power strips.
Using power strip will affect network performance or even cause connection drops.
Wall Outlet
u i t
i r c
l C
i c a
c t r
E l e
On
A V
6 0 0
turns on.
Tip:
Want to unify Wi-Fi networks or personalize your network?
See the back page for instructions.
Power Strip
Extender B
TL-WPA4220
Advertisement

Related Manuals for TP-Link TL-PA4010


Summary of Contents for TP-Link TL-PA4010
- Page 1 Connect your devices to the internet using the default SSID (network name) and password on the label at the top of the extender. Adapter TL-PA4010 Plug the adapter into a power outlet and connect it to the router’s LAN port via an Ethernet cable.
- Page 2 A2. Try to set up a powerline network by pairing. Refer to the section above for instructions. Press for 1 second on two powerline devices within A3. If the problem persists, contact our Technical Support. TP-Link hereby declares that the device is in compliance with the essential requirements and other two minutes to pair them. Pair relevant provisions of directives 2014/53/EU, 2009/125/EC and 2011/65/EU.