Table of Contents
Advertisement
Quick Links
Advertisement
Table of Contents

Related Manuals for Behringer X32


Summary of Contents for Behringer X32
- Page 1 The Engineers’ Quick Start Guide...
- Page 3 Powered by 16 XLR Outputs, individually assignable to 32 MIDAS Designed Programmable Mic Preamps with any mix bus or direct output individually selectable phantom power AES50 6 Auxiliary Inputs / Outputs on TRS connectors Dedicated Monitor / Control Room outputs for 2 X AES50 Digital I/O for connectivity to S16 Digital (routable as inserts or aux ins/outs.
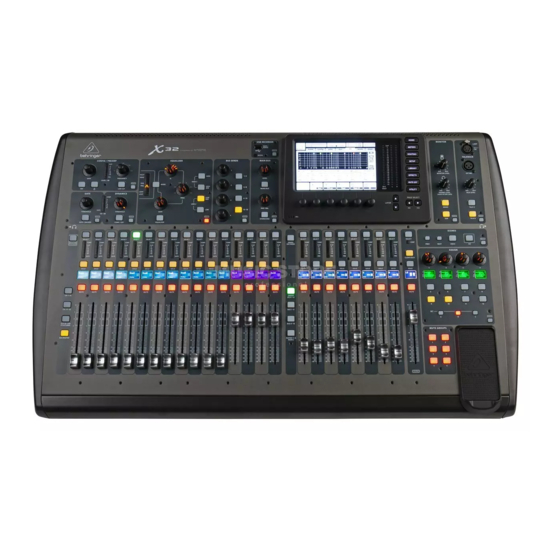
- Page 4 Vital Specs • 32 MIDAS Designed Mic Preamps – Plus 6 AUX ¼" TRS Line Inputs • 16 XLR Outputs – Plus 6 AUX ¼" TRS Line Outputs • 25 Mix Busses – Main LCR + 6 Matrix + 16 Mix Busses, with 6-band parametric EQ and dynamics processing • 24 Bit, 44.1 or 48 kHz • 2 x AES50 48 x 48 Channel Digital I/O, (use with S16 Digital Snake or for digital split to another X32) • 32 x 32 USB/Firewire Recording Interface with DAW Control • 8 Stereo FX Slots for 40+ effects plugins • Separate 16 assignable outputs for use with P16 Personal Monitoring System via ULTRANET port • In critical situations, as with all digital equipment, we strongly recommend that you use an Uninterruptible Power Supply with the X32 • If you would like the full manual: http://www.behringer.com/EN/products/X32.aspx • If you have any problems with your X32, contact Music Group at 702-800-8290 (option 1 for tech support)
- Page 5 2. Insert the USB stick into the USB Recorder slot and each file, with a file size limit of 2GB. switch on the console. During boot, the X32 will run a fully automatic firmware update. 6. Recording is at 16-bit, 44.1kHz or 48kHz depending on console sample rate.
-
Page 6: Routing Menu
Routing Menu 1. The first page of the ROUTING menu is where you choose which inputs the X32 will route to the 32 input channels, (in banks of 8). • Local = Internal Mic Preamp on back of console. • Card Out/Card In = XUF Firewire/USB card, (or future expansion cards). - Page 7 Editing Channel Strip LCDs 1. Hold down the select button for the channel you wish to change and press UTILITY. 2. Use the rotary encoders below the screen to adjust parameters. 3. There is also a dedicated Scribble Strip Tab on the SETUP menu. 4.
- Page 8 Bus Setup: The X32 offers ultra flexible busing as each channels’ bus sends can be independently Pre or Post Fader, (selectable in pairs of buses). Select a channel and press “view” in the BUS SENDS section on the channel strip.
-
Page 9: Matrix Mixes
Matrix Mixes • Matrix mixes can be fed from any mix bus as well as the MAIN LR and Center/Mono bus. • To send to a Matrix, first press the select button above the bus you want to send. Use the 4 rotary encoders in the BUS SENDS section of the channel strip. -
Page 10: Using Dca Groups
Using DCA Groups Use DCA Groups to control the volume of multiple channels with a single fader. 1. To assign a channel to a DCA, first be sure you have the GROUP DCA 1-8 layer selected. 2. Press and hold the select button of the DCA group you wish to edit. 3. -
Page 11: Sends On Fader
Sends on Fader To use “Sends on Faders,” press the “Sends on Faders” button located near the middle of the console. • You can now use “Sends On Faders” in one of two different ways. 1. Using 16 input faders: • Select a buss on the output fader section on right and the input faders on the left will reflect the mix being sent to the selected bus. -
Page 12: Mute Groups
2. Now press and hold one of the 6 Mute Group buttons you wish to use and simultaneously press the select button of the channel you wish to add/remove to that Mute Group. 3. When complete, press the MUTE GRP button again to reactivate the dedicated Mute Group buttons on the X32. 4. Your Mute Groups are ready to use. -
Page 13: Assignable Controls
Assignable Controls 1. The X32 features user-assignable rotary encoders and buttons in 3 layers. To assign them, press the “view” button near the ASSIGN section. 2. Use the PAGE SELECT button to select a “Set” or layer of controls. These will correspond to the “SET A, B and C”... - Page 14 FX Rack 1. Press the EFFECTS button near the screen to see an overview of the 8 stereo FX processors. Keep in mind that FX slots 1-4 are for “Send” type FX and slots 5-8 are for “Insert” type FX. 2.
- Page 15 Setting up P16 1. Setup the P16 outputs by pressing the ROUTING button and paging over to “P16 Out”. 2. Select an output channel and then select a signal source. 3. By default, direct outputs from channels 1-16 are assigned. 4.
- Page 16 Setting up S16 Stagebox 1. Connect the AES50 (A) port on the back of the X32 to the AES50 (A) port on the back of the S16 stagebox. If using two S16s, connect the AES50 (B) port on the first S16 to the AES50 (A) port on the second S16.
- Page 17 1. Download the Xi Control app for free from the Apple App Store. 2. Connect the X32 “Ethernet” jack to an available port on a wireless router (NOT the WAN / Internet port). 3. On your iPad, open the Wi-Fi settings and connect to the wireless router.
- Page 18 1. Download the latest version of Xcontrol from www.behringer.com/x32. 2. Connect the X32 “Ethernet” jack to a wireless router (for wireless use), or directly to your computer’s Ethernet port. 3. Open your computer’s Network Settings and connect to the wireless network, or verify your wired Ethernet connection is enabled when using a direct Ethernet connection.
- Page 19 5. If using a PC, go to www.behringer.com/x32 to download and install the latest drivers. 6. Power down your computer, connect the X32 via USB or Firewire, and power back on the computer. Note: The X32 will work with Core Audio on MAC and WDM / ASIO Drivers on PC, making it compatible with virtually all major DAWs.
-
Page 20: Daw Control
4. Setup either a Mackie Control or HUI control surface in your DAW. 5. Press the REMOTE button on the left side of the X32 to control your DAW . 6. The 8 Output Faders now control the DAW, use the layer switches to toggle the mute buttons between the following functions: Mute, Transport, Banking and Channel Selection. - Page 21 Using the Talkback Section 1. The X32 has the option of using the built in talkback mic or external mic. 2. To begin, press view near the Talkback Section on the console. 3. Press the 2nd rotary encoder to switch between internal and external mic.
-
Page 22: Saving A Scene
4. Pressing UTILITY in this menu will allow you to import / export scenes and entire shows via USB. Note: The Scenes vs Shows: It should be noted that a “show” is an entire group of “scenes”. The X32 has only one show loaded at all times, containing 100 scenes. - Page 23 Using Preset Libraries 1. The X32 has separate preset libraries for Channel Strip, Effects, and Routing. To access them, use the LIBRARY button near the screen. 2. From this window, you can use the rotary encoders to load/save/delete presets. By pressing the UTILITY button you can import/export presets from the USB drive.
- Page 24 Copy / Paste 1. Copy and Paste functions can be accessed from the UTILITY button. 2. To copy settings for a specific processor, such as a channel compressor, press UTILITY while viewing the compressor screen of the channel you wish to copy. 3.
- Page 25 “exclusive solo”. This allows you to quickly switch your monitoring source by pressing the SOLO button on any individual mix bus or channel. 3. Connect your “Cue Wedge” to the dedicated monitor output on the X32, remember that this monitor wedge’s volume is controlled by the Monitor Level knob in the Master section.