
Subscribe to Our Youtube Channel
Related Manuals for moon P-5


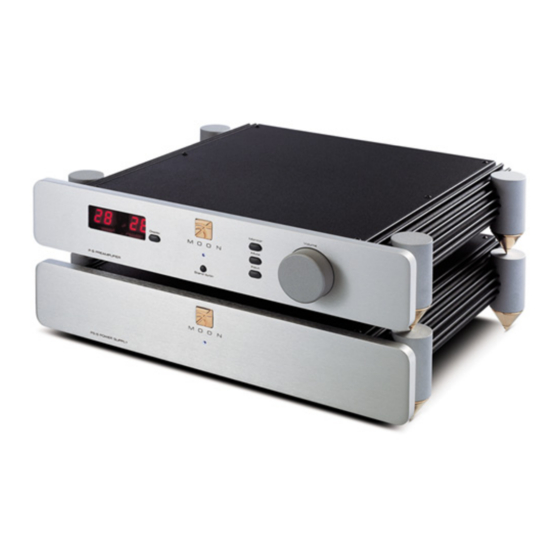
Summary of Contents for moon P-5
- Page 1 Dual-Mono Preamplifier ___________________________________________________________________________ Owner’s Manual...
-
Page 2: Table Of Contents
Unpacking and Warnings ......5 Installation Tips ........6 Front Panel Controls ........7 Rear Panel Connections........ 9 Connecting the PS-5 Power Supply ....10 Operating the P-5 ........11 Remote Control Operation ......12 Specifications .......... 13 Service and Warranty ........ 14 www.simaudio.com IMPORTANT: Please read this entire manual before using this product. -
Page 3: Congratulations
The performance of your P-5 will continue to improve during the first six weeks of use. This is the result of a “break-in” period required for the numerous high quality electronic parts used throughout this amplifier. -
Page 4: Introduction
MOON P-5 Dual-Mono Preamplifier Introduction Your MOON P-5 Dual-Mono preamplifier incorporates many significant design features to achieve its “world class” level of performance. This is an abbreviated list of the more important features: A custom proprietary toroidal transformer design with lower magnetic, electrical and thermal loss, yielding an improved power transfer and lower regulation factor, resulting in increased current speed and better dynamics. -
Page 5: Unpacking And Warnings
MOON P-5 Dual-Mono Preamplifier Unpacking and Warning! The MOON P-5 Dual-Mono preamplifier and the MOON PS-5 power supply should both be removed from their box with care. The following accessories should be included inside the box with your preamplifier: AC power cable ‘FRM’... -
Page 6: Installation Tips
These tips will easily scratch most surfaces, therefore it’s advisable to follow these instructions: 1) Place your P-5 on a soft surface (i.e. carpet) and carefully turn it so that it rests on its side. 2) Screw one tip onto each of the four cones. -
Page 7: Front Panel Controls
‘input’ and gain level settings will be memorized from the previous listening session. The blue pilot LED will not be illuminated when the P-5 is in “Stand by” mode, however the PS-5’s LED will remain on. The “Monitor” button switches the output signal for the “tape out” on and off. The output level is fixed and therefore independent of the P-5’s gain setting. - Page 8 LED will illuminate, even if the problem originates from the source component currently in use. In the event that the LED remains on, you should immediately power down your P-5 using the main power switch located on the rear panel, then contact your dealer for service. Don’t confuse this with a smaller red LED, located directly to the bottom right of the left channel’s gain setting indicator...
-
Page 9: Rear Panel Connections
XLR input connectors. We strongly recommend that you use the balanced output connectors on your P-5 to maximize its level of performance. As well, don’t hesitate to use high quality interconnect cables. Poor quality interconnect cables can degrade the overall sonic performance of your system. -
Page 10: Connecting The Ps-5 Power Supply
P-5. In the event that this can’t be avoided, you should ensure that any cables coming into contact with each other are crossed at ninety degree angles to minimize the contact area. -
Page 11: Operating The P-5
2) Once the aforementioned red LED turns itself off, press the push button labeled “Stand by/On” on the P-5. The blue LED will illuminate and the digital display will indicate a gain setting of ‘0’ and the ‘CD’ as the default input. -
Page 12: Remote Control Operation
To operate the P-5 with this remote control, you must first press the button labeled ‘Preamp’ on the top right corner. -
Page 13: Specifications
THD (20Hz - 20kHz) ....... < 0.05% Remote Control ........All Aluminum Full-Function (FRM) Optional Phono Section ......MOON PSP - external AC Power Requirements ......120V / 60Hz or 240V / 50Hz Fuse Replacement - 120V / 230V ....2A long slow blow / 1A long slow blow Shipping Weight ........ -
Page 14: Service And Warranty
Service and Warranty (U.S.A and Canada only) Please take the time to complete and mail the warranty card supplied with your MOON P-5 Dual-Mono preamplifier. This card is necessary to activate your full warranty, as well as allowing you to receive...
Need help?
Do you have a question about the P-5 and is the answer not in the manual?
Questions and answers