Table of Contents
Advertisement
Quick Links
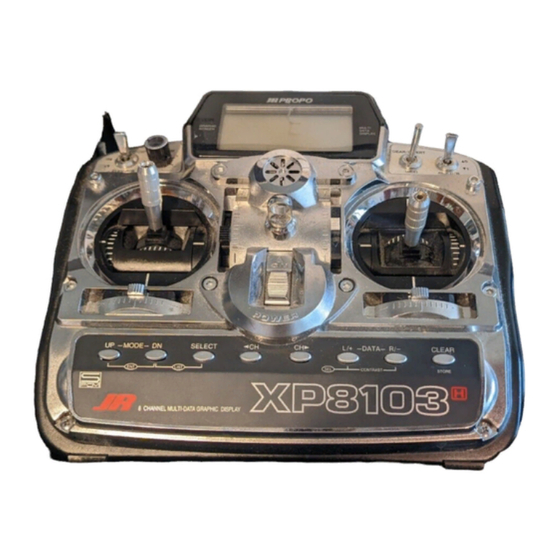
Programming Guide for the JR 8103 Heli radio system
The following is a programming example for a helicopter using the 8103-heli radio. If you
follow along, several features of the 8103 will be demonstrated, which should help better understand the
abilities of the system.
To start with we will open a clear model, so press and hold the up and down keys together and
flip the power switch on and then release the up and down keys. Press the + and – keys to go into model
select. Press the + key until you get to a clear model. Then press the up key twice to get to the model
type. To get to the correct type, press the + key to get to HELI, if it is not already in HELI mode. Next
you will press the up key to model reset. Press CLR so that it will restore the system to factory defaults.
Press the up key to select the modulation of the system. Here you will use the + and – keys to set this to
the desired modulation. Press the up key three times, to set the input selection. Now you will press the
+ key to set the aux 2 to INH. Press the CH key so the arrow now points at GEAR. Here you will press
the + key to make this say INH. Press the UP key one time, and this will bring you to SWASH TYP.
This is where you can set the radio for CCPM. Press the + key one time for 2 servo – 180 degree, again
for 3 servo – 120 degree, and once more for 4 servo 90 degree. If you do not have a CCPM helicopter,
leave this at 1 servo NORM. If it is CCPM, choose the type of set up you have. Your instructions for
the helicopter should have this information listed as to which type it is. Then you can press the up key
till you get to the name selection, and re-name the model. At this point we have set up the system mode
for our helicopter.
Next we will set up the function mode of transmitter. If you are still in the system mode, just
press the up and down keys together twice, or turn the radio off and back on, and press the up and down
keys together again. This will get you into the function mode.
Now that we are in the function mode, it brings you to the dual rate set-up. You can set these to
your desired amounts. Press the channel key to select the channel, and the + and – keys to set the rates.
I would set up the high rate at 100% and the low rate between 80% and 90%. Next press the select key
to get to the expo set up for each channel, and use the + and – keys to set the values. You can set
various values for each rate. Leave these a 0% to start with, and you can come back to these to set them
as desired after test flying the helicopter.
System Set-Up Mode
Function Mode
Dual Rate and Exponential Set-Up
Advertisement
Table of Contents

Related Manuals for Horizon Hobby JR 8103 Heli


Summary of Contents for Horizon Hobby JR 8103 Heli
- Page 1 Programming Guide for the JR 8103 Heli radio system The following is a programming example for a helicopter using the 8103-heli radio. If you follow along, several features of the 8103 will be demonstrated, which should help better understand the abilities of the system.
- Page 2 Travel Adjustment Next we will set up the travel adjustments, so press the up key till you get to the screen where it says TRVL ADJ. in at the top left hand side of the screen. Your manual gives a good description of how to adjust these.
- Page 3 Now you will set your high and low pitch in normal mode, and your low, half, and high pitch settings for stunt modes 1 and 2 and throttle hold. Adjust the points between the center and high/low stick as needed. For a CCPM helicopter, adjust the amount of pitch travel you have, by pressing the up key until you get to Swash Mix.
- Page 4 will put a higher gain on rate 0, so leave the normal mode at 0. For stunt modes, switch it to rate 1 so that you can set up a lower gain for forward flight and aerobatics. In throttle hold you can leave this at 0 or use 1 depending on your preferences.
Need help?
Do you have a question about the JR 8103 Heli and is the answer not in the manual?
Questions and answers