
Related Manuals for Kramer SPK-CC678


Summary of Contents for Kramer SPK-CC678
-
Page 1: User Manual
Kramer Electronics, Ltd. USER MANUAL Models: SPK-CC678, Closed-back Ceiling Speakers SPK-CCV448, Closed-back Ceiling Speakers SPK-CCV444, Closed-back Ceiling Speakers... -
Page 2: Table Of Contents
Figure 5: Installing the Closed-back Ceiling Speakers Figure 6: Plugging and Securing the Cable Figure 7: Tighten the Mounting Tabs Figure 8: Adjust Tap Selector (for the SPK-CC678) Tables Table 1: Closed-back Ceiling Speakers – Definition Table 2: Closed-back Ceiling Speakers Hardware Items... -
Page 3: Introduction
GROUP 7: Scan Converters and Scalers; GROUP 8: Cables and Connectors; GROUP 9: Room Connectivity; GROUP 10: Accessories and Rack Adapters; GROUP 11: Sierra Products 2 Download up-to-date Kramer user manuals from the Internet at this URL: http://www.kramerelectronics.com 3 The complete list of Kramer cables is on our Web site at http://www.kramerelectronics.com... -
Page 4: Overview
Diameter [“] Closed-back Depth [“] Resistance [Ω] SPK-CC678 SPK-CCV448 SPK-CCV444 Figure 1 shows an example of how the Closed-back Ceiling speakers can be installed in a boardroom setup: Figure 1: Closed-back Ceiling Speakers in a Boardroom Setup KRAMER: SIMPLE CREATIVE TECHNOLOGY... -
Page 5: Your Closed-Back Ceiling Speakers
(often associated with low quality cables) • Avoid interference from neighboring electrical appliances and position your Kramer Closed-back Ceiling speakers away from moisture, excessive sunlight and dust Your Closed-back Ceiling Speakers... -
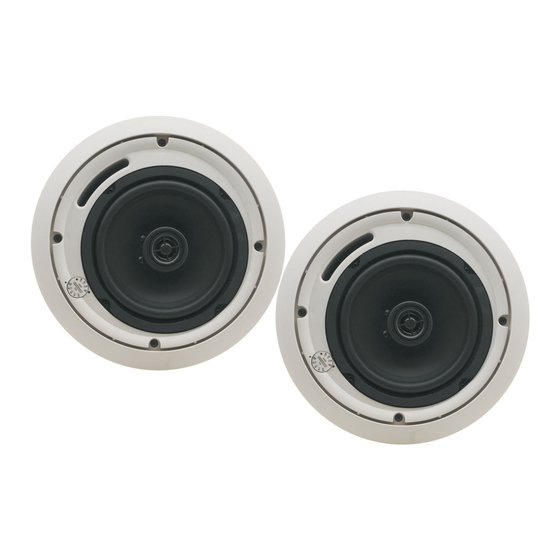
Page 6: Figure 2: Spk-Cc678 Closed-Back Ceiling Speaker
Your Closed-back Ceiling Speakers Figure 2: SPK-CC678 Closed-back Ceiling Speaker Figure 3: SPK-CCV448 / SPK-CCV444 Closed-back Ceiling Speaker KRAMER: SIMPLE CREATIVE TECHNOLOGY... -
Page 7: Table 2: Closed-Back Ceiling Speakers Hardware Items
Your Closed-back Ceiling Speakers Table 2 defines the Closed-back Ceiling speaker hardware items (per speaker pair): Table 2: Closed-back Ceiling Speakers Hardware Items Description A pair of ceiling Two grilles Cutout speakers (one shown) template (one shown Table 3 defines the ceiling mounting kit items: Table 3: Ceiling Mounting Kit Items Two pairs of ceiling... -
Page 8: Installing The Closed-Back Ceiling Speakers
• The desired location is free of obstructions, such as electrical piping, AC ducts or water lines, and so on • There is enough space behind the mounting surface for the speakers • Rear side of the speaker is not blocked by wall studs or other objects KRAMER: SIMPLE CREATIVE TECHNOLOGY... -
Page 9: Cutting The Ceiling Tile
Installing the Closed-back Ceiling Speakers 5.2 Cutting the Ceiling Tile To cut the ceiling tile, do the following: 1. Remove the circle in the supplied template 2. Mark the opening in the correct location by tracing the hole in the template. 3. -
Page 10: Mounting The Speakers
1 PIN 1 and PIN 2 are connected internally and are positive (+). PIN 3 and PIN 4 are connected internally and are negative (-) 2 Use a small screwdriver KRAMER: SIMPLE CREATIVE TECHNOLOGY... -
Page 11: Figure 6: Plugging And Securing The Cable
Installing the Closed-back Ceiling Speakers Figure 6: Plugging and Securing the Cable 7. Push the speaker into the ceiling hole until the front baffle rim is leveled with the ceiling. 8. Tighten the mounting tabs by turning the screw counter clockwise (see Figure When tightening the mounting tabs, the tabs automatically turn outward,... -
Page 12: Painting The Speaker
Installing the Closed-back Ceiling Speakers Figure 8: Adjust Tap Selector (for the SPK-CC678) 11. Install the grilles to the speakers: Push the grille fastener into the hole in front of the baffle Press the grille into place until the front of the grille is flush with the rim of the baffle ... -
Page 13: Technical Specifications
Technical Specifications Table 4 Table 5 include the technical specifications of the closed-back ceiling speakers: Table 4: Technical Specifications of the SPK-CC678 DESCRIPTION: 2-way co-axial speaker HIGH FREQUENCY DRIVER: 1” MYLAR dome tweeter LOW FREQUENCY DRIVER: 6.5” Polypropylene cone with rubber edge... - Page 14 EXCLUSION OF DAMAGES The liability of Kramer for any effective products is limited to the repair or replacement of the product at our option. Kramer shall not be liable for: 1. Damage to other property caused by defects in this product, damages based upon inconvenience, loss of use of the product, loss of time, commercial loss;...
- Page 15 For the latest information on our products and a list of Kramer distributors, visit our Web site: www.kramerelectronics.com, where updates to this user manual may be found. We welcome your questions, comments and feedback. Kramer Electronics, Ltd. Web site: www.kramerelectronics.com E-mail: info@kramerel.com...
Need help?
Do you have a question about the SPK-CC678 and is the answer not in the manual?
Questions and answers