Table of Contents
Advertisement
Advertisement
Table of Contents

Subscribe to Our Youtube Channel
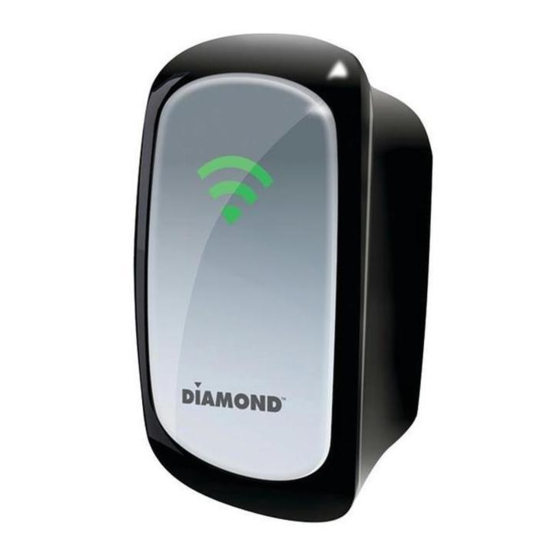
Summary of Contents for Diamond Multimedia WR300NSI
- Page 1 WR300NSI Portable Wireless-N Repeater...
- Page 2 Quick Start Guide Minimum System Requirements To configure your WR300NSI repeater your computer must meet the following minimum requirements. Any operating system can be used Web Browser 233MHz processor Ethernet network adapter Package Contents Package contents are listed below. WR300NSI...
- Page 3 Device Overview Front Panel LABEL STATE DESCRIPTION LED RRSI 3 BARS Connected 95% and above RSSI (Excellent) 2 BARS Connected 55-94% RSSI (Recommended) 1 BAR Connected 10-54% RSSI (Weak)
- Page 4 Device Overview bottom panel Device Overview top panel...
- Page 5 Setting up the device is easy. Follow the steps below to configure the device for your current wireless router/AP. Ensure to disable the wireless connection on the PC or laptop used for configuring the WR300NSI. Please note the WR300NSI will automatically detect your existing wireless channel encryption and security type do not change this To configure your device via the Web GUI: 1.
- Page 6 2. Connect an Ethernet cable from your PC’s Ethernet port to the Ethernet port at the base of the WR300NSI. 3. Once a connection to the WR300NSI is established, your PC/laptop will receive an IP address automatically and you will be able to access the configuration page using the web graphical user interface.
- Page 7 5. You will now see the following screen below, click on “Quick Connect” NOTE: If you are connecting to a hidden wireless network, you need to go through the Manual Setup and key-in the information from your existing wireless router/AP manually Or Un check the broadcast SSID option so that your wireless network will remain hidden.
- Page 8 8. Close the web browser and power down the WR300NSI by unplugging the device from the wall plug. Now, Plug the WR300NSI back to a power outlet at the identified location. Note: it is always best to place the repeater half way between your dead spot and your original wireless router.
- Page 9 CD. Trouble Shooting: If you cannot open up the WR300NSI web configuration page after inputting 10.0.10.254 in your web browsers address check the following: 1. Make sure your computer received an IP address in the same range as the repeater. For windows 7 you can check your IP address by clicking on “Start”...
- Page 10 Click on “View network status and tasks” as shown below: Click on “Change adapter settings” as shown below:...
- Page 11 Double click on the Ethernet network name of your wired Ethernet port. See example below: Click on the “Details” tab as shown below:...
- Page 12 Notice the IPv4 Address is 10.0.10.1, this is correct. The IP address you receice may vary. Example you may get 10.0.10.2, 10.0.10.3, but notice the first three digits are always the same. If you have an IP address that is not in this range you must manually change it in order to configure the repeater. To change it click on the properties tab on the bottom left hand corner.
- Page 13 Make sure you select “Use the following IP address” option and enter 10.0.10.1 for the IP address. Enter 255.255.255.0 for the Subnet mask. Enter 10.0.10.254 for the Default gateway. When you are finished it should look like the image below:...
- Page 14 Once completed proceed back to step 4 of this guide to complete the WR300NSI configuration. Note: after you have finished setting up the repeater using manual TCP/IP settings you must go back to the TCP/IP settings and revert back to obtain IP automatically. See image below:...
- Page 15 Technical Support Diamond Technical Support staff is here to help resolve any issues that you may be experiencing. Prior to contacting technical support please make sure you have the following information available. 1. Model #: (Printed on the bar code, located on the box) 2.


Need help?
Do you have a question about the WR300NSI and is the answer not in the manual?
Questions and answers