Advertisement
Quick Links
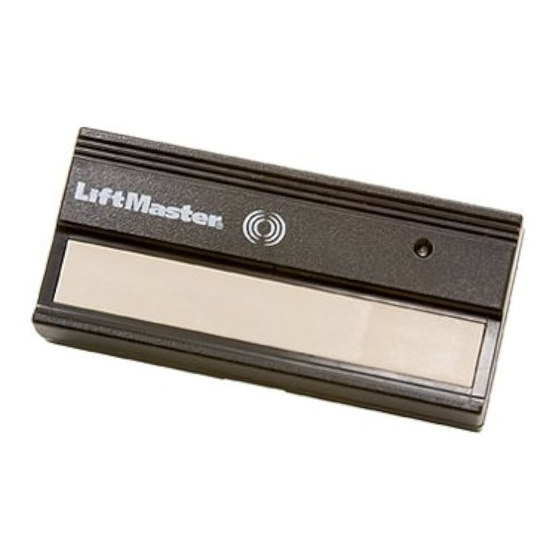
Model 361LM & 361LMC
Model 362LM & 362LMC
Model 363LM, 363LMC,
333LM, & 333LMC
INTRODUCTION
This product is for use with gate operators, commercial door operators and any LiftMaster
that uses a 315 MHz fixed code. The single-button remote control will activate one device, the
2-button remote control will activate up to 2 devices, and the 3-button remote control will activate
up to 3 devices.
BEFORE YOU BEGIN
Locate the Dip Switches on Your Remote Control
Single-Button and 3-Button
Remote Controls:
Slide the battery cover open to access the dip
switches in the remote control.
2-Button Remote Control:
The 2-button remote control has two sets of
dip switches.
Slide the battery cover open to access the dip
switches for the smooth button. Remove the
screw on the back of the remote control and
remove the cover by pressing the tab. This will
access the dip switches for the ribbed button.
Locate the Smart/Learn Button for Your Product
NOTE: Your product may look different than
the products illustrated.
The Smart/Learn button is typically located on
the logic board of the operator or external
receiver. Refer to your product owner's manual
for the exact location of the Smart/Learn
button.
To prevent possible SERIOUS INJURY or
DEATH from a moving gate or garage door:
• ALWAYS keep remote controls out of
reach of children. NEVER permit children
to operate, or play with remote control
transmitters.
• Activate gate or door ONLY when it can be
seen clearly, is properly adjusted, and
there are no obstructions to door travel.
• ALWAYS keep gate or garage door in sight
until completely closed. NEVER permit
anyone to cross path of moving gate or
door.
Single and 3-Button Remote Controls
2-Button Remote Controls
Tab
1
Smart/Learn Button
®
product
Advertisement

Related Manuals for Chamberlain LiftMaster 361LM


Summary of Contents for Chamberlain LiftMaster 361LM
-
Page 1: Before You Begin
INTRODUCTION ® This product is for use with gate operators, commercial door operators and any LiftMaster product that uses a 315 MHz fixed code. The single-button remote control will activate one device, the 2-button remote control will activate up to 2 devices, and the 3-button remote control will activate up to 3 devices. -
Page 2: Programming The Remote Control
SET THE DIP SWITCHES Use a pen or screwdriver to slide the dip switches. Programming the remote control New Remote Control without an existing remote control Set the dip switches in the remote controls to – any position you want (+,0,-). Programming the remote control to Existing Remote Control New Remote Control... - Page 3 PROGRAMMING MODEL 333LM ONLY Install the control station and receiver where the door is visible, but away from the door and its hardware. When a receiver is used to activate a commercial door opener, a reversing edge MUST be installed on the bottom of the door. Failure to install a reversing edge under these circumstances may result in SERIOUS INJURY or DEATH to persons trapped beneath the door.
-
Page 4: The Remote Control Battery
THE REMOTE CONTROL BATTERY To prevent possible SERIOUS INJURY or DEATH: • NEVER allow small children near batteries. • If battery is swallowed, immediately notify doctor. The 12 volt battery should produce power for 1 year. Dispose of old batteries properly. NOTICE: To comply with FCC and or Industry Canada rules (IC), adjustment or modifications of this receiver and/or remote control are prohibited, except for changing the code setting or replacing the battery.