Advertisement
Quick Links
Advertisement

Related Manuals for Bodyworx JX540


Summary of Contents for Bodyworx JX540
-
Page 2: Table Of Contents
INDEX 1. OVERVIEW DRAWING ....錯誤! 尚未定義書籤。 2. IMPORTANT SAFETY INSTRUCTIONS......3 3. GROUNDING INSTRUCTIONS ..........4 4. PRE-ASSEMBLY CHECK LIST..........6 5. ASSEMBLY STEPS..............7 6. CAUTION ........... 錯誤! 尚未定義書籤。 7. MAINTENANCE..............11 8. COMPUTER OPERATION INSTRUCTIONS ..... 12... -
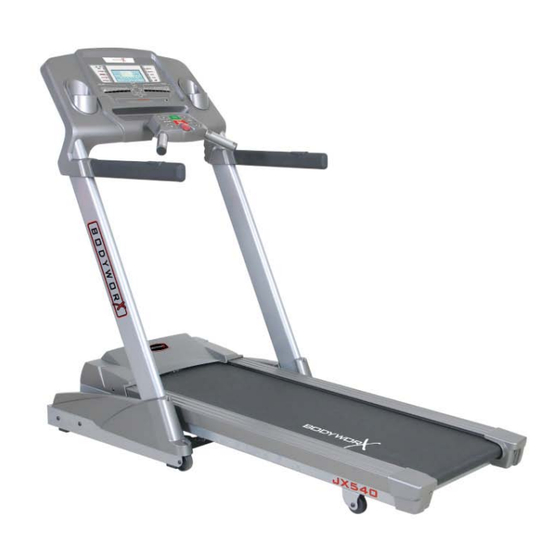
Page 3: Overview Drawing
1. OVERVIEW DRAWING 電子表 Computer 安全插銷 Safety Key Power Cord 電源開關 Power Switch 手握心跳 Grip Pulse Sensor 車台 Frame 過載保護開關 Circuit Breaker 後調整盒 Rear End Cap... -
Page 4: Important Safety Instruction
2. IMPORTANT SAFETY INSTRUCTION When using this product, basic precautions should always be followed, including the following: Please read the instruction carefully before starting to use this product. Danger – To reduce the risk of electric shock: Always unplug this product from the electrical outlet immediately after using and before cleaning the treadmill. -
Page 5: Grounding Instructions
3.GROUNDING INSTRUCTION This product must be grounded. If the treadmill should be malfunction or breakdown, grounding provides a path of least resistance for electric current to reduce the risk of electric shock. This product contains a power cord with a grounding conductor and a grounding plug. The plug must be plugged into a correct outlet that is properly installed and grounded. -
Page 6: Pre-Assembly Check List
4. PRE-ASSEMBLY CHECK LIST ITEM Description Computer Console Frame Upright (L) Upright (R) Decoration Cover (L) Decoration Cover (R) - Page 7 ITEM Description Allen Bolt M8xP1.25x15 Allen Bolt M8xP1.25x60、 (SAEK299) ScrewM5xP0.8x15 Bottle Hex Wrench 6mm(80mmx80mm) Hex Wrench& Screwdriver 5mm(70mmx70mm) Safety Key/Clip SILICON Power Cord Bottle Holder MP3 Connector Chest Band Transmitter...
-
Page 8: Assembly Steps
5. ASSEMBLY STEPS Two persons are required to finish the assembly steps. (Caution!! Please follow exactly the assembly steps below to avoid injury. ) 1. Pull out Control Wire with Guide Thread in right Upright (D). After inserting left and right Uprights (C, D) to the proper place, tighten with Allen Bolt (a). - Page 9 3. To assemble the Computer: According to the right drawing: Connect control wires between left and right Uprights and the Computer. Then assemble left and right Uprights (C, D) and Computer Console (A) with Allen Bolt (b). Wedge the bottle holder (j) into the computer according to the right drawing.
-
Page 10: Caution
6. CAUTION Note: The Cylinder is made of high pressure. Please avoid crash with any objective. Note: If the cylinder were damaged, the frame would not be stable and may cause serious danger while folded up. This treadmill have the foldable mechanism for storage, Stop all movement (include treadmill belt stop, take off the power cord) before storage, then fold the main frame as the direction shown... -
Page 11: Maintenance
7. MAINTENANCE If the belt tends to move off from the center, stop the treadmill. Take the Hex Wrench and adjust the Hex Screw in the Rear Roller. For example, if the running belt is moving towards the left side, tighten the left Hex Screw about 1/4 turn (clockwise). -
Page 12: Computer Operation Instructions
8. COMPUTER OPERATION INSTRUCTION The symbol “ ” means MP3 jack. This jack will appear on the machines with MP3 function. I. Start Display: 1. If the SAFETY KEY is taken off, the matrix screen will display key picture (as the picture below) and each function window will display ----. If the SAFETY KEY is replaced,the matrix screen will display KGS (mile) for avoirdupois unit and the preset value is 70KG(150LBS). - Page 13 2. During working, the beeper will make a sound for warning if the safety key works off, then the treadmill will stop working. At this moment, put the safety key back to the recess of console, and all the values will turn back to the initial values.
- Page 14 minutes of the first and the last levels will be executed averagely by the rest 26 levels. 5. 9 HOLES mode have not functions of WARM UP or COOL DOWN. When distance is up to 3.5KM, the motor will stop and displays ” End”. IV.
- Page 15 V. Program Mode P1 Goal time:the preset value is 0min;range is 20~99min,step is 1 min. 1. Under Start/Ready position, press MODE to enter P1 control mode. 2. After entered, press ENTER TIME and the window will blink. At this time, users can press MODE to select TIME, DIS or CAL to set. After selecting the function, press ENTER to enter this function to edit the values.
- Page 16 time:preset 30min,range 20~99min,step 1 min. P7 Weight loss LEVEL:preset 1,range 1~10,step 1. time:preset 30min,range 20~99min,step 1 min. P8/P9 Custom time:preset 32min,range 20~99min,step 1 min. PROGRAM has 32 levels in all (SE01~SE32) and the pre-set values all are lowest value. Setting:time,program execute value (setting time can execute in 32 level averagely).
- Page 17 5. After pressing MODE to confirm the set of TIME, DIST or CAL, if you want to cancel the function setting and to select other functions, just press MODE to exit. Time setting range: 65%/75%/85% 0,5~99 minutes,preset 0, step is 1. IND 0,5~99 minutes,preset 0,step is 1.
Need help?
Do you have a question about the JX540 and is the answer not in the manual?
Questions and answers