
Subscribe to Our Youtube Channel
Related Manuals for Turn of the century Nevis 355-1857


Summary of Contents for Turn of the century Nevis 355-1857
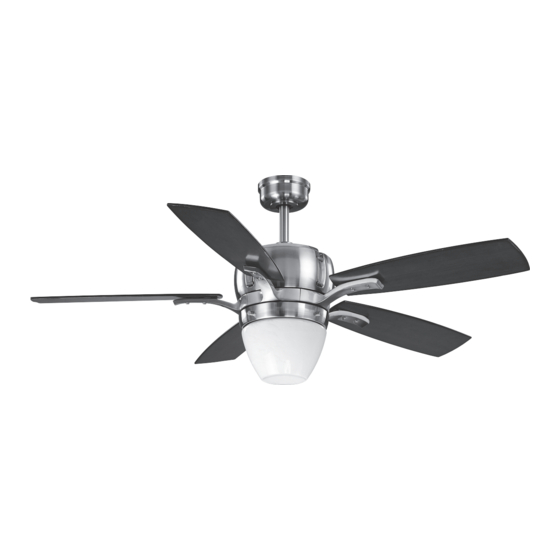
- Page 1 Nevis 52in (1.32m) Ceiling Fan Owner’s Manual Menards SKU 355-1857 READ AND SAVE THESE INSTRUCTIONS...
- Page 2 Safety Rules – Read and Save These Instructions 1. To reduce the risk of electric shock, insure electricity has been turned off at the circuit breaker or fuse box before beginning. 2. All wiring must be in accordance with the National Electrical Code “ANSI/NFPA 70-1999” and local electrical codes. Electrical installation should be performed by a qualified licensed electrician.
- Page 3 To Begin/Tools Needed (Not Supplied) Required Flathead Phillips Safety Glasses Screwdriver Screwdriver Pliers Wire Cutters Electrical Tape Step Ladder Helpful Wire Strippers Soft Cloth...
-
Page 4: Unpacking Your Fan
Unpacking Your Fan Unpack and inspect fan carefully to be certain all contents are included. 1. Set of blades (5) 2. Canopy assembly 3. Ball/4.5" downrod assembly 4. Coupling cover 5. Fan motor assembly 6. Blade arms (5) 7. Mounting plate 8. -
Page 5: Hanging The Fan
Disassemble the Canopy Assembly 1. Remove the decorative canopy bottom cover from the canopy by turning the cover counter clockwise. (Figure 4) Ceiling Mounting Bracket 2. Remove the mounting bracket from the canopy by removing the 1 of 2 screws from the bottom of the mounting bracket and loosening the other one a half turn from the screw head. -
Page 6: Making The Electrical Connections
Making the Electrical Connections Warning: To avoid possible electrical shock, be sure electricity is turned off at the main fuse box before wiring. Frequency Switch If you feel you do not have enough electrical wiring knowledge or experience, have your fan installed by a licensed electrician. Follow the steps below to connect the fan to your household wiring. -
Page 7: Finishing The Fan Installation
Finishing the Fan Installation 1. Tuck connections neatly into ceiling outlet box. Outlet Box 2. Slide the canopy up to mounting bracket and place the key Mounting hole on the canopy over the screw on the mounting bracket, Bracket turn canopy until it locks in place at the narrow section of the key holes. -
Page 8: Blade Balancing
Blade Balancing The following procedure should correct most fan wobble. Check after each step. 1. Check that all blade and blade bracket screws are secure. Touching Ceiling 2. Most fan wobble problems are caused when blade levels are unequal. Check this level by selecting a point on the ceiling above the tip of one of the blades. - Page 9 Installing the Shade Assembly Note: Before starting installation, disconnect the power by turning off the circuit breaker or removing the fuse at fuse box. Turning power off using the fan switch is not sufficient to prevent electric shock. 1. Install the light bulb into the light socket on the light kit, use MAX 13W CFL bulb.
-
Page 10: Operating Your Transmitter
Operating Your Transmitter Restore power to ceiling fan and test for proper operation. Install 9 volt battery (included), to prevent damage to transmitter, remove the battery if not used for long periods. (Figure 15) A. LOW, MED and HI buttons: These three buttons are used to set the fan speed as follows: LOW = low speed MED = medium speed... -
Page 11: Care Of Your Fan
Care of Your Fan Here are some suggestions to help you maintain your fan. 1. Because of the fan's natural movement, some connections may become loose. Check the support connections, brackets, and blade attachments twice a year. Make sure they are secure. (It is not necessary to remove fan from ceiling.) 2.
Need help?
Do you have a question about the Nevis 355-1857 and is the answer not in the manual?
Questions and answers