
Subscribe to Our Youtube Channel
Related Manuals for AJA R20CE


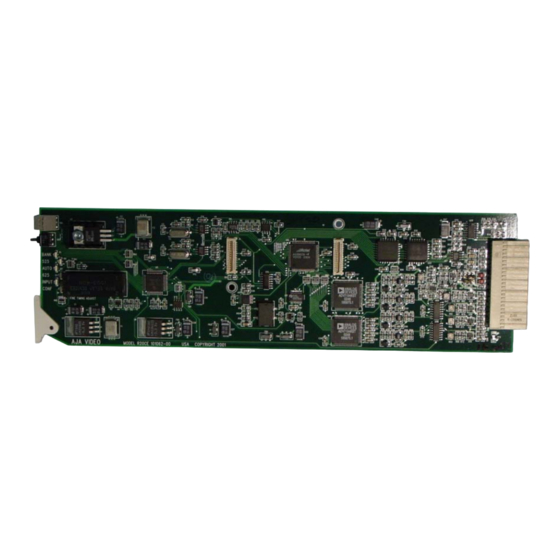
Summary of Contents for AJA R20CE
-
Page 1: User Manual
R20CE 10-bit Encoder R-series Card Module User Manual August 8, 2007 P/N 101646-00... -
Page 2: Fcc Emission Information
AJA Video, with shipping charges prepaid. AJA Video shall pay for the return of the product to the Customer if the shipment is to a location within the country in which the AJA Video service center is located. - Page 3 Y/C (S-Video), YPbPr (SMPTE, EBU-N10), Betacam, or RGB. The R20CE also serves as an SDI distribution amplifier, providing 2 re-clocked outputs of the SDI input source. The R20CE is compatible with the AJA FRI IRU 4 slot frame or the FR2 2RU 10 slot frame.
-
Page 4: Block Diagram
FR1 and FR2 BNC Connector Assignments, R20CE Card Module When the R20CE module is installed in an AJA FR1 or FR2 frame, a corresponding group of 9 BNCs on the rear panel then provide I/O for the module. The illustration above shows the connector assignments for both the FR1 and FR2 when used with the R20CE. -
Page 5: User Controls
AJA R20CE 10-bit Encoder User Manual — User Controls User Controls The user interface for the R20CE includes a 16 position hex rotary switch, a momentary action up/down toggle switch, and 6 LEDs. Use the rotary switch to select a function and then adjust the function using the toggle switch. - Page 6 Bank 0 Functions FUNCTION DESCRIPTION DETAILS BANK SEL ToggleUP/LEFT to select BANK 1 Toggle DOWN/RIGHT to select BANK 0 |NPUT MODE 0 = Auto Select 1 = 525 2 = 625 VBLANK UP/LEFT = Narrow DOWN/RIG HT = Wide SETUP UP/LEFT = No Pedestal DOWN/RIGHT=AddPedestal OUTPUT MODE...
- Page 7 AJA R20CE 10-bit Encoder User Manual — User Controls Bank 1 (Frame Sync Option Only) FUNCTION DESCRIPTION DETAILS BANK SEL Toggle UP/LEFT to select BANK I Toggle DOWN/RIGHT to select BANK 0 SET DEFAULT Toggle UP/LEFT or DOWN/RIGHT = DELAY...
-
Page 8: Installation
Looping Reference The R20CE cell group of 9 BNCs contains two BNCs that can be used for a looping reference connection. If this method is used, then the reference select setting on the R20CE should be set to “LOOP”... - Page 9 2. Perform function 3 in Bank 1 " SET PIXEL DELAY. " This will allow adjustment to within l/4 pixel of reference. 3. Adjust the " FINE TIMING ADJUST " control on the front of the R20CE board for precise exact timing (refer to photo provided).
-
Page 10: Delay Mode
In " SET PIXEL DELAY, " the first four increments are 1/4 pixel steps. 4. Adjust timing as desired anywhere between the steps set above by adjusting the " FINE TIMING ADJUST " control on the front of the R20CE board. Fine Timing Adjustment... -
Page 11: Specifications
AJA R20CE 10-bit Encoder User Manual — Specifications Specifications Item Specification Input Format: SMPTE 259 / ITU-R-601 Serial Digital Component Primary Output Format: NTSC, PAL, Y/C (S Video) Active Looping Output: SMPTE 259 / ITU-R-601 Serial Digital Component Reference Input Format:...
Need help?
Do you have a question about the R20CE and is the answer not in the manual?
Questions and answers