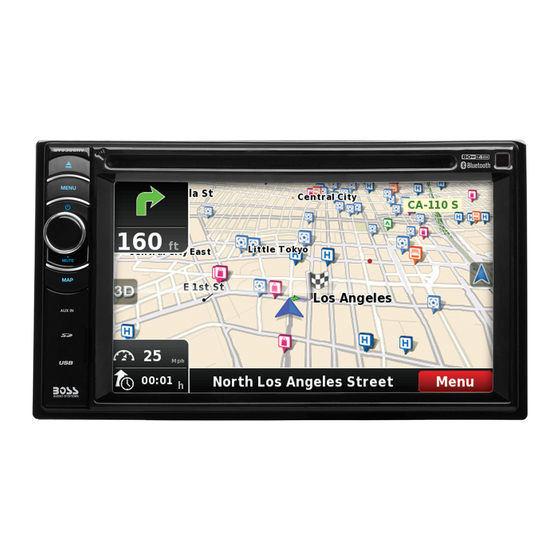
Boss BV9386NV User Manual
Built-in navigation/ bluetooth-enabled/ dvd/mp3/cd am/fm receiver
Hide thumbs
Also See for BV9386NV:
- User manual (29 pages) ,
- User manual (83 pages) ,
- User manual (119 pages)
Table of Contents
Advertisement
Quick Links
Advertisement
Table of Contents

Summary of Contents for Boss BV9386NV
- Page 3 TO ensure safety while driving and to comply with laws, drivers should not watch video or operate the video device while driving.
-
Page 4: Safety Precautions
Safety Precautions P l e a s e d o n ' t c h a n g e t h e f u s e o n Please read through these operating the power cord without professional instructions so you will know how to guidance, using improper fuse may cause damage to this unit or even cause keep this manual in a safe place for... - Page 5 Safety Precautions dirty, please use a clean silicone cloth and neutral detergent Expanding Systems Note:...
-
Page 6: Table Of Contents
Contents Safety Precautions ........1 Contents ............3 Before Using ..........4 Front Panel Basic Operations ........7 Zoom Mute Power On / Off Bluetooth Mode ........18 Basic Operations ........8 Settings ...........20 Radio Mode ..........10 Other Modes ..........23 .........24 Troubleshooting ........26 Wire Connections ........27 Playback Mode........14 Play/Pause Previous/Next... -
Page 7: Before Using
Before Using Front Panel Notice: ] Button: [MENU] Button: / MUTE] Knob [MAP] Button: Reset Button Press to reset system settings to factory default (except password and parental lock Map Slot A/V Input USB Connector SD Interface Connector Remote sensor Disc slot Internal Microphone... - Page 8 Before Using Remote Control 1. Return to the home menu 2. Eject the disc 3. Access to tuner source 4. Access to disc source 5. - Search an available radio station by decreasing tuning frequency - Select the previous chapter/track for playback 6.
- Page 9 Before Using Notes on Remote Control Usage Uninstall Battery Install Battery PULL OUT PUSH IN...
-
Page 10: Basic Operations
Basic Operations Parking Brake display video only when the vehicle is applied. preventing the driver from watching content while driving. Rear video screens are not affected. Mute Power On / Off Press the knob on the unit to turn the unit on. The buttons on the front of the unit light up for a moment and the current mode status appears in the LCD. -
Page 11: Basic Operations
Basic Operations Select Preset Audio Adjust Audio Parameters Adjust FAD BAL Notes:... - Page 12 Basic Operations Set Date /Time Set Date Set Clock Mode Set Time Tip:...
-
Page 13: Radio Mode
Radio Mode Radio Display 2 3 4 Select Radio as Playing Source Select One Radio Band Tune Auto Tuning Note: Manual Tuning Method 1: Method 2:... - Page 14 Radio Mode Preset Station Search Stations Automatically Manual Store Tune to a Preset Station Local Seeking Audio Selection...
- Page 15 Radio Mode RDS Basics Adjust RDS Settings RDS ( Radio Data System ) AF Function Note: EON ( Enhanced Other Networks ) TA Function...
- Page 16 Radio Mode CT (Clock Time) PTY Function...
-
Page 17: Playback Mode
Playback Mode Load/eject Note: Eject a Disc Touchscreen Controls Controlling Playback Connect a USB Device Remove a USB Device Insert/Remove a SD Card Play/Pause... -
Page 18: Previous/Next
Playback Mode Previous/Next Search for a Folder For Video Files For Audio Files For Picture Files For Folder Control Repeat For DVD/VCD movie disc:... - Page 19 Playback Mode Repeat A-B Select Audio Mode Select Subtitle Language Video Setup...
-
Page 20: Zoom
Playback Mode Playback Information For DVD DVD T:01/08 C:005/012 For VCD Track:01/08 Elapsed Time 00:01:20 00:30:17 Direct Track Entry Rotate Pictures Zoom... -
Page 21: Bluetooth Mode
Bluetooth Mode Pair a Bluetooth Device the Bluetooth device ID in the pairing list. Disconnect Bluetooth Device Make a Call... - Page 22 Bluetooth Mode Receive a Call Adjust Bluetooth Settings Music Mode A2DP AVRCP...
-
Page 23: Settings
Settings Display System Adjust General Settings General settings Options Description Japan Off/10s/20s Calibration calibrate the touch screen through calibration setting function. Adjust the response positions of the touch panel as followings: 1. Press the [ Calibration ] option on the setup menu to enter. 2. -
Page 24: Adjust Bluetooth Settings
Settings Adjust SUB settings Sound settings Options Description Adjust Time Settings Time settings Options Description 12Hr/24Hr Adjust Language Settings Language settings Description Adjust Bluetooth Settings Bluetooth settings Options Description Pairing code... - Page 25 Settings Adjust Disc Rating DVD rating Options Description On/Off Adjust Volume Settings...
-
Page 26: Other Modes
Other Modes Listen to Other Devices Reset Replace a Fuse Steering Wheel Control Programming... -
Page 27: Speci Cations
Speci cations General Negative Screen DVD Player AUX IN Preout Video Environment 14°F °F 4°F Operating Humidity Notice: the temperature is over 158... - Page 28 Speci cations Supported Formats: Unsupported Formats: Supported MP3 Disc Format: Supported Video Formats: ·MP4 Region Code Disc Cautions...
-
Page 29: Troubleshooting
Troubleshooting Problem Cause Corrective action General Unit fuse blown. Install new fuse with correct rating. Unit can not power on Car battery fuse blown. Install new fuse with correct rating. Illegal operation Reset the unit. Improper audio output connection. Check wiring and correct. Volume set too low. -
Page 30: Wire Connections
Wire Connections VIDEO OUT SUB OUT SUB OUT Yellow/Camera-Video... - Page 31 For SWC interfacing we only recommend using the Metra Axxess ASWC with our models. Please use the below steps as a guide to help with wiring to the Boss Audio BV9386NV. If you have any questions, please call our Tech Support: 805.751.4853 (M-F 8:30a-5:00p PST) Use the wired 3.5mm adapter that came with the interface, and connect the following:...


Need help?
Do you have a question about the BV9386NV and is the answer not in the manual?
Questions and answers