
Related Manuals for Kenmore 790.9402 Series


Summary of Contents for Kenmore 790.9402 Series
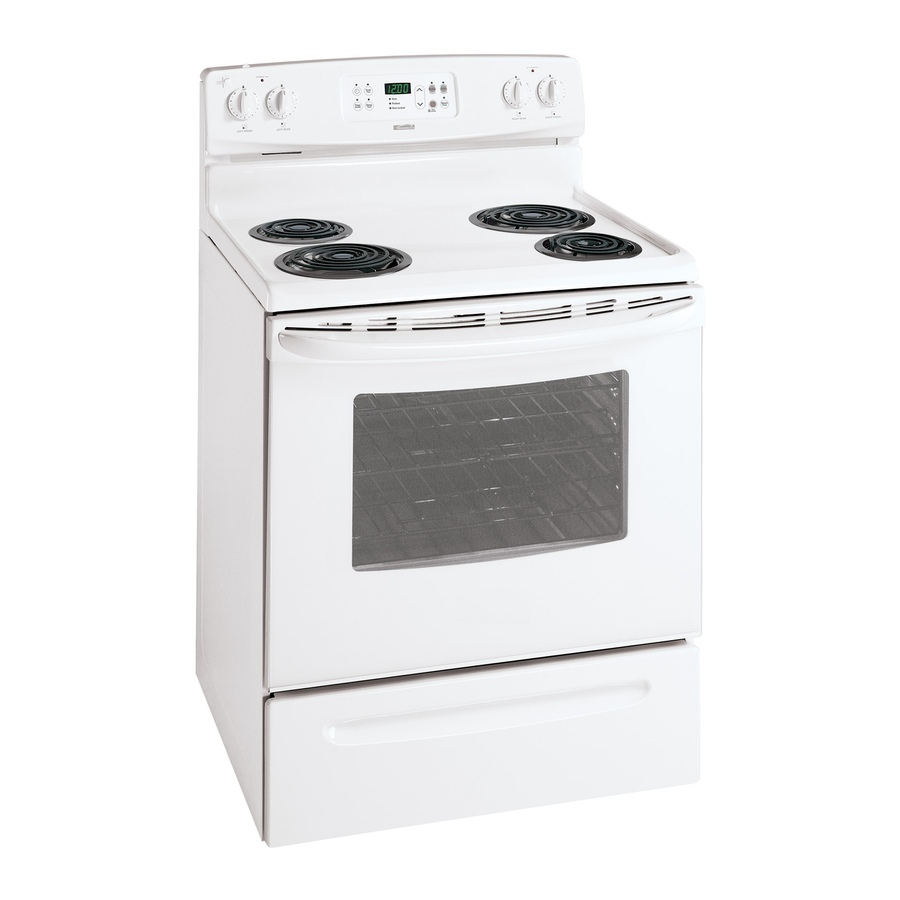
- Page 1 ® Electric Ran e Estufa ei_ctrica Models, Modelos 790.9402", 9403* * = color number, nOmero de color WWW. sears. COrn Sears Roebuck and Co., Hoffman Estates, IL 60179 U.S.A. pin 316417276 (0705)
-
Page 2: Table Of Contents
Setting Warmer Drawer Controls ... Select Self Cleaning ... General Care & Cleaning ... Adjusting Your Oven Temperature ... Before You Make a Service Call ... Sears Service ... Kenmore Appliance Warranty One Year Limited Warranty When installed, operated and maintained according to all instructions in material or workmanship within one year from the date of purchase, call 1-800-4=MY=HOME ®... -
Page 3: Important Safety Instructions
Ask your dealer to recommend a qualified technician and an authorized repair service. Know how to disconnect the power to the range at the circuit breaker or fuse box in case of an emergency. • User servicing--Do... -
Page 4: Important Safety Instructions
Care should be taken not to rub, damage or move the gasket. ,The health of some birds is extremely sensitive to the fumes given off during the self-cleaning cycle of any range. Move birds to another well-ventilated room. -
Page 5: Protection Agreements
Protection Agreements Congratulations on making a smart purchase. Your new Kenmore ® product is designed and manufactured for years of dependable But like all products, it may require preventive maintenance time to time. That's when having a Master Protection Agreement save you money and aggravation. -
Page 6: Range Features
24. Broil Pan (some models). 25. Broil Pan insert (some models). 26. Leveling Legs and Anti-tip Bracket NOTE: The features of your range may vary according to model type & color. Include: (some models). & indicator Light (some Light (some models). -
Page 7: Before Setting Oven Controls
Oven with visible Turkey, roast or ham Bake Element - Fig. 2 Types of Oven Racks Your range may be equipped with one or more of the oven rack types shown; Fiat Rack, Handle Rack and Offset Rack. To maximize... -
Page 8: Setting Surface Controls
(cont'd) ELEMENT ON indicator Your range is equipped with surface control indicator lights that will glow on your range--the ELEMENT ON indicator lights. (See illustration at left). The ELEMENT ON located on the control panel will glow when a surface element is turned ON. -
Page 9: Setting Surface Controls
Do not place plastic items such as salt and pepper shakers, spoon hoJders or plastic wrappings on top of the range when it is in use. These items could melt or ignite. Potholders, towels or wooden spoons could catch fire if placed too close to the surface elements. -
Page 10: Surface Cooking
Surface Cooking Using proper cookware The size and type of cookware used will influence the setting needed for best cooking results. Cookware should have flat bottoms that make good contact with the entire surface heating element (See Fig. 1). Check for flatness by rotating a ruler across the bottom of the cookware (See Fig. -
Page 11: Oven Control Functions
Oven Control Functions READ TH E iNSTRUCTiONS CAREFU LLY BEFORE USING THE OVEN. For satisfactory use of your oven, become familiar with the various pad functions of the oven as described below. COOK TIME PAD-- Used to enter the length of CLOCK SET the baking time. -
Page 12: Setting Oven Controls
Note: The time of day must first be set in order to operate the ovenl To Set the Clock When the range is first plugged in, or when the power supply to the range has been interrupted, the display will flash "12:00". - Page 13 Setting Oven Controls To Set or Change the Temperature The oven can be programmed to bake at any temperature from 170°F to 550°F (77°C to 287°C). To Set the Controls for Baking: Press B,k_. " "appears in the display. Within 5 seconds, press the A the temperature can then be adjusted in 5°F increments (1 °C if the control is set to display Celsius).
- Page 14 Setting Oven Controls To Set the Timed Bake and Delay Start Features The @ COOK TIME and @ DELAY START pads operate the features that will turn the oven ON and OFF at the times you select in advance. The oven can be programmed to start immediately and shut off automatically begin baking at a later time with a delayed start time (Delay Start).
- Page 15 Setting Oven Controls To Set for Broiling: Arrange the oven rack while oven is still cool. Position the rack as suggested in the Broil Rack Position Press ,,,_ "----"will appear in display. Press and hold the A or V until the desired broil setting level appears in the display.
-
Page 16: Setting Warmer Drawer Controls
Setting Oven Controls To Operate the Oven Light The interior oven light will automatically turn ON when the oven door is opened. Press the Oven Light Switch located on the upper left control panel to turn the interior oven light ON and OFF whenever the oven door is closed. -
Page 17: Setting Warmer Drawer Controls
Pull the bearing glides to the front of the chassis glide (see figure 2). Align the glide on each side of the drawer with the glide slots on the range. Push the drawer into the range until levers"click" (approximately 2"). Pull the drawer open again to seat bearing glides into position. -
Page 18: Self-Cleaning
Self-Cleaning During the Self-Cleaning cycle, the outside of the range can become very hot to the touch. DO NOT leave small children unattended near the appliance. The health of some birds is extremely sensitive to the fumes given off during the Self-Cleaning cycle of any range. -
Page 19: Select Self Cleaning
Self-Cleaning (cont'd) Starting the Select Self=Clean For satisfactory results, use a 2 hour Self-Clean cycle for light soils and a 3 hour cycle for average or a 4 hour cycle for heavy soils. NOTE: The kitchen area should be well ventilated using an open window, ventitlation fan or exhaust hood during the 1st Self-Clean cycle. -
Page 20: General Care & Cleaning
General Care & Cleaning Cleaning Table Surfaces Aluminum (Trim Pieces) & Vinyl Painted and Plastic Control Knobs, Body Parts, and Decorative Trim Stainless Steel, Chrome Control Panel, Decorative Trim Porcelain Enamel Broiler Pan and Insert, Door Liner, Body Parts, Warmer Drawer (some models) Porcelain Coated... - Page 21 Clean underneath using a clean cloth and hot, soapy water. To lower the top, gently push back on each rod to release the notched support. Hold the range top and slide the lift rods down into the range frame. element in water.
- Page 22 General Care & Cleaning Door Hinge locations with oven door fully open Fig. 1 Fig. 2 Fig. 3 H_nge Fig. 4 Removing and Replacing The door is heavy. For safe, temporary storage, lay the door flat with the inside of the door facing down. To Remove Oven Door: Open oven door completely (horizontal with floor - See Fig.
-
Page 23: Adjusting Your Oven Temperature
Replace glass shield over bulb and snap wire holder into place. Turn power back on again at the main source (or plug the range back in). The clock will then need to be reset. To reset, see Setting the Clock and Minute Timer in this Use &... -
Page 24: Before You Make A Service Call
Carpet interferes with range. Provide sufficient space so range can be lifted over carpet. Electronic control has detected a fault condition. Press STOP/C LEAR to clear the display and stop beeping. Reprogram oven. If fault recurs, record fault number. Press STOP/ CLEAR and call 1-800=4=MY=HOME®... - Page 25 Before You Call Solutions to Common Problems OCCURRENCE Oven light does not work. Oven smokes excessively during broiling. Poor baking results. Self=Cleaning cycle does not work. Soil not completely removed after Cleaning cycle, Flames inside oven or smoking from vent. Drip bowls are pitting or rusting (Coil cooktop models only).
- Page 26 For repair - in your home - of all major brand appliances, lawn and garden equipment, no matter who made it, no matter who sold it! For the replacement owner's manuals that you need to do-it-yourself. For Sears professional and items like garage door openers and water heaters. 1-800-4-1VlY-HOME ®...