
Related Manuals for Honeywell Midas


Summary of Contents for Honeywell Midas
- Page 1 Quick Start Guide MDA Scientific Midas Gas Detector ®...
- Page 2 This page left intentionally blank...
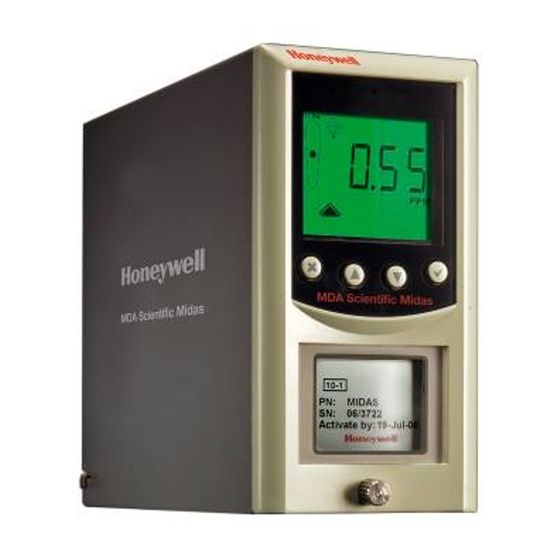
- Page 3 Semiconductor and other manufacturing industries. The Midas gas detector (MIDAS-T-001) is comprised of 4 main parts: the main chassis, the ® mounting bracket assembly, the sensor cartridge and the unit cover. Diagram 1 details the Midas general arrangement.
-
Page 4: Mounting Details
2. Mounting Details The Midas gas detector has an integral mounting bracket assembly that is easily mounted ® to a suitable vertical surface such as a wall, tool housing, mounting plate on a pole etc. Drill Template Drill 2 x M4 holes 58.50mm... -
Page 5: Mounting Bracket
Unscrew the thumbscrew located on the front panel. Remove the cover by pulling it forwards off the main chassis. On new Midas ® units, be sure to remove the internal packing card securing the pump. Failure to remove this packing will result in damage to the Midas unit. -
Page 6: Removing Chassis
Attaching Bracket with screws on a flat surface mounting bracket screws DIN Rail Bracket (MIDAS-A-036) Optional DIN Rail Spacer Bracket Mounting 2x M4 Screws Secures Midas to Spacer Bracket ® 4x M3 Screws Secures DIN Rail Bracket to Spacer Bracket... -
Page 7: Electrical Installation
The use of 16 AWG (1.5 mm Dia.) conductors is recommended. If Power over Ethernet (PoE) is used to power the device, then 24 VDC power must not also be connected to the device, (or conversely if 24 VDC is used to power the Midas ®... - Page 8 4. Refitting the Main Chassis The main chassis can be refitted to the mounting bracket assembly using the following steps. Align the PCB at the top rear of the main chassis with the connector located at the top of the mounting bracket assembly At the same time align the two tubes at the bottom rear of the main chassis with the two tubes located on the bottom of the mounting bracket assembly.
- Page 9 ‘X’ button for a few seconds. To properly activate the Midas with a cartridge for the first time: ® • When “ChAngE gAS” or “FIrSt CELL” scrolls on the display, hit the ‘✓’ on the Midas front ® panel. •...
- Page 10 Replace the cartridge with a new cartridge. Flow low. Midas is no longer able to regulate flow. Check filters and pump. ® An interferent is degrading the ability of the Midas ® Interferent present. Check application. to detect gas. Temperature near limit.
- Page 11 Target power not achieved within specified time span. Contact Honeywell Analytics Service. Replace pyrolyzer. Requires High Temperature Pyrolyzer Pyrolyzer heater mismatch Contact Honeywell Analytics Service. (MIDAS-A-HTP) Check that MIDAS-S-CFX or MIDAS-E-CFX is HTP module required Change to HT Pyrolyzer installed for the high temperature pyrolyzer version...
- Page 12 Fax: +1 954 514 2784 sales@honeywellanalytics.com Customer business centre Europe and the rest of the world Honeywell Analytics Wilstrasse 11-U11 CH-8610 Uster Switzerland Tel: +41 (0)1 943 4300 Fax: +41 (0)1 943 4398 sales@honeywellanalytics.co.uk MIDAS-A-020 Rev 2.0 www.honeywell.com April 2006 © 2006 Honeywell Analytics...