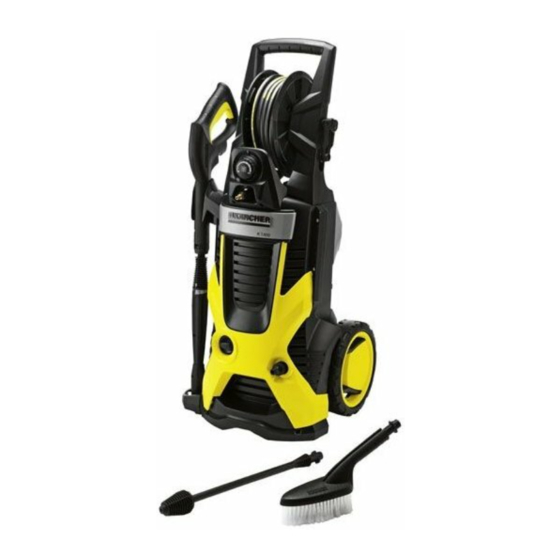
Summary of Contents for Kärcher K 6.450
-
Page 1: Operating Instructions
K 6.450 Operating Instructions Before first use of the unit read these operating instructions and act in accordance with them. 59639200 10/10... -
Page 2: Table Of Contents
Notes about the ingredients (REACH) You will find current information about the ingredients at: http://www.karcher.de/de/unternehmen/ umweltschutz/REACH.htm Scope of delivery The scope of delivery of your appliance is il- lustrated on the packaging. Check the con- tents of the appliance for completeness when unpacking. -
Page 3: Description Of The Appliance
Description of the Appliance 1 Coupling element for water connection 2 Water connection with integrated sieve 3 Appliance switch "0/OFF“/ „I/ON“ 4 High pressure hose 5 Dosage regulator for detergent 6 Storage for trigger gun 7 High-pressure hose drum 8 Transport handle 9 Hand crank for hose drum 10 Storage of detergent reservoir with de- tergent connection... -
Page 4: Safety Instructions
Safety instructions Danger Never touch the mains plug and the socket with wet hands. The appliance must not be used if the power cord or important parts of the ap- pliance, e.g. high-pressure hoses, trig- ger gun or safety devices are damaged. Check the power cord and mains plug for damage before every use. -
Page 5: Safety Devices
Caution In case of extended downtimes, switch the appliance off at the main switch / ap- pliance switch or remove the mains plug. Do not operate the appliance at temper- atures below 0 °C. Observe a distance of at least 30 cm when using the jet to clean painted sur- faces to avoid damaging paintwork. -
Page 6: Operation
Operation Illustrations on Page 12 Before Startup Mount loose parts delivered with appliance prior to start-up. Install the storage for hand-spray gun Illustration Place the bottom holder into the recess- es and push forward until it audibly locks in. Illustration Insert the top holder and push down all the way. - Page 7 Tip: If you are not using this accessory, coil a hose into the bucket and ensure that you only use a standard hose clamp to connect to the pressure washer. CLICK FITTINGS MUST NOT BE USED! STEP 2: Fill up your bucket with water.
-
Page 8: Interrupting Operation
Note: Suitable for working with detergent; for this, turn the spray lance to the "Mix" po- sition. Set the dosage regulator to the desired suction volume for detergent. Spray lance with Dirtblaster For particularly dirty items or areas. Caution Car tyres, paint or sensitive surfaces such as wood should not be cleaned with the dirt blaster, as there is a risk of damage. -
Page 9: Transport
Transport Caution In order to prevent accidents or injuries, keep in mind the weight of the appliance during transport (see Specifications). When transporting by hand Pull the appliance by its transport han- dle. When transporting in vehicles Prior to horizontal transport: Remove the detergent reservoir from the intake and close it with the lid. -
Page 10: Maintenance And Care
Maintenance and care Danger Turn off the appliance and remove the mains plug prior to any care and mainte- nance work. Care Prior to longer periods of storage, e.g. in the winter: Illustration Pull out the sieve in the water connec- tion using flat-nose pliers and clean un- der running water. -
Page 11: Customer Service
Check the detergent suction hose for kinks. Customer Service Australia KÄRCHER Pty. Ltd. 40 Koornang Road Scoresby, Victoria 3179 1800 675 714 (Free Call) www.karcher.com.au Technical specifications Electrical connection Voltage Connected load Protection class Protective class Mains fuse (slow-blow) Water connection Max. -
Page 12: Assembly
Assembly 12 English... - Page 13 Assembly English 13...
- Page 14 Notes 14 English...
-
Page 15: Spare Parts
Spare Parts English 15...


