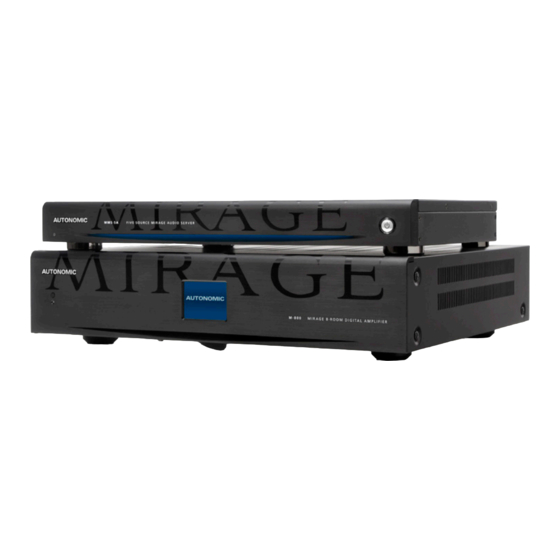
Advertisement
Quick Links
! Make all connections prior to powering up.
1. Hardware Preparation
Connect to the Network
a.
Connect the server and amplifier to the network.
If you have multiple amplifiers, connect only the first
amplifier to the network. (See fig. 5 labeled "Stacking Amps")
ZONE 1
ZONE 2
ZONE 3
ZONE 4
ZONE 5
ZONE 6
(fig. 1)
Connect Analog Audio Cables
c.
Connect the source inputs to the analog outputs in order.
ZONE 1
ZONE 2
ZONE 3
ZONE 4
ZONE 5
ZONE 6
ZONE 7 ZONE 8
(fig. 3)
©2006–2014 Autonomic Controls, Inc. All trademarks are property of their respective owners.
Expansion
M-800
MIRAGE 8-ROOM
DIGITAL AMPLIFIER
Toslink
ZONE 7 ZONE 8
IR OUTPUTS
Expansion
M-800
MIRAGE 8-ROOM
DIGITAL AMPLIFIER
Toslink
IR OUTPUTS
Audio System
Connect Digital Audio Cable
b.
Connect the coax digital output (labeled "Main" on
the Mirage Media Server) to the first digital input on
the Mirage Amplifier.
Expansion
ZONE 1
ZONE 2
ZONE 3
ZONE 4
ZONE 5
ZONE 6
ZONE 7 ZONE 8
(fig. 2)
Power on the Server
d.
Press the power button on the Mirage Media Server. The
Mirage Amplifier will power on when plugged in.
We recommend attaching a display when you first power
up the Mirage Media Server as the IP address will be on
screen.
e.
Wait 2-3 minutes for the server to run the initial boot up.
f.
If your server is connected to a video display, wait until
the Now Playing screen shows.
|
Designed in New York, USA
M-800
MIRAGE 8-ROOM
DIGITAL AMPLIFIER
Toslink
IR OUTPUTS
|
|
+1 914 598 1647
MirageAudioSystem.com
Advertisement

Summary of Contents for Autonomic Mirage
-
Page 1: Audio System
Mirage Amplifier will power on when plugged in. We recommend attaching a display when you first power up the Mirage Media Server as the IP address will be on screen. Wait 2-3 minutes for the server to run the initial boot up. - Page 2 Typical System Configuration Stacking Amps If the system contains multiple Mirage amplifiers, attach a standard (fig. 4) Power straight-through CAT5 cable from Audio the upper Expansion Port on the first HDMI amplifier to the lower Expansion Port Wi-Fi on the subsequent amplifier.
-
Page 3: Network Setup
IP addresses outside the DHCP range is the drop-down menu. next best option. Leaving the units on unreserved DHCP is Refer to the Mirage Media Server Manual for step-by-step configura- not supported as the server and the amp must be able to tion of the MMS Server. - Page 4 (fig. 13) It may be desirable to prevent your customers from leaving the Mirage app. To accomplish this, we recommend taking advantage of an iOS feature called Guided Access. This can be configured to require a PIN in order to leave the configured area or the Mirage app.


Need help?
Do you have a question about the Mirage and is the answer not in the manual?
Questions and answers