
Related Manuals for RAMSET GYPFAST


Summary of Contents for RAMSET GYPFAST
-
Page 1: Instruction Manual
DANGER READ AND OBEY ALL SAFETY AND OPERATING INSTRUCTIONS BEFORE OPERATING TOOL. RAMSET GYPFAST OPERATOR’S SAFETY & OPERATING INSTRUCTION MANUAL GAS POWERED, LOW VELOCITY PISTON TYPE FASTENING TOOL... -
Page 2: Table Of Contents
. The tool ignites a fuel and air mixture to produce the energy to drive the motor, which in turn drives the fastener . As you will see, the GypFast tool is totally self-contained . -
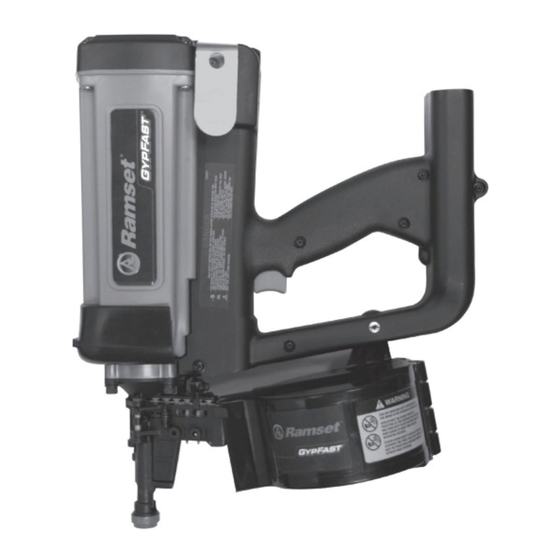
Page 3: An Overview Of The Gypfast Tool
. As you can see in the illustration NOTE: Exceeding these rates could cause the tool below, the GypFast tool is made up of three to overheat, resulting in loss of performance or assemblies: the Handle, the Motor, and the damage to tool components . -
Page 4: Safety Instructions
4. NEVER ENGAGE IN “HORSEPLAY” WITH THE 120°F (49°C) . Fuel and/or the TOOL. The GypFast tool is not a toy . . . it is a battery may burst, releasing power fastening tool . It is designed to drive a flammable gas . - Page 5 . The Safety Yoke where the entire shank can penetrate . must never be disabled or removed . Do not use the GypFast tool if the Safety Yoke is not working 13. NEVER FIRE INTO VERY HARD OR properly .
- Page 6 19. KEEP THE TOOL CLEAN. At the end of each safety and maintenance instructions . work day, take a minute to wipe the GypFast tool 16. FUEL CELL STORAGE. with a clean rag . A dirty tool is more likely to jam Fuel Cells contain flammable or malfunction .
-
Page 7: Battery And Charging System
WARNING the charger base . Important Charging Notes 3 . The GypFast charger incorporates an LED Light to inform the user of the battery charge level . CHEMICAL/EXPLOSION A red light will illuminate at all times during a HAZARD Read ALL instructions charge cycle. -
Page 8: Battery And Charging System
2 . Make sure it is securely locked into place . BATTERY INDICATOR LIGHT The illustration is a closeup of the side of the GypFast tool . On the side of the Handle is a small plastic lens . This is the Battery Voltage Indicator Light To check the battery voltage, the LED on the right should be flashing or blinking green . -
Page 9: Fuel Cell And Metering Valve
DANGER of toothpaste . This squeezing action ensures that EXPLOSION/FIRE HAZARD all the fuel is used, and that the GypFast tool can Read ALL safety instructions operate in any position . before using or handling the Because of this container-within-a-container design, fuel cell . -
Page 10: Fuel Cell And Metering Valve
CAUTION As you slide the Metering Valve/Fuel Cell Assembly into the GypFast tool, you will notice that there is a The GypFast tool should not be used in the Red Adaptor at the top of the Cylinder Pocket . As rain or where excessive moisture is present . -
Page 11: Preparing And Use Of The Gypfast Tool
FASTENERS 2. SQUEEZE THE TRIGGER The Spark Plug sparks and fuel/air mixture ignites . Combustion The GypFast tool can drive only ITW Ramset powers the Piston Assembly, driving the fastener . fasteners . Any other fastener will cause tool damage and void your warranty . -
Page 12: Servicing
There are certain problems that you may encounter Cell out of the tool, check to see if the Cell still when you are using the GypFast tool that you will contains fuel and that the Metering Valve is be able to correct on the work site . The follow- working . - Page 13 . Because of the unique design 4 . Clean the outside of the tool using a soft cloth of the GypFast tool, clearing a jammed fastener and a mild degreasant like paraffin . is easy . Damage to parts and/or excessive...
-
Page 14: Maintenance And Troubleshooting
3 . Place the Battery in its Charger only if it needs charging as indicated by the red charge light in the handle . 4 . Wipe your GypFast tool with a clean, soft cloth . 5 . Check Adjustable Nosepiece Element to ensure it is operating freely . -
Page 15: Troubleshooting
—tool LED is red . Pre-Combustion/Combustion Stage of Operation — Safety Yoke does not — Head or Sleeve O-Ring — Contact Authorized Ramset Distributor Sales depress fully—tool pinched . Representative for service . does not operate . - Page 16 — Clean tool or replace Work Contacting Element after tool cycles . as required . If the GypFast tool will not operate after following the above service directions, return the tool to an Ramset Distributor Sales Representative for service. 800-241-5640 www.ramset.com...
-
Page 17: Warranty
GypFast replacement parts, damaged in transit comes first, will apply to all parts, except those or handling, or which, in Ramset’s opinion, has listed below as normal wearing parts, or parts been altered or repaired in a way that affects or which are specifically covered by an extended detracts from the performance of the tool. - Page 18 FOR TOOL REPAIR SERVICE CONTACT YOUR LOCAL AUTHORIZED RAMSET DISTRIBUTOR OR TO FIND YOUR NEAREST RAMSET TOOL REPAIR CENTER VISIT OUR WEB SITE AT WWW.RAMSET.COM OR CALL 800-241-5640 Concrete Fastening Systems Glendale Heights, IL 60139 800-RAMSET6 (1-800-726-7386) www.ramset.com Buy with Confidence...
Need help?
Do you have a question about the GYPFAST and is the answer not in the manual?
Questions and answers