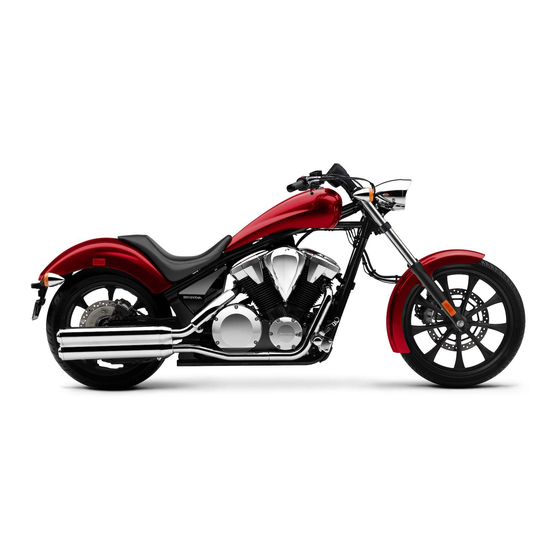
Summary of Contents for Honda 20010 VT1300CX
- Page 1 20010 VT1300CX SET-UP INSTRUCTIONS Set-up and pre-delivery service must be performed by an authorized Honda motorcycle dealer. MPD 12779 (0903) ©2009 American Honda Motor Co., Inc. – All Rights Reserved Issued: March 2009...
- Page 2 If you need to replace a part, use genuine Honda parts with the correct part number or an equivalent part. We strongly recommend that you do not use replacement parts of inferior quality.
-
Page 3: How To Use This Manual
Modifications and Accessories Modifications which you may have made, or should make in the future, to any Honda product, shall be deemed by our company to have been performed at your sole risk and responsibility, and without our company's or the manufac- turer's approval, or consent, implied or expressed. -
Page 4: Set-Up Section
2010 VT1300CX SET-UP SECTION POLYPROPLYENE COVERED CRATE Check the unit for damage. POLYPROPYLENE COVERED CRATE If damage is found, follow the instructions on the Delivery and Dam- age Claims Guidelines wall chart (Reorder No. S0477) before pro- ceeding further. Cut the strap, open the fastener, and remove the polypropylene cover. - Page 5 Order any missing parts using normal parts ordering procedures. Claims for missing loose parts or those damaged during transit should be submitted to American Honda, not the carrier. After completing repairs, submit a Transportation Claim via iN. For complete details, please refer to the War-...
- Page 6 2010 VT1300CX CRATE FRAME REMOVAL • Using two people, carefully lift off the top crate frame. • Take care not to damage the motorcycle while removing the top TOP CRATE crate frame and posts. POSTS FRAME POSTS Remove the top crate frame. Remove the four posts.
-
Page 7: Rear View Mirrors
2010 VT1300CX Remove the rear support bracket by pulling it towards the rear of the motorcycle. REAR SUPPORT BRACKET REAR BOLT Using two people, carefully roll the motorcycle forward off the crate FRONT base. Place the motorcycle on its sidestand. NOTE: Do NOT roll the motorcycle backwards as it may dam- age the underside of the frame. - Page 8 2010 VT1300CX Remove the 8 x 32 mm socket bolts and rear seat belt. SOCKET BOLT COLLAR Remove the rear seat mounting socket bolts, collar and rear seat. 8 x32 mm REAR SOCKET Remove the front seat mounting socket bolts and front seat. SEAT BOLTS Be careful not to damage the rear fender with the seat prong.
- Page 9 2010 VT1300CX When reinstalling the rear fender, insert the rear fender mudguards MUDGUARD between the engine and swingarm. Attach the Velcro tape onto the rear fender under the seat. COLLAR REAR SOCKET Attach one of the bags onto the rear fender. This bag will be used to BOLT REAR store personal documents.
-
Page 10: License Plate
2010 VT1300CX Align then the tabs, then reinstall the right side cover. RIGHT SIDE COVER TABS LICENSE PLATE PARTS TAIL FLANGE LIGHT NUT 6 mm TAIL LIGHT COLLAR COLLAR FLANGE NUT 6 mm PLAIN WASHER 6 mm FLANGE BOLT 6 x 16 mm PLAIN WASHER Place a 6 mm plain washer on both of the 6 x 16 mm flange bolts... -
Page 11: Brake Disc
2010 VT1300CX HEX PLUG HEX PLUG PARTS 5 mm HEX PLUG 5 mm CYLINDER HEX PLUG 6 mm HEAD COVER Attach the hex plug 5 mm onto the cylinder head cover. Attach the hex plug 6 mm onto the swingarm. HEX PLUG 6 mm SWINGARM... - Page 12 2010 VT1300CX The battery used in this motorcycle is a pre-charged, maintenance- free type. POSITIVE (+) NEGATIVE (-) CABLE Follow the instructions included on the battery case and in Service CABLE Letter #48. Align the battery cables, located in the battery compartment. Slide the battery terminal nuts into the battery terminals.
-
Page 13: Battery Cable Routing
2010 VT1300CX BATTERY CABLE ROUTING Verify the proper routing of the cables, hoses, and wire harnesses. POSITIVE (+) BATTERY CABLE NEGATIVE (-) BATTERY CABLE FRONT... -
Page 14: Engine Oil
Reinstall the oil filler cap/dipstick. When replacing the engine oil, refer to the Service Manual. RECOMMENDED ENGINE OIL: Pro Honda GN4 4-stroke oil or an equivalent motorcycle oil. Viscosity: SAE 10W-30 API Classification: SG or higher. JASO T 903 standard: MA ENGINE COOLANT •... -
Page 15: Clutch Lever
If the fluid level in either reservoir is low, remove the cap screws, cap, plate, and diaphragm. Add fresh Pro Honda DOT 4 Brake Fluid or equivalent from a sealed container to bring the level up to the upper level. -
Page 16: Throttle Operation
2010 VT1300CX THROTTLE OPERATION Check for smooth operation of the throttle and that it returns auto- 2 - 6 mm matically to the fully closed position from any open position and from (1/16 - 1/4 in) any steering position. Measure the freeplay at the throttle grip flange. THROTTLE GRIP FREEPLAY: 2 - 6 mm (1/16 - 1/4 in) ADJUSTMENT Adjust the freeplay by loosening the lock nut and turning the... - Page 17 2010 VT1300CX ENCLOSED LABEL (CANADA ONLY) The enclosed labels must be glued over the English label if required. CM, IICM TYPE ONLY Drive label Tire label Loading label Complete the Set-Up/Pre-Delivery form Complete an On-Road Set-up/Pre-delivery Checklist by checking the boxes confirming that the steps were done. NOTE: The On-Road Set-Up/Pre-Delivery Checklist form is avail- able on iN.
- Page 18 2010 VT1300CX WIRING DIAGRAM: VT1300CX...


