Table of Contents
Advertisement
Quick Links
Download this manual
See also:
Using Manual
Advertisement
Table of Contents

Related Manuals for Scientific Atlanta 8240


Summary of Contents for Scientific Atlanta 8240
- Page 1 User Guide Connecting the Explorer 8240 Digital Video Recorder CH + GUIDE POWER VOL — VOL + INFO CH — SELECT EXIT LIST...
- Page 2 Notice for CATV Installers CATV Installers Notice If you are a CATV installer, read the information in the box below.
-
Page 3: Table Of Contents
Where Are the Connection Diagrams: .........12 What Cables Do I Need? .............12 Connecting the 8240 DVR to a Standard TV and Standard VCR ..13 Connecting the 8240 DVR to a Stereo TV and Stereo VCR ....14 Connecting the 8240 DVR to a Home Theater Receiver and Stereo TV ..........15... -
Page 4: Important Safety Instructions
IMPORTANT SAFETY INSTRUCTIONS Do not overload electrical outlets, extension cords, or integral Heed Warnings convenience receptacles as this can result in a risk of fi re Adhere to all warnings on the product and in the operating or electric shock. For products that require battery power or instructions. - Page 5 IMPORTANT SAFETY INSTRUCTIONS continued Protecting This Product From Foreign Objects and Checking Product Safety Water or Moisture Damage Upon completion of any service or repairs to this product, the service technician must perform safety checks to determine that this product is in proper operating condition. WARNING: Avoid electric shock and fi re Outdoor Grounding System hazard! Never push objects through the openings in...
-
Page 6: Change The Way You Watch Tv
If the 8240 DVR requires troubleshooting in the future, your cable service provider may ask for the serial number. To fi nd the serial number for your 8240 DVR, look on the back panel for a label that is similar to the example shown here. The serial number begins with “SA”... -
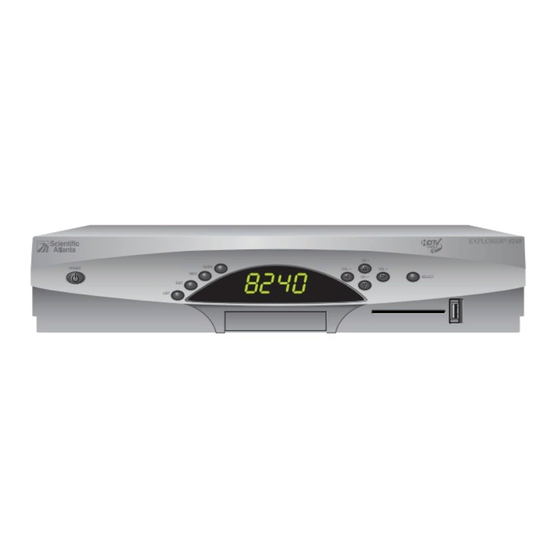
Page 7: What's On The Front Panel
VOL + INFO CH — SELECT EXIT LIST 1 Power Turns the 8240 DVR on and off 2 List Displays the list of recorded programs 3 Exit Exits menus, the on-screen guide, and program information 4 Info Displays a description of the selected program. This... -
Page 8: What's On The Back Panel
8240 DVR. 10 AC Outlet Connect the AC power cord from another device, such as a TV. 11 AC Power Input Connect the power cord to deliver power to the 8240 DVR. -
Page 9: Connecting The 8240 Dvr
It may take several minutes for the 8240 DVR to receive the latest software, programming, and service information. Wait until you see one of the following displays on the front panel of the 8240 DVR that indicates that the update is complete: •... -
Page 10: Connections For A Standard-Defi Nition Tv And Vcr
Connections for a Standard-Defi nition TV and VCR When using the 8240 DVR with an SDTV, you must make one of the following connections to view content. Some SDTVs may not have all of these connections. In addition, you can make connections to a VCR to archive recordings to a VCR tape. -
Page 11: Watch Tv
Watch TV Access Services and Programs Access cable services and programs by pressing the following keys on the remote control: • Guide–Access the on-screen guide. The on-screen guide displays schedules of TV programs and other services available from your cable service provider, such as video-on-demand and pay-per-view programs. -
Page 12: Performance Tips
Verify that the power to your TV is turned on. • If the 8240 DVR is plugged into a wall switch, verify the wall switch is in the ON position. Note: You should avoid plugging the 8240 DVR into an outlet that is controlled by a wall switch. -
Page 13: Connecting The 8240 Dvr To A Standard Tv And Standard Vcr
ANTENNA before connecting or disconnecting any AUDIO VIDEO device cables for the 8240 DVR. RIGHT Connecting the 8240 DVR to a Standard TV and Standard VCR Explorer 8240 CABLE CAUTION RISK OF ELECTRIC SHOCK DO NOT OPEN OUT 1 OUT 2... -
Page 14: Connecting The 8240 Dvr To A Stereo Tv And Stereo Vcr
LEFT VIDEO 1 or disconnecting any device cables for the AUDIO 1 8240 DVR. RIGHT Connecting the 8240 DVR to a Stereo TV and Stereo VCR Explorer 8240 CABLE Note: This connection CAUTION RISK OF ELECTRIC SHOCK DO NOT OPEN... -
Page 15: Connecting The 8240 Dvr To A Home Theater Receiver And Stereo Tv
Connecting the 8240 DVR to a Home Theater Receiver and Stereo TV Explorer 8240 CABLE CAUTION RISK OF ELECTRIC SHOCK DO NOT OPEN OUT 1 OUT 2 AVIS: RISQUE DE CHOC ELECTRIQUE NE PAS OUVRIR THIS DEVICE IS INTENDED TO BE ATTACHED... -
Page 16: Connecting The 8240 Dvr To An External Sata Hard Disk Drive (Optional)
• If it is a new drive or one used on another device, you will be asked to format it. • If the drive is formatted and will work with this 8240 DVR, you will get a confi rmation that the drive is working. - Page 17 Complete the following steps to disconnect the SATA drive safely. 1. Make sure that the 8240 DVR is powered off . 2. Disconnect the power cord from the 8240 DVR and wait for at least 10 seconds. 3. Disconnect the power cord and data cable from the external SATA drive.
-
Page 18: Compliance Information
Cisco Systems, Inc., could void the errors or omissions that may appear in this guide. user’s authority to operate the equipment. Cisco reserves the right to change this guide at Important: The information shown in the FCC any time without notice. - Page 20 Lawrenceville, GA 30042 www.cisco.com Cisco and the Cisco logo are trademarks or registered trademarks of Cisco and/or its affi liates in the U.S. and other countries. To view a list of Cisco trademarks, go to this URL: www.cisco.com/go/trademarks. Third party trademarks mentioned are the property of their respective owners.