Advertisement
Advertisement

Subscribe to Our Youtube Channel
Related Manuals for First Degree Fitness VX-3 Fluid rower


Summary of Contents for First Degree Fitness VX-3 Fluid rower
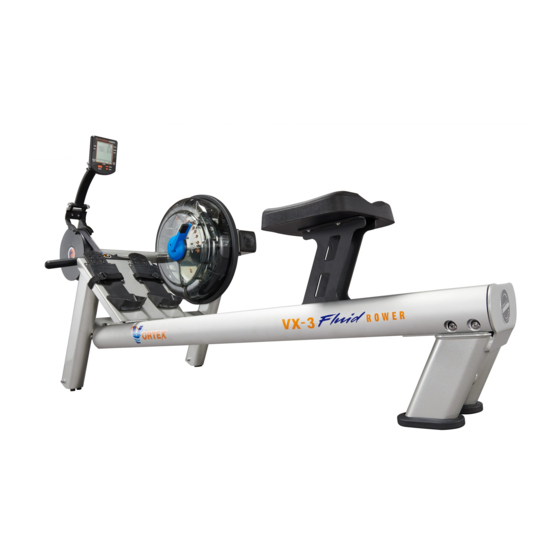
- Page 1 Owners Manual...
-
Page 2: Table Of Contents
Contents 1. Contents of VX-3 Pack. 2. VX-3 Assembly Instructions. 3. Tank Filling and Water Treatment. 4. Long Term Water Treatment and Basic Operation . 5. The VX-3 Rower Ergometer with USB Function. 6. How to Row. 7. Maintenance Chart. 8. -
Page 3: Box Contents
Box Contents: M10 x11 Item Description Item Description Mainframe and Tank Washer M6 Seat Rail Left 11 Washer M10 Seat Rail Right 4mm Hex Key Rower seat 6mm Hex Key Rear leg Multi-tool Bolt M10 x 47.5 AA batteries Bolt M6 x 20 Touch up paint Bolt M10 x 80 Chlorine tablets... - Page 4 Do not free the Rowing Handle, Heel Adjuster or Computer Stalk before Caution: assembly is complete. Step 1: Remove mainframe and all components from mainbox. Check that all parts are present. Slowly stand Rower mainframe upright. Rower Belt Pulley Hint: Use mouse pad or soft cloth under rower belt pulley to protect from scratches/scuffing Once the rower is safely standing upright on a stable...
- Page 5 Step 3: Attaching Seat Rails to Frame Left Seat Rail Right Seat Rail M10x80mm Bolts, *2x, 4x M10 washers and 4x Nylock nuts This portion of the assembly requires the Mainframe, 1x Left/1x Right Seat Rail, 2x M10x80mm Bolt, 4x M10 Nylock nut. *Note: 2x M10x80mm bolt/spacer are pre-installed on the Seat Rails for your convenience.
- Page 6 Step 4: Rower Seat Assembly 4x M6x20mm bolts and Rower Seat Frame 4x M6 washers Rower Seat Install the Rower Seat onto the Rower frame using 4x M6x20mm bolts and 4x M6 washers. Indentation Completed Rower Seat. Indentation The seat must be mounted exactly as shown.
- Page 7 Step 5: Installing the Rear Leg Rear Leg, 5x 10x47.5 bolts 5x M10 washers, M6x20mm bolts and M6 washers. Mount the Rear leg onto Seat Rails and Secure as shown below. Tip: Install all M10x47.5 bolts first from the outside to hold the Rear Leg in position before securing from the inside with the M6x20mm bolts and M6 washers.
- Page 8 Step 6: Attaching Bungee Shock Cord When attaching the Bungee Hook, check that the Shock Cord is running correctly over the Bungee Pulley as shown upper right. Connect the Bungee Shock Cord to the extra bolt on the Rear Leg/Seat Rail using the hook end as shown.
- Page 9 Step 7: Completing the Installation: Computer stalk WARNING: Do not free the rower handle before Step 6 (Attaching Bungee Shock Cord) has been completed. Rower Handle Heelplate To complete the assembly, free the Heelplate, the Rower Handle and computer stalk. Install the 2x AA batteries into the computer.
-
Page 10: Tank Filling And Water Treatment
Water treatment. Add a chlorine Tablet whenever the Water appears dirty or cloudy. Use a drop cloth under the tank when filling the tank to avoid damage floor or WARNING: Only use First Degree Fitness Supplied carpet Water treatment tablets. Draining the Fluid Tank: When draining indoors, a suitable container capable of holding 8 liters of water is required. -
Page 11: Long Term Water Treatment And Basic Operation
Long Term Water Treatment: Do not use any water treatment other than the tablets supplied with this machine. For replacement tablets, contact your local First Degree Fitness distributor. Water treatment schedules for the VX-3 will vary according to the fluid tanks exposure to sunlight, but expect 8-12 months near a bright, sunlit window and 2 years or more for a darker location. - Page 12 VX-3 Rower Ergometer. Quick start provides instant workout information. Just start training to activate. You can choose to change UNITS displayed. UNITS RESET Clears data. displays WATTS, SPM, HR, PROGRAM Clears cur- LEVEL Adjustable rent exercise program. from 1-20 SET Changes Time, Distance parameters.
- Page 13 Using the First Degree Fitness USB Interface Description: The USB connectivity now built in to all new models of FDF Console and IPM allow you to enhance your exercise experience by connecting to your home PC or Laptop. Using FDF's own sample applications you can exercise while enjoying your favorite movies.
-
Page 14: How To Row
How to Row? 1. Begin the stroke comfortably forward and push strongly back with your legs while keeping your arms and back straight. 2. Begin to pull your arms back as they pass over your knees and continue the stroke through to completion rocking slightly back over your pelvis. -
Page 15: Maintenance Chart
Maintenance Chart. Item Timeframe Instructions Notes Seat and Seat Rails. Weekly. Wipe seat rails with a clean, dry cloth. Lightly spray the inside of rails with silicone spray. Frame. Weekly. Wipe down with lint free cloth. Tank and Water Treat- 12 months to 2 years. -
Page 16: Troubleshooting Guide
Troubleshooting Guide Fault Probable Cause Solution Water changes color or Rower is in direct sunlight Change rower location to reduce direct expo- becomes cloudy. or has not had water treat- sure to sunlight. Add water treatment or change ment. tank water as directed in the water treatment section of this manual. - Page 17 Tank Belt Adjustment Step 1: Remove large metal in- spection plate as shown above. Step 2: Using a long tool, push out the rear end cap as pictured below left. This will give you ac- cess to the tank tensioning bolt (shown lower right).
-
Page 18: Warranty
Bungee Cord Replacement. Dealer Assistance Required (Expect 2-5 years bungee life in commercial use. Damage during initial rower assembly is not covered under warranty) Pulley Sticker Spacer C-Clip 2. Carefully peel back and remove 1. Unhook Bungee Cord Hook. Remove com- the Belt Pulley Sticker. - Page 19 VX-3 Main Frame Assembly 10066 End Cap 100x100mm 10067 Rubber Cover for Large PK Pulley 10068 10068 Large Steel Side Cover 276mm 10070 10066 10176 10069 End Cap 75x50mm 10067 10121 10170 10070 Round Head Phillips Screw M4x10 10173 10072 Small Steel Side Cover 100mm 10072 11404...
- Page 20 A009 Tank Assembly 10207- Tank Plug Yellow 10039 (O-Ring 32x3.5-CR) Refer to A054 Tank Back and Flywheel Assembly 70321-Tank Plug Refer to Tank Cover Assembly A006 Sensor Kit Note: Includes Parts 10157 (Sensor) 10156 (Sensor mounting bracket) 10044 Tank Outer 10157 Magnetic Ring &...
- Page 21 A052 Flywheel Assembly 10033 10035 10034 10136 10047 Washer 10x4.2x1 SUS 10033 10034 Nut M4 SUS Hex Bolt M4 SUS 10035 10047 Impeller Blade Flywheel & Shaft 10136 A054 Tank Back and Flywheel Assembly 10012 Bearing NSK6005ZZ 10017 Key Way 7x7x32 10025 Seal NBR 37x30x8t for Flywheel Shaft 10026...
- Page 22 Computer Stalk Assembly 13903 10083 10082 10097 10082 10114 10097 10111 10117 10114 10082 4 Washer M10x21x2 10083 2 Dome Head Bolt M10x20 2 Nut Dome Head M10 10116 10097 13112 10111 1 Belt Guard Aluminum 10114 4 Plastic Bushing 20x16x13x10 1 Hex Head Bolt M10x80 10115 10116...
- Page 23 Complete Seat Assembly 10079 10020 16 Seat Spacer 1x12.5x16 10076 4 Seat Wheel Polyurethane 2 Axle Shaft 12x149 10077 4 C Clip ISTW-12 10078 10081 10079 1 Seat LS-E28 10080 4 Dome Head Bolt M6x20 10081 4 Washer M6x16x1 10080 1 Rubber Bumper TT500 10101 10078...
- Page 24 Metal Frame – 10 Year Limited Warranty First Degree Fitness will repair or replace the metal Main Frame of the Rower should it fail due to any defect in materials or workmanship within 10 years of the original purchase. Warranty does not apply to frame coating.
Need help?
Do you have a question about the VX-3 Fluid rower and is the answer not in the manual?
Questions and answers