Electrolux EQBL100AS User Manual
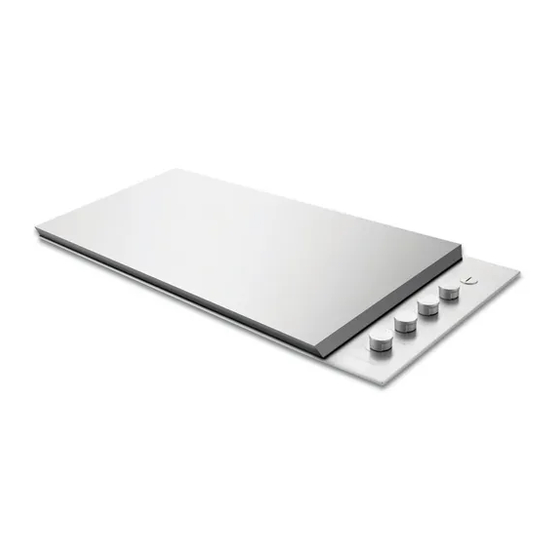
Integrated barbecue
Hide thumbs
Also See for EQBL100AS:
- User manual (19 pages) ,
- Dimension and installation manual (1 page)

Related Manuals for Electrolux EQBL100AS


Summary of Contents for Electrolux EQBL100AS
- Page 1 (EQBL100AS and EQBH100AS) (EQBL100AS and EQBH100AS)
-
Page 3: Table Of Contents
After unpacking the barbecue please check it is not damaged. If in doubt, do not use the appliance but contact your local Electrolux Customer Care Centre. Contents • Product description •... -
Page 4: Product Description
Integrated barbecue with slimline lid 1 Pivotting leg 2 Slimline lid 3 Battery cover 4 Gas connection point 5 Burner controls 6 Grill assemblies x 2 sets 7 Hotplate 8 Removable oil reservoir located at front of cooking... -
Page 5: Parts
Parts Contents of your barbecue pack: description description Burner box & Natural gas trim surround regulator and braided hose Rear heat Universal LPG shield regulator and braided hose Flame tamers 2 1 plastic bag containing this instruction book,... -
Page 6: Important Safety Instructions
Carry out the Leak Test procedure as described in this manual. If the leak persists, turn off the gas supply This symbol indicates tips and information about and call Electrolux Service or a Licensed Gas Fitter. economical and ecological use of the appliance warning Do not lean over barbecue when lighting. -
Page 7: Assembling The Barbecue
2 assembling electrolux integrated barbecue Assembling the barbecue 1. Remove all components from box. 5. Place hotplate and grill sections into desired positions 2. Attach heat shield to rear of unit by inserting the three ensuring that the flame tamers are under grill sections top tabs into the rear holes and sliding the shield down. -
Page 8: Gas Specifications
3 Gas specifications Natural Gas installation Preparing the unit for Natural Gas installation gas type natural gas universal LPG This barbecue is supplied set up for Natural Gas and is Maximum gas consumption... -
Page 9: Universal Lpg Installation
4 universal LPG installation electrolux integrated barbecue Universal LPG installation Preparing the unit for Universal LPG installation. 2. Adjust the turndown setting on the valve This barbecue is supplied set up for Natural Gas and is • I f fitted, remove the knobs from the valves. labelled accordingly. A Universal LPG conversion Kit is •... -
Page 10: Gas Bottle Safety Information
– electronic models 5 Gas bottle safety information Leak test procedure • T his appliance once converted to use Universal LPG is • E nsure all gas valves are in the ‘OFF’ position. designed to use a 9kg (20 lbs) gas cylinder. • I n a small container, mix a solution of water and • T he gas cylinder must be made and marked in detergent or soap. -
Page 11: Installation Warnings
6 installation warnings/installation instructions electrolux integrated barbecue Installation warnings Installation instructions Choosing a location warning • T his appliance must not be installed on any combustible material. A minimum clearance from any combustible • T his appliance shall only be used in an above ground, materials is 450mm (18”). open air situation with natural ventilation without • T he vertical clearance above the cooking surface to any... -
Page 12: Dimensions
7 • T he minimum width of the mounting surface is 600mm • T he cut-out size required is 1025mm x 502mm (see diagram). • F or roasting hood models there is a specific clearance required at the back of the barbecue between the splashback and the bench cut-out of 73mm minimum. This is to allow clearance for the hood to open. -
Page 13: Gas Requirements
8 gas requirements/setting up the barbecue/fitting the lid or hood electrolux integrated barbecue Gas requirements Fitting the slimline lid or roasting hood Natural Gas requirements Fitting of slimline lid • T he enclosure must be constructed so that access can • U npack the slimline lid. be gained to the Natural Gas regulator at all times. -
Page 14: Options For Configuration Of Hotplates And Grills
9 Options for configuration of hotplates Operating instructions and grills Control functions important Before lighting the barbecue: • C heck that all hoses and gas fittings are tight. Ensure flame tamers are positioned under the grill • O pen the slimline lid or the roasting hood. panels NOTE The slimline lid is designed as a cover for weather protection. -
Page 15: Lid Safety Lid - Slimline Lid Only
10 lid safety leg/cleaning and care electrolux integrated barbecue Lid safety leg – slimline lid only Cleaning and care To ensure that the user remembers to turn off the gas The Electrolux Integrated barbecue has been constructed before closing the lid, a pivoting safety leg has been fitted. -
Page 16: Maintenance
11 Maintenance Cleaning the Oil Reservoirs The ignition system The Integrated barbecue has a unique oil management To change the battery rotate the cover anti-clockwise to system which uses overlapping channels to drain all oil release. -
Page 17: Warranty
To the extent permitted by law, the will, at no extra charge if your appliance is readily accessible without liability of Electrolux (if any) arising out of or in relation to the Appliance special equipment, and subject to these terms and conditions, repair or any services supplied by Electrolux shall be limited (where it is fair or replace any parts which it considers to be defective. - Page 18 Do you remember the last time you opened a gift that made you say “Oh! How did you know? That’s exactly what I wanted!” That’s the kind of feeling that the designers at Electrolux seek to evoke in everyone who chooses or uses one of our products. We devote time, knowledge, and a great deal of thought to anticipating and creating the kind of appliances that our customers really need and want.