Table of Contents
Advertisement
Quick Links
Advertisement
Table of Contents

Subscribe to Our Youtube Channel
Related Manuals for Monoprice 10489


Summary of Contents for Monoprice 10489
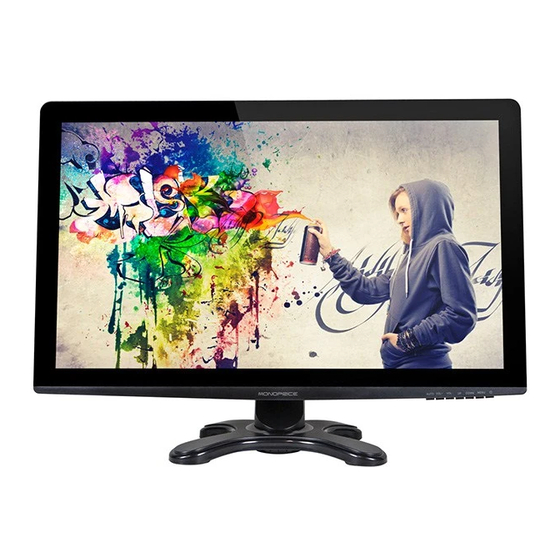
- Page 1 10489 Manual MONOPRICE PID 10489 27" IPS-G Pro LED Monitor User's Manual...
-
Page 3: Table Of Contents
CONTENTS SAFETY GUIDELINES ----------------------------------------------------------------- FEATURES -------------------------------------------------------------------------------- PACKAGE CONTENTS ---------------------------------------------------------------- CONNECTIONS & CONTROLS ----------------------------------------------------- MONITOR STAND & BASE ------------------------------------------------------------ VIEW ANGLE ADJUSTMENT -------------------------------------------------------- INSTALLATION --------------------------------------------------------------------------- POWER ------------------------------------------------------------------------------------- INPUT SELECTION --------------------------------------------------------------------- ON-SCREEN DISPLAY (OSD) MENU --------------------------------------------- BASIC MENU OPERATION ----------------------------------------------------------- TROUBLESHOOTING ----------------------------------------------------------------- 16 SPECIFICATIONS ----------------------------------------------------------------------- 18 PRESET DISPLAY MODES... -
Page 4: Safety Guidelines
SAFETY GUIDELINES To avoid personal injury or damage to your equipment, please adhere to the following safety guidelines: 1. Do not place the monitor on an unstable surface where it could fall and cause personal injury or damage to the monitor or other equipment. 2. -
Page 5: Features
FEATURES 27" IPS monitor with LED backlighting 16:9 aspect ratio 2560 x 1440 @ 60Hz maximum resolution Includes DisplayPort, VGA, HDMI, and Dual Link DVI-D input options Angle adjustable stand +20 ~ -5 degrees Built-in stereo speakers with 2 watt/channel amplifier PACKAGE CONTENTS 1x 27"... -
Page 6: Connections & Controls
CONNECTIONS & CONTROLS VGA connector DVI connector HDMI connector DC IN DP connector Audio connector DisplayPort connector VGA port Dual Link DVI-D port HDMI HDMI port AUDIO 3.5mm stereo TRS audio jack DC IN DC power connector AUTO VOL+ VOL- DOWN MENU Exits the main menu/ Auto adjusts the image... -
Page 7: Monitor Stand & Base
MONITOR STAND & BASE The monitor stand comes already attached to the back of the monitor. To install the base, perform the following steps: 1. Place a blanket or towel on a flat surface (such as a table or the floor). 2. - Page 8 Note that the stand can be removed from the back of the monitor so that the monitor can be attached to a desk or wall mount. To remove the stand, perform the following steps: 1. Place a blanket or towel on a flat surface (such as a table or the floor). 2.
-
Page 9: View Angle Adjustment
VIEW ANGLE ADJUSTMENT If you are using the stand and base that comes with the monitor, you can adjust the vertical angle of the monitor from -5 degrees (down) to +20 degrees (up). To adjust the angle, grasp the top and bottom edges of the display, taking care not to touch the glass on the front. -
Page 10: Power
POWER Press the power button to turn the monitor ON. The LED indicates the power state: Blue - Power is ON Orange - Standby mode Off - No power to monitor INPUT SELECTION 1. Press the AUTO button to display the list of inputs. 2. -
Page 11: Basic Menu Operation
BASIC MENU OPERATION MENU - The MENU button performs three basic functions, depending on the context. If you press the MENU button with the OSD off, the OSD menu will be displayed. If you press the MENU button again, without pressing any other buttons, the OSD menu will close. - Page 12 BRIGHTNESS MENU The BRIGHTNESS menu is the one at the top of the list. The following items can be edited on this menu: BRIGHTNESS - Controls the monitor's overall brightness level. CONTRAST - Controls the monitor's contrast level. ECO - Allows direct selection of the preset display modes. The four presets are: Standard, Text, Movie, and Game.
- Page 13 IMAGE MENU The IMAGE menu is the second menu in the list. The following items can be edited on this menu: H.POSITION - Allows adjustment of the horizontal position of the image on the screen. V.POSITION - Allows adjustment of the vertical position of the image on the screen.
- Page 14 COLOR TEMP MENU The COLOR TEMP menu is the third menu in the list. The following items can be edited on this menu: COLOR TEMP - Allows selection of one of three preset color temperature settings, plus the user setting. The four options are: Warm, Normal, Cool, and User.
- Page 15 OSD SETTING MENU The OSD SETTING menu is the fourth in the list. The following items can be edited on this menu: LANGUAGE - Allows selection of the language to use in the OSD menus. Available options are: English, Francais, Deutsch, Italiano, Espanol, and Nederlands.
- Page 16 OSD H.POS - Allows control of the horizontal location of the OSD menu. OSD V.POS - Allows control of the vertical location of the OSD menu. OSD TIMER - Allows control of the OSD Timer, which is the amount of time (in seconds) the OSD menu will stay on screen with no input to the buttons.
- Page 17 MISC MENU The MISC menu is the fifth and last menu in the list. The following items can be edited on this menu: HOTKEY TYPE - Allows you to select the functions of the two Hotkeys (UP and DOWN buttons when the OSD menu is not displayed). The first item is associated with the UP button and the second with the DOWN button.
-
Page 18: Troubleshooting
VOLUME - Allows direct setting of the volume level. TROUBLESHOOTING Following are some common problems and possible solutions. If you cannot solve a problem yourself, please contact Monoprice Technical Support for assistance. Q: The power LED is off. A: Verify that the power adapter is plugged into the monitor. Verify that the power cord is plugged into both the AC adapter and the power outlet. - Page 19 Q: Loss of a single color (red, green, or blue). A: Replace the video cable. Connect to a different source to verify no problems with the video card or source device. Q: The VGA image is not centered or is the incorrect size. A: Adjust the CLOCK and PHASE values on the IMAGE menu.
-
Page 20: Specifications
SPECIFICATIONS Display Type IPS panel with LED backlight Dimensions 27" (685mm) Dot Pitch 0.2331 x 0.2331 mm Maximum Resolution 2560 x 1440 @ 60Hz (WQXGA) Brightness 440cd/m2 Viewing Angle left/right, 178 up/down Input Options VGA, DVI-D Dual Link, DisplayPort v1.2, HDMI Horizontal Frequency (HFR) 30KHz ~ 88.7KHz Vertical Frequency (VFR) -
Page 21: Preset Display Modes
PRESET DISPLAY MODES The following table lists the 15 preset display modes and frequencies. STAND RESOLUTION HFR (KHz) VFR (Hz) DOS Mode 720x400 31.469 640x480 31.469 640x480 37.861 640x480 37.500 800x600 37.879 SVGA 800x600 47.200 800x600 46.875 1024x768 48.363 1024x768 56.476 1024x768 56.476...
Need help?
Do you have a question about the 10489 and is the answer not in the manual?
Questions and answers