
Related Manuals for Climate Technology 43168


Summary of Contents for Climate Technology 43168
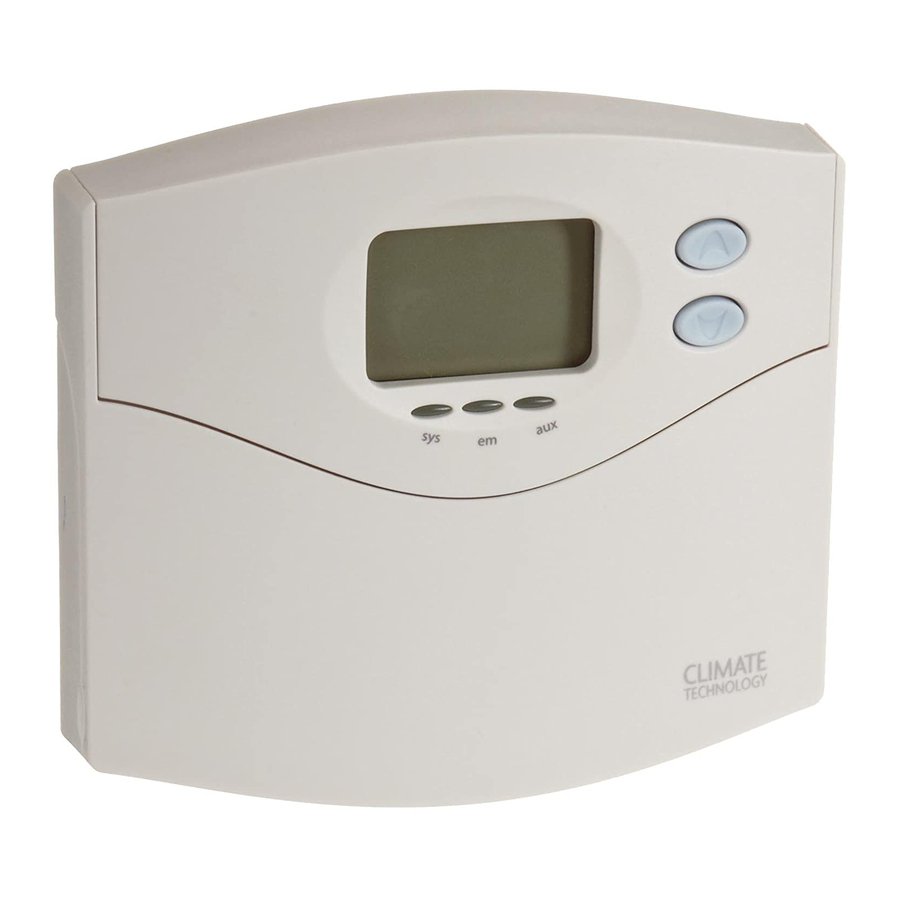
- Page 1 HEAT PUMP PROGRAMMABLE THERMOSTAT COOL TEMP Model 43168 Owners Manual Form 44014-01 r010408...
-
Page 2: Table Of Contents
Model 43168 Congratulations! Thank you for choosing a Climate Technology Corporation (CTC) programmable thermostat. Your new CTC thermostat will provide years of reliable service and year-round energy savings. Please read this manual before beginning installation and save this booklet for complete operation instructions. -
Page 3: Important Information
INSTALLATION What You Need This thermostat includes two #8 slotted screws and two wall anchors for mounting. To install your thermostat, you should have the following tools and materials. • Slotted screwdriver(s) • Small Philips screwdriver • Hammer... -
Page 4: Wire Labeling
• After labeling the wires, disconnect them from the existing thermostat terminals. • Remove existing wallplate. To make sure wires do not fall back into wall opening, you may want to secure them to the wall. • If the hole in wall is larger than necessary for wires, seal the hole with insulating material so that no hot or cold air can enter the back of the thermostat from the wall. This air could cause a false thermostat reading. • A wiring diagram is provided on page 40 of these instructions. label... -
Page 5: Mount Wallplate
Mount Wallplate • Remove the wallplate from the thermostat by pressing the release tab on the bottom of the thermostat. See Figure 2. Wallplate Figure 2 • Position wallplate on wall and pull existing wires through the large opening, then level for appearance. If the existing mounting holes from the old wallplate line up with the slots in the new wallplate, then use the exisitng holes. -
Page 6: Connect Wires & Mount Thermostat To Wallplate
Connect Wires and Mount Thermostat to Wallplate • Match and connect the labeled wires to the appropriate coded terminal screws on the wallplate. See Figure 4. Ignore any wires which may be present, but which were not connected to the old thermostat. Figure 4 • Be sure to tighten the terminal screws securely, as a loose wire could cause operational problems with... -
Page 7: Thermostat Controls
• Insert the tabs on top of the thermostat body into the slots at the top of the wallplate. Press the bottom of the thermostat body into the snap on the bottom of the wallplate. (NOTE: Do not force the thermostat onto the wallplate, as the terminal pins may be damaged. If it does not snap properly, the thermostat may not work.) • Turn on power to the heat pump system. • If the wiring to the thermostat has been correctly connected, and if the thermostat has been correctly mounted to the wallplate, then the LCD Display should show the indoor room temperature. -
Page 8: Switches & Buttons
In the On mode, the fan runs continuously regardless of system status. D Reset button - push the Reset button with the end of a paper clip to reset the thermostat and return to its factory default settings. -
Page 9: Settings
Settings The default for this thermostat setting is in a 12 hour format. You can change the format to 24 hour format by pressing The AM/PM indicator will be off when the thermostat is in 24 hour mode. Setting day and time: 1. Press Press 2. -
Page 10: Methods Of Operation
Methods of Operation This thermostat gives you the ability to program up to 4 custom temperature settings per day or utilize pre-programmed settings. For manual operation instructions, see pages 21-23. To utilize the pre-programmed settings, see pages 24-25. To create custom programs, see pages 26-29. -
Page 11: Manual Operation
1. Press and hold for one second to enter Manual Override mode. (Release the button when the display flashes.) 2. Press the buttons to adjust the temperature setting as desired. 3. The thermostat will maintain this setting until the next program starts, or 4 hours maximum. - Page 12 HOLD Methods of Operation (cont.) MANUAL OPERATION, CONT. If you want to permanently override all settings and adjust the thermostat manually: buttons 1. Press 2. Press and hold Hold icon button when the display flashes.) 3. Press the 4. Press and release eTUrn hold/rtrn until the Hold icon appears. eTUrn for one second to enter Manual Override mode. (Release the buttons to adjust the temperature setting as desired.
-
Page 13: Default Programs Chart
Cool : 85 F (29 Methods of Operation (cont.) 2. DEFAULT PROGRAMS This thermostat meets ENERGY STAR guidelines for energy efficiency. By using the pre- programmed settings, this thermostat can save you money by optimizing energy usage in heating and cooling. Program 4 Heat : 60 F (16 Refer to the Default Programs Chart on page 24 for detailed information about the pre-... -
Page 14: Creating Custom Programs
AM/PM indicator switch sysTem system heat heat cool Methods of Operation (cont.) 3. CREATING CUSTOM PROGRAMS NOTES: buttons • Program times can be set in 10 minute increments. • Program temperature can be set in increments of 1 • After 15 seconds of inactivity during programming, the thermostat will return to Normal Display mode. • When setting each program time, note the AM/PM indicator. • Press H rogram PROCEDURE: program 1. Slide the sysTem 2. Press rogram eTUrn... - Page 15 7. To review your program settings, press rogram programs. program (You can make changes at any time when the thermostat is in Program mode.) 8. Slide the sysTem to change the hour. Press to save the hour and adjust the rogram to change the minute.
-
Page 16: Icons & Features
Auto recovery calculates the time needed to adjust the temperature to the next program setting. When the thermostat is filter in Auto Recovery mode, the display will flash alternating messages of RECO and the time. Auto Recovery can be disabled by sliding the recovery switch on the back of the circuit board to the disable position. - Page 17 Icons and Features (cont.) 6. Error mode – if the thermostat is unable to control your system due to an unexpected problem, the thermostat will enter Error Mode. In this condition, the thermostat flashes “E1”, “E2”, or “E3” on the LCD display, and shuts off your system. 7. Auto cut off – automatically turns the system off if the temperature rises above 95...
-
Page 18: Important Features
After the system stops running, there will be a 3.5 minute delay before it can be restarted to prevent compressor damage due to rapid cycling. 3. Resetting the unit To restore the thermostat to the original factory settings, press the reset button with a paperclip. reset (This will erase any user-programmed settings.) -
Page 19: Setting Options
The following Options are available on your thermostat: 1. 1st stage span - The factory setting for Stage 1 heating and cooling is 1, meaning that your thermostat will cycle at 1°F (0.5°C) above and below the set temperature in Stage 1. If the system is cycling too fast or too slow, then the Span can be adjusted to change the cycle time. -
Page 20: Filter Reminder
“reset” button. Pressing the Reset button reverts the thermostat to its factory settings and default settings. Power Outage In the event of a power outage, the thermostat will retain all of your current settings. TROUBLESHOOTING Problem... -
Page 21: Wiring Diagram
Climate Technology Corp. NOTE: Common connection is REQUIRED. * On systems without and E wire, 2500 FRISCO AVENUE add jumper between W2 and E. MEMPHIS, TN 38114 A Hunter Fan Company © 2008, Climate Technoogy Corp. www.climatetechnologyproducts.com Form No. 44014-01, r010408...
Need help?
Do you have a question about the 43168 and is the answer not in the manual?
Questions and answers
tempmerature does not stay on the set temperature