Table of Contents
Advertisement
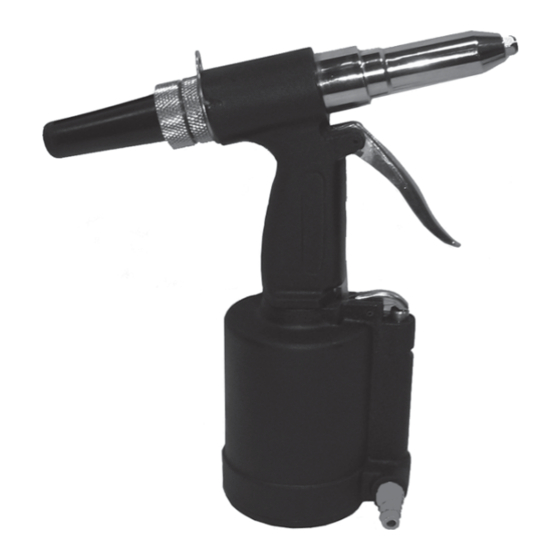
AIR HYDRAULIC RIVETER
ASSEMBLY AND OPERATING INSTRUCTIONS
Due to continuing improvements, actual product may differ slightly from the product described herein.
Visit our Web site at: http://www.harborfreight.com
©
Copyright
manual or any artwork contained herein may be reproduced in any shape or form
without the express written consent of Harbor Freight Tools.
For technical questions, please call 1-800-444-3353.
3491 Mission Oaks Blvd., Camarillo, CA 93011
TO PREVENT SERIOUS INJURY,
READ AND UNDERSTAND ALL WARNINGS
AND INSTRUCTIONS BEFORE USE.
2005 by Harbor Freight Tools
167
®
®
. All rights reserved. No portion of this
Advertisement
Table of Contents

Related Manuals for Central Pneumatic 167


Summary of Contents for Central Pneumatic 167
- Page 1 2005 by Harbor Freight Tools . All rights reserved. No portion of this manual or any artwork contained herein may be reproduced in any shape or form without the express written consent of Harbor Freight Tools. For technical questions, please call 1-800-444-3353.
-
Page 2: Product Specifications
When unpacking, check to make sure that all the parts and accessories listed on page 11 are included, and the product is intact and undamaged. If any parts are missing or broken, please call Harbor Freight Tools at the number shown on the cover of this manual as soon as possible. - Page 3 Use of any other parts will void the warranty. Only use accessories intended for use with this tool. Approved accessories are available from Harbor Freight Tools. Do not operate tool if under the influence of alcohol or drugs. Read warning labels if taking prescription medicine to determine if your judgement or reflexes are impaired while taking drugs.
-
Page 4: Assembly Instructions
Hoses, couplers, oilers, regulators, and filters are all available at Harbor Freight Tools. NOTE: If an automatic oiler is not used, put 3-5 drops of pneumatic Tool Oil (not included) in the tool’s quick connector before each use. - Page 5 Air Cylinder (29). (See Figure C.) Hold the Air Cylinder (29) upside down, and pour in hydraulic oil (not included). The fill level should only reach the top of the Frame (15). (See Figure C.) SKU 167 For technical questions, please call 1-800-444-3353 PAGE 5...
- Page 6 Use the Spanner (36) to firmly screw the Cylinder Cap (33) back onto the Air Cylinder (29). (See Figure C.) AIR CYLINDER (29) SPANNER PISTON ASSY. (36) (30 THRU 33) AIR CYLINDER (29) CYLINDER CAP (33) AIR PISTON LOCK NUT (30-3) FIGURE C REV 09/05 SKU 167 For technical questions, please call 1-800-444-3353 PAGE 6...
-
Page 7: Operating Instructions
Attach an air hose to the Quick Connector (53) of the Riveter. (See Figure D.) Turn on the air compressor, and set its regulator at 90 PSI. Do not exceed 90 PSI. SKU 167 For technical questions, please call 1-800-444-3353... -
Page 8: Inspection, Maintenance, And Cleaning
Spring (10) behind the Jaw Case (6) which may fly out. (See Assy. Diagram.) C. Remove the Jaws (7) from inside the Jaw Case (6). (See Assy. Diagram.) SKU 167 For technical questions, please call 1-800-444-3353 PAGE 8... - Page 9 WARNING! All maintenance, service, and repairs not mentioned in this manual must only be performed by a qualified service technician. SPANNER GAUGE (35) (THREADS) JAW CASE FIGURE E FRAME HEAD (11) SKU 167 For technical questions, please call 1-800-444-3353 PAGE 9...
-
Page 10: Troubleshooting
PARTS LIST ) " p i l ) " ) " ) " n i l l l o l l o I l l n i l n i l SKU 167 For technical questions, please call 1-800-444-3353 PAGE 10... -
Page 11: Assembly Diagram
AND LIABILITY ARISING OUT OF HIS OR HER REPAIRS TO THE ORIGINAL PRODUCT OR REPLACE- MENT PARTS THERETO, OR ARISING OUT OF HIS OR HER INSTALLATION OF REPLACEMENT PARTS THERETO. SKU 167 For technical questions, please call 1-800-444-3353 PAGE 11...