Table of Contents

Summary of Contents for Smarthome 2380W
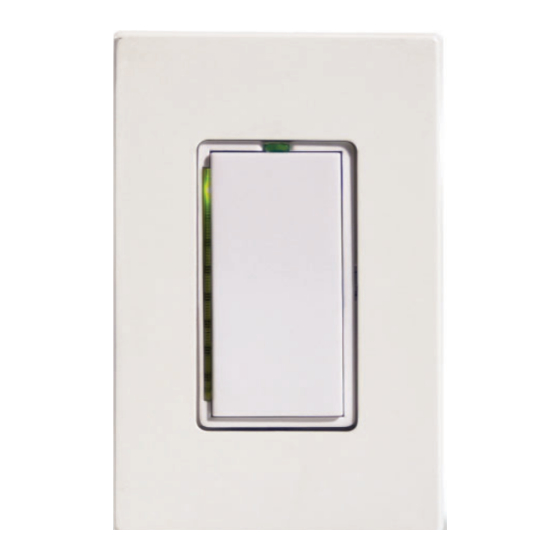
- Page 1 SwitchLinc 2-Way Remote Control Dimmer and Transmitter MANUAL For models: 2380W SwitchLinc 2-Way 600-Watt in White 2380I SwitchLinc 2-Way 600-Watt in Ivory 2381W SwitchLinc 2-Way 1000-Watt in White 2381I SwitchLinc 2-Way 1000-Watt in Ivory...
-
Page 2: Key Features
KeypadLinc Wall Mounted Transmitter allows you to control multiple devices from one location at the press of a single button. And for plug-in devices, the ApplianceLinc LampLinc modules will automate just about anything that plugs in. Please visit the Smarthome web site or contact your distributor for more information. -
Page 3: Quick Start Instructions
CAUTION!! Read and understand these instructions before installing. This device is intended for installation in accordance with the National Electric Code and local regulations in the United States, or the Canadian Electrical Code and local regulations in Canada. To reduce the risk of overheating and possible damage to other equipment, do not install a SwitchLinc to control a receptacle or fluores- cent lighting fixture. - Page 4 • Installation should be performed only by a qualified electrician, or by a homeowner who is familiar and comfortable with electrical circuitry. If there are any questions, con- sult an electrician or contact Smarthome's Tech Support department for guidance. Using SwitchLinc...
- Page 5 Step-by-Step Instructions Disconnect the power for the existing switches at the circuit breaker or fuse panel. Verify that the power has been removed by trying to turn on the lights controlled by the switches. Tip: For additional Remove the trim plate from the existing switches. help installing 3-way Unscrew and pull the existing switches from the wall box.
- Page 6 Setting the Primary Address Each SwitchLinc requires a primary address to operate. It ships from the factory with “A1” as the default address; it will also have this address after performing a factory reset. Any of the 256 PLC/X10 addresses can be programmed. The SwitchLinc does not use code wheels or dials to set its primary address.
- Page 7 Advanced Primary Address Programming The SwitchLinc’s Fade-on and Preset On-Level can be remotely set using a Maxi- Controller (Smarthome #4020) or an equivalent transmitter capable of sending Housecode and Unit Code without ON or OFF. These procedures will not work with a...
- Page 8 If KeypadLinc controllers are installed in the house and one of their buttons is pro- grammed to transmit to Smarthome scene-enabled receivers, it can be used to quickly set up scenes (see the KeypadLinc manual for more information).
-
Page 9: Other Options
Removing the SwitchLinc from a Scene: 1. Transmit the “clear” sequence: 2. Using an PLC Controller, send the primary address of the SwitchLinc plus an ON or OFF or press either the ON or OFF button on the SwitchLinc. 3. Send the following command sequence: 4. -
Page 10: Other Features
Disable Programming Once the SwitchLinc is set up, it can be programmed to lockout any changes. Any changes made at the unit or remotely will be ignored. Please note that all SwitchLinc, LampLinc, and KeypadLinc modules that are plugged in or electrically active will receive these commands and also be locked out. - Page 11 PLC signals from being absorbed and raise the signal strength of the entire home. Smarthome has many filters that will fix the problem. An aver- age home will need between three and five filters. If you are...
-
Page 12: Helpful Tools
(for example, “5”), then the command (ON, OFF, BRIGHT, etc.). Many of the features found in Smarthome products need to be pro- grammed with individual button presses. Using a controller that sends the address and command with one button press will not work. -
Page 13: Glossary Of Terms
4. Install a whole-house surge suppressor. Adding a good whole-house surge protector at the breaker will help protect against costly damage to the PLC components and other delicate electri- cal equipment. 5. Install a PLC phase coupler (signal bridge) or coupler-repeater (amplifier) at the incoming elec- trical service. -
Page 14: Troubleshooting And Technical Support
SwitchLinc turns on, but The load is producing electrical Install a noise filter like Smarthome #4835 between noise that is interfering with the load and the SwitchLinc or increase the signal not off by PLC control. -
Page 15: Specifications
Please visit a retailer or distributor for the complete line of automation products from KeypadLinc 6 with 450W integrated Smarthome Design. Check out our web site at: dimmer http://www.smarthome.com/smarthomedesignstore.html... - Page 16 The repair, replace- ment, or refund that is provided for above shall be the full extent of Smarthome's liability with respect to this product.


Need help?
Do you have a question about the 2380W and is the answer not in the manual?
Questions and answers