
Related Manuals for Bertazzoni KU24 PRO 1X


Summary of Contents for Bertazzoni KU24 PRO 1X
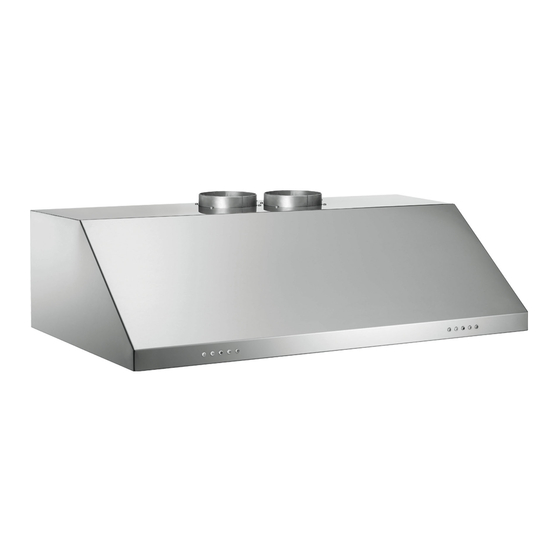
- Page 1 CHIMNEY HOOD INSTALLATIONS INSTRUCTIONS HOTTE DE CHEMINÉE INSTRUCTION POUR LE MONTAGE MODELS KU24 PRO 1X KL1A.HM4X..UA KU30 PRO 1X K71A.HM4X..UA KU36 PRO 1X K31A.HM4X..UA KU48 PRO 1X K41A.HM4X..UA 310627...
- Page 2 Fig. 1 Fig.2 fig.3...
- Page 3 fig.4...
-
Page 4: Installations Instructions
CHIMNEY HOOD INSTALLATIONS INSTRUCTIONS Important safeguards - Do not connectthe exhaust hood to chimneys, flues and airductsserving the room. - The evacuated air must not be let into a warm air ducl. - This appliance must be connected to a system equipped with earth or ground plate. - When performing maintenance operations, disconnect the appliance from the field connection. - Page 5 WARNING: TO REDUCE THE RISK OF FIRE, USE ONL Y METAL DUCTWORK. Attention:The appliance is provided with a supply cord and plug, the appliances must be positioned so that the plug is accessible. Attention: ifthere are three wires in the electrical supply cable they must be connected as follows: Green/yellow = ground -White = neutral -Black = line Important: the hood manufacturerwill not be responsible forany damage or loss caused by failure to observe these instructions.
- Page 6 Replacing or cleariing the filters Just push the handle towards the rear, proceed with the cleaning and repeat the operation counter clockwise (Picl. 1/1). To remove the aluminium grease filter (Picl. 1/2), grab the opening tongue at the filter, pull it in your direction and move the filterdownwards.
- Page 7 HOTTE DE CHEMINÉE INSTRUCTION POUR LE MONTAGE Précautions importantes à suivre: - Ne pas lier la hotte à cheminée, tubes et conduits d'air indispensable-à la pièce. - L'air qui est aspirée ne doit pas etre émis par un conduit d'air chaud. - Cet appareil doit etre joint à...
- Page 8 de la partie aspirante. Branchement Si vous avez le modèle aspirant, il est nécessaire de joindre à la coque un conduit de Ø 150 mm ( 5" 29/32) ou de Ø 125 mm ( 4"59/ 64), qui permettra la prise d'air. Ce conduit n'est pas fournit avec le matériel, ( Fig.4 e 4/M). Attention pour réduire le risque d'lncendie, n'utiliser que des conduits en métal.
- Page 9 Changement ou nettoyage. Il suffit simplement de tirer la poignée vers le bas pour pouvoir nettoyer celle-ci et fai re à nouveau la meme opération en sens inverse (Fig. 1/1). Pour enlever le filtre en aluminium (Fig.1/2), prendre le filtre à la languette d'ouverture, la plier vers soimeme et abaisser le filtre en avant, faire à...
Need help?
Do you have a question about the KU24 PRO 1X and is the answer not in the manual?
Questions and answers