Table of Contents
Advertisement
Quick Links
A / V
D I S T R I B U T I O N
Instruction Manual
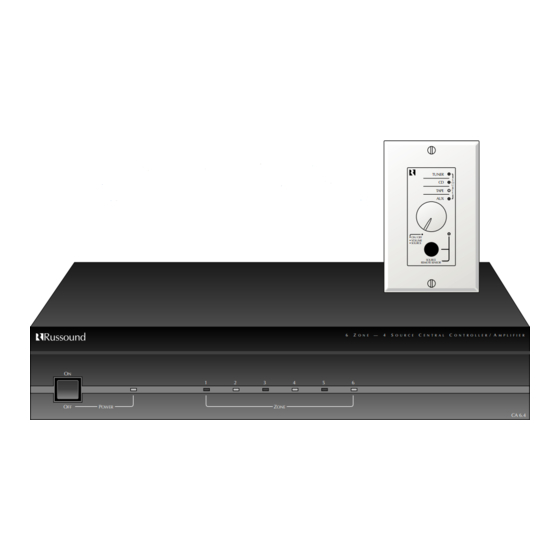
6-Zone, 4-Source
Central Controller/Amplifier
O
N
O
P
FF
OWER
&
CA6.4
1
2
3
4
Z
ONE
C O N T R O L
6
Z
—
4
S
O N E
O U R C E
5
6
S Y S T E M S
TUNER
S
CD
O
U
R
TAPE
C
E
AUX
• ON / OFF
• VOLUME
• SOURCE
SOURCE
REMOTE SENSOR
C
C
/ A
E N T R A L
O N T R O L L E R
M P L I F I E R
CA 6.4
Advertisement
Table of Contents

Related Manuals for Russound CA6.4


Summary of Contents for Russound CA6.4
- Page 1 A / V D I S T R I B U T I O N & C O N T R O L S Y S T E M S CA6.4 Instruction Manual 6-Zone, 4-Source TUNER Central Controller/Amplifier TAPE • ON / OFF •...
-
Page 2: Table Of Contents
Heed Warnings - All warnings on the appliance in the operating 3. Location of the CA6.4 - Do not expose the CA6.4 to direct sun light instructions should be adhered to . or heating units as the CA6.4 internal components temperature may Follow Instructions - All operating and user instructions should be rise and shorten the life of the components. -
Page 3: Introduction
AW162CL3) This wire is used for direct connection between the CA6.4 and your speakers. NOTE: CAT5 should not be run more than 100’ or in combination with the CA6.4 LRN. For runs more than 100’ or when using optional CA6.4 LRN please use 8-conductor 20AWG wire shielded. -
Page 4: Basic Planning And Layout Considerations
• Where is the equipment located ? Over 150 feet ....12 AWG • Where is the CA6.4 controller going to be located ? Connection Tips •... -
Page 5: Back Panel Connections
/ patch cables. Label each cable the name of your source and the input num- ber of the CA6.4 you have selected. Repeat until all sources are connected. List them down below. figure 1 –Input 1 ______________ Input 2 ______________ Input 3 ______________ Input 4 ______________ 7.2 Speaker Connections... -
Page 6: Connecting The Ir Link
• Mount the keypad in the junction box and attach the Decora plate. • The CA6.4 keypad has source labels for your convenience. Place the label on the keypad keeping the input number in sequence with the source selected. -
Page 7: Installing The Lrn Keypads
10. Operation • Power switch - When the power switch is engaged, the CA6.4 power indicator will be lit an amber color. The CA6.4 should be left on at all times. The unit will consume very little power unless the zones are on and active. -
Page 8: Technical Information
Russound. Damage to or destruction of components due to improper use voids the warranty. In these cases the repair will be made at the owners expense. To return for repairs, the unit must be shipped to Russound at the owners expense, along with a note explaining the nature of the service required.