
Related Manuals for Maktec MT190

Summary of Contents for Maktec MT190
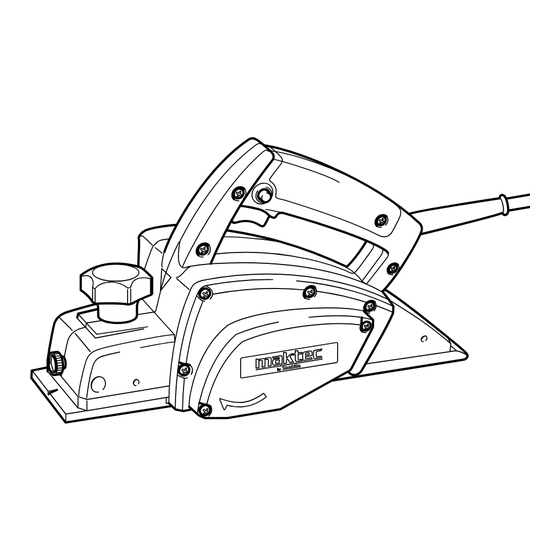
- Page 1 Power Planer MODEL MT190 004838 DOUBLE INSULATION I N S T R U C T I O N M A N U A L WARNING: For your personal safety, READ and UNDERSTAND before using. SAVE THESE INSTRUCTIONS FOR FUTURE REFERENCE.
-
Page 2: Specifications
SPECIFICATIONS Model MT190 Planing width 82 mm Planing depth 1 mm Shiplapping depth 6 mm 16,000 No load speed (min Overall length 290 mm Net weight 2.5 kg Safety class • Due to our continuing programme of research and development, the specifications herein are subject to change without notice. -
Page 3: General Safety Rules
GENERAL SAFETY RULES ENA100-1 WARNING: Read all instructions. Failure to follow all instructions listed below may result in electric shock, fire and/or serious injury. The term “power tool” in all of the warnings listed below refers to your mains operated (corded) power tool or battery operated (cordless) power tool. - Page 4 21. Keep cutting tools sharp and clean. Properly power tool for operations different from those maintained cutting tools with sharp cutting edges intended could result in a hazardous situation. are less likely to bind and are easier to control. Service 22.
-
Page 5: Functional Description
FUNCTIONAL CAUTION: DESCRIPTION • Always be sure that the tool is switched off and unplugged before adjusting or checking function on the tool. Adjusting depth of cut 004839 Depth of cut may be adjusted by simply turning the knob on the front of the tool. - Page 6 For tool with mini planer blades Remove the existing blade, if the tool has been in use, carefully clean the 004841 drum surfaces and the drum cover. To remove the blades on the drum, unscrew the three installation bolts with the socket wrench. The drum cover comes off together with the blades.
- Page 7 For tool with standard planer blades 004841 To remove the blades on the drum, unscrew the three installation bolts with the socket wrench. The drum cover comes off together with the blades. To install the blades, first clean out all chips or foreign matter adhering to the 002555 drum or blades.
-
Page 8: Operation
EN0004-1 (A) Front base (Movable shoe) (B) Rear base (Stationary shoe) Although this side view cannot Correct setting show it, the edges of the blades run perfectly parallel to the rear base surface. Cause: One or both blades fails to Nicks in surface have edge parallel to rear base line. - Page 9 Shiplapping (Rabbeting) 002580 To make a stepped cut as shown in the figure, use the edge fence (guide rule). Draw a cutting line on the workpiece. Insert the edge fence into the hole in the front of the tool. Align the blade edge with the cutting line. 004845 1.
-
Page 10: Maintenance
Chamfering 003634 To make a chamfering cut as shown in the figure, align the “V” groove in the front base with the edge of the workpiece and plane it. 004847 1. “V” groove MAINTENANCE CAUTION: • Always be sure that the tool is switched off and unplugged before attempting to perform inspection or maintenance. - Page 11 Immerse the dressing stone in water for 2 or 3 minutes before sharpening. 004953 Hold the holder so that the both blades contact the dressing stone for simulta- neous sharpening at the same angle. Replacing carbon brushes 001145 Remove and check the carbon brushes regularly. Replace when they wear down to the limit mark.
- Page 12 Makita Corporation 884522A6...
Need help?
Do you have a question about the MT190 and is the answer not in the manual?
Questions and answers