
Subscribe to Our Youtube Channel
Related Manuals for Elba EWS-9001C


Summary of Contents for Elba EWS-9001C
-
Page 1: User Manual
USER MANUAL PORTABLE AIR-CONDITIONER Thank you for selecting super quality air conditioner. Please be sure to read this manual carefully before using it. Any question, please contact the professional service for help. -
Page 2: Table Of Contents
CONTENTS CONTENTS……………………………………………………………1 IMPORTANT SAFEGUARD…………………………………………2 FEATURES AND PARTS LIST………………………………………3 CONTROL PANEL……………………………………………………4 REMOTE CONTROL…………………………………………………6 OPERATION METHODS……………………………………………..8 INSTALLATION……………………………………………………….10 WATER & DRAINAGE METHODS…………………………….…..13 MAINTENANCE………………………………………………………14 TROUBLE SHOOTING………………………………………………15 INSTALLATION ACCESSORIES…………………………………...16 APPENDIX……………………………………………………………..17 - - 1 - -... - Page 3 SAFEGUARDS Read all instructions for the safety of yourself and your family. *Install the unit on a flat and dry place. Leave at least 50cm space around the unit. *Installation suits to national electrical net layout rules. *Install the air conditioners where the power supply is enough. *After installation, please check if the plug is perfect and firmly insert in the jack.
-
Page 4: Features And Parts List
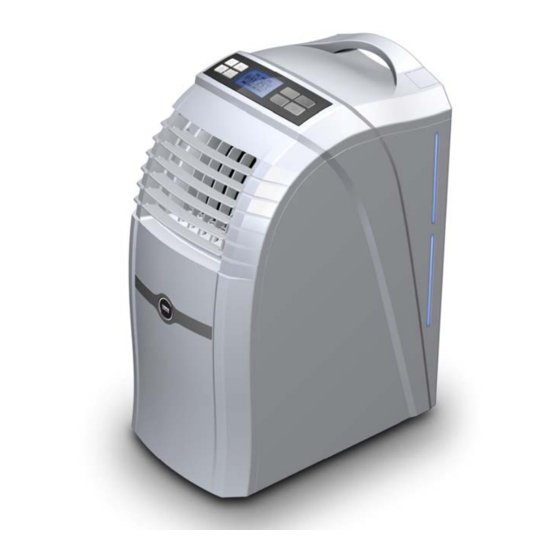
FEATURE AND PARTS LIST Feature *No installation is required. *Easily moved . The handle makes moving more convenient. *Totally luxury panel and modern appearance design. *LCD Blue screen display. *Water-cooled mode and adding water mode is most energy saving and environment protect. *Low noise and strong wind. -
Page 5: Control Panel
CONTROL PANEL CAUTIONS: If the unit is turned off in cool/dry/ heat mode and restarted immediately, it will wait at least 3minutes before running. Fig 3 1. Buttons ON/OFF:Press this button to turn on/off the unit. Mode: Press this button to select cool, heat, dry or fan mode (heat mode only in YPH-H models). - Page 6 display 2. LCD :Cool mode indicator. :Dry mode indicator. :Press this button for 5 seconds to select high, middle or low fan speed. : Heat mode indicator and flashes when choose cooling mode. :Water Full indicator. :Setting temperature under cooling and heating mode. Room temperature under fanning and dehumidifying.
-
Page 7: Remote Control
REMOTE CONTROL Power Press this button to turn/off the unit. Timer Press this button to set the timer. Swing Press this button to make the vertical louver swing automatically. ℃ ℉ Vary from Celsius degree to Fahrenheit degree. Cool Press this button to choose Cool mode. Heat Press this button to choose Heat mode. -
Page 8: Operation Methods
OPERATION METHODS Timer set 1. Set timer-off Press the Timer button when the unit is on. The LED will flash - - five times. During this period, press Up or Down button to adjust set time from 0.5h to 24h. It will vary 0.5h each time in first 3h and 1h each time hereafter. - Page 9 *Press Mode buttonto choose Dry mode. *The fan speed and room temperature cannot be adjusted. *Press Swing buttono adjust the direction of vertical louver. *Adjust horizontal louver by hand. 3. Fan mode *Press MODE button (or Fan button) to choose Fan mode, the LCD will display *...
-
Page 10: Installation
INSTALLATION 1. Selection of Installation Place Please pay attention to install the unit where is flat and dry. Leave at least 50cm space around the Unit (when the hose is not connected). (Fig.5) 2. AIR Exhaust Duct Mounting Method 1) Fix the square end of the exhaust dust to the exhaust terminal of the unit. -
Page 11: Window Kit Installation
3. Window Kit Installation The window kit has been designed to fit most standard vertical and horizontal windows. However, it may be necessary for you to modify some aspects of the installation procedures for certain types Vertical Horizontal Window Window Window Kit Size: Window Kit Size: Min Size:90cm... - Page 12 2) Correct bending θ≤45° Fig 10 θ≤45° Fig 11 3) Wrong bending Fig 12 - - 11 - -...
- Page 13 Water and Water drainage Water injection *The condensing water is recycled to improve efficiency through cooling condenser. Also we could lower the noise and save energy. *When the condensing water is not enough for pumping, the Water Injection indicator on the control panel will illuminate, you had better inject some water into the water draw, right of the handle, there is a cover.
-
Page 14: Maintenance
MAINTENANCE Cleaning Turn off the unit and pull the plug out of the socket before any cleaning. 1. Clean the surface Clean the surface of the unit with a duster or a half-wet soft cloth. Do not use chemical solvent like benzene, alcohol, gasoline and etc. -
Page 15: Trouble Shooting
TROUBLE SHOOTING Before contacting professional service, please firstly check it yourself referring to the followings. Trouble Check Solution Is power fail? It is normal. Is plug out? Insert the plug into the The unit doesn’t socket steadily. operate at all. Is power fuse or switch off? Change the fuse or switch Is the set time suitable? -
Page 16: Installation Accessories
INSTALLATION ACCESSORIES Flexible exhaust hose with adapters…………………………….1/set Stretch from YPH-07/08/09:14 ” (36cm) up to 59” (150cm) Square connector…………………………………………………..1 pc Flat and round connector…………………..………………………1 pc Adjustable window slider kit….…………………………………….1/set Stretch from 36” (90cm) to 51” (130cm) Screw (the length is 3/8”)…………………………………………...1 pc Plug (square)………………………………………………………..1 pc - - 15 - -... -
Page 17: Appendix
APPENDIX Fuse Parameter Type: FSD Voltage: 250V Current: 3.15A Disposal: Do not dispose this product as unsorted municipal waste. Collection of such waste separately for special treatment is necessary. - - 16 - -...
Need help?
Do you have a question about the EWS-9001C and is the answer not in the manual?
Questions and answers