Advertisement
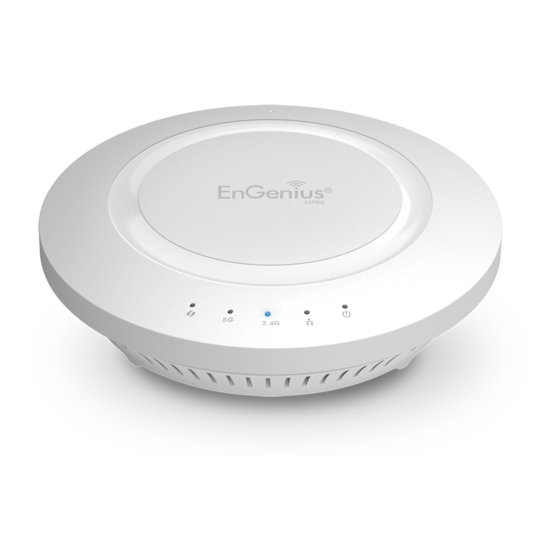
EAP600
Wireless-N 300 + 300Mbps Long Range Ceiling Mount Dual
Concurrent AP
Please verify contents of the box before continuing to set up the EAP600.
EAP600 Access Point
12V/2A 100V~240V Power Adaptor
RJ-45 Ethernet Cable
Mounting Bracket
Wall/Ceiling Mounting Hardware Kit
T-Rail Mounting Hardware Kit
CD with User's Manual
Connecting the EAP600
1) Ensure that the computer in use has an Ethernet Card (RJ-45 Ethernet Port). For more information,
verify with User Manual.
2) Connect one end of the Category 5e Ethernet cable into RJ-45 port of the EAP600 and the other
end to the RJ-45 port on the computer that will use the EAP600. Ensure that the cable is securely
connected to both the EAP600 and the Computer.
3) Connect the Power DC Inlet to the DC-IN port of the EAP600 and the Power to the electrical out.
Note: EAP600 supports both IEEE 802.3at PoE(Power over Ethernet) and regular power adapter. You
should use either one as the power source. Please do not apply both at the same time.
Quick Installation Guide
Advertisement
Table of Contents

Subscribe to Our Youtube Channel
Related Manuals for EnGenius EAP600


Summary of Contents for EnGenius EAP600
- Page 1 EAP600 and the Computer. 3) Connect the Power DC Inlet to the DC-IN port of the EAP600 and the Power to the electrical out. Note: EAP600 supports both IEEE 802.3at PoE(Power over Ethernet) and regular power adapter. You...
- Page 2 3) A login screen will appear. By default, the username of the EAP600 is admin and the password is admin. Enter the current username and password of the EAP600 and then click Login. Refer to the EAP600 user manual on how to change the username and password.
- Page 3 If extra space is required, use the provided spacers and long screws from the T-Rail mounting hardware kit to increase the space between the unit and the mounting bracket. 3) Mount the EAP600 on the mounting bracket by rotating the unit clockwise about 90 degrees to secure it in place.
- Page 4 2) Line up the connected T-rail connectors with an appropriately sized rail and press the unit onto the rail until it snaps into place. Note: To protect your EAP600, use the Kensington security slot to attach a cable lock (cable lock is not included).
Need help?
Do you have a question about the EAP600 and is the answer not in the manual?
Questions and answers