
Related Manuals for GE ZDWI240WII


Summary of Contents for GE ZDWI240WII
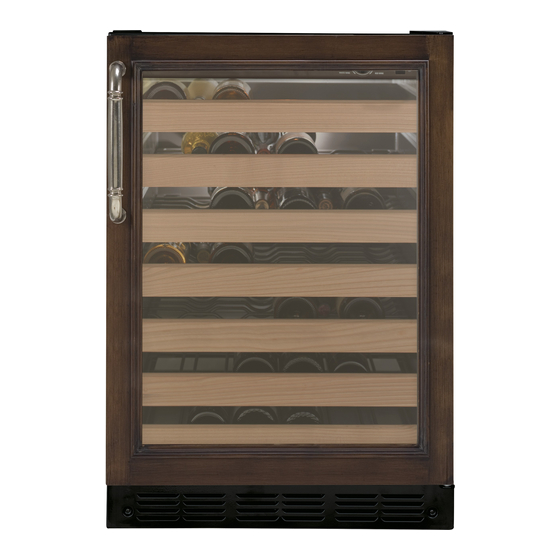
- Page 1 monogram.com Design Guide with Installation Instructions Wine Chiller, Wine Reserve and Beverage Center...
-
Page 2: Table Of Contents
BEFORE YOU BEGIN: Read these instructions completely and carefully. IMPORTANT – Save these instructions for local inspector’s use. IMPORTANT – Observe all governing codes and ordinances. Note to Installer – Be sure to leave these instructions with the Consumer. Note to Consumer –... -
Page 3: Design Guide
THE INSTALLATION SPACE NOTE: Handle and handle standoff depth is 1-3/4" *For a standard installation of Custom-Framed unit: The product must be installed so that the front face will project 2" forward of adjacent cabinets. This position will allow a full door swing and prevent interference with adjacent cabinetry. -
Page 4: Side-By-Side Installations
• Allow 10" minimum clearance on the hinge side for a full 110° door swing. (Models ZDWI240WII and ZDBI240WII have a 95° door swing.) NOTE: Custom handle clearances may vary, depending on custom handle depth. -
Page 5: Installation Instructions
TOOLS REQUIRED • #2 Phillips screwdriver • Adjustable wrench PARTS SUPPLIED • Monogram nameplate • Hardware for changing door swing • Optional stainless steel toekick with screws and spacers • Left and right side hinge covers • Top screw hole cover GROUNDING THE WINE CHILLER, WINE RESERVE AND BEVERAGE CENTER... -
Page 6: Step 2 Reverse Door Swing
STEP 2 REVERSE DOOR SWING SKIP THIS STEP IF DOOR SWING SUITS THE INSTALLATION Parts Included: • Top left case hinge • Bottom left case hinge • Left and right side decorative hinge cover • Decorative hinge screw hole cover •... -
Page 7: Step 5, Slide Product Into Cutout
Installation Instructions CUSTOM FRAME PANEL MODELS Model ZDWI240WII and ZDBI240WII These models require a custom panel frame surrounding the glass. There are two options: the panel may be 29-3/4" or 30" high. A 30" panel requires a notch cut into the bottom of the panel to avoid interference with the hinges. - Page 8 TEMPLATE FOR NAMEPLATE LOCATION To position nameplate: • Cut template along dotted line. • Hold or tape template behind glass door so that it is visible from the front side. • Remove backing from nameplate. • Place nameplate onto front side of door, matching illustration on the template.