Table of Contents
Advertisement
Quick Links
Download this manual
See also:
Instruction Manual
Advertisement
Table of Contents

Subscribe to Our Youtube Channel
Summary of Contents for Grundig HS 3820
- Page 1 Curls & Volume HAIRSTYLER HS 3820...
- Page 2 ------------------------------------------------------------------------------------------------------------------------------------------------------------------...
- Page 3 SAFETY -------------------------------------------------------------------------------------------------------------------------- Please observe the following instructions when using the appliance: This appliance is intended for domestic use only. Never use the appliance in the bathtub, shower, above a water- filled basin or with wet hands. Do not immerse the appliance in water or let it come into contact with water, even during cleaning.
- Page 4 SAFETY -------------------------------------------------------------------------------------------------------------------------- The appliance is equipped with an overheating pro- tection system. Pull out the power plug after use. Do not disconnect the plug by pulling on the cable. Never use the appliance if it or the power cord is visibly damaged.
-
Page 5: Special Features
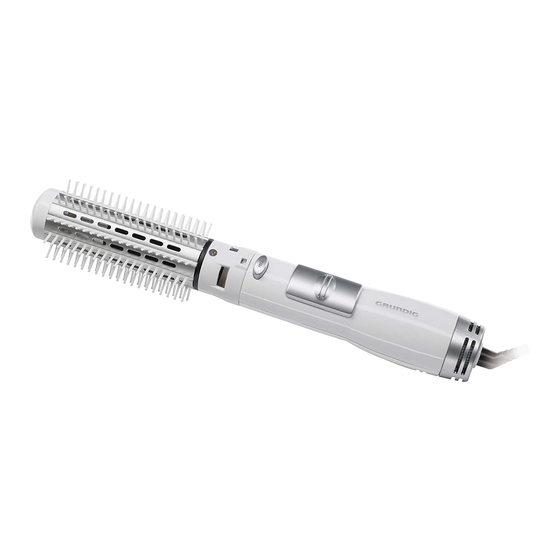
Congratulations on the purchase of your Curls & Volume HS 3820 hair styler. Read the following user instructions carefully to ensure you can enjoy your quality product from Grundig for many years to come. Special features The switchable voltage allows this hair styler to be used the world over. - Page 6 – and availability of at least 5 years for all accessories. For a future worth living. For a good reason. Grundig. ENGLISH...
- Page 7 ACCESSORIES ---------------------------------------------------------------------------------------- Putting on the styling attachment Put the styling attachment onto the markings (figure 1). Press the locking button and turn the styling attachment to the right until both key symbols are facing one another (figure 2). Release the locking button.
- Page 8 ACCESSORIES ---------------------------------------------------------------------------------------- ENGLISH...
- Page 9 ACCESSORIES ---------------------------------------------------------------------------------------- Putting on the styling attachment Put the styling attachment onto the markings (figure 1). Turn the styling attachment to the right until both key symbols are facing one another and the attachment clicks (figure 2). – The styling attachment is secured. Removing the styling attachment Press the locking button and turn the styling...
- Page 10 ACCESSORIES ---------------------------------------------------------------------------------------- 10 ENGLISH...
-
Page 11: Operation
OPERATION -------------------------------------------------------------------------------------------------- Check the on-site mains voltage and set the voltage to this specification with the switch Towel dry your hair thoroughly after washing. Plug the power cord into the wall socket. Turn on the appliance with the switch and set the temperature/blower level. -
Page 12: Cleaning And Care
INFORMATION -------------------------------------------------------------------------------- Cleaning and care Pull the plug out before cleaning. Never submerge the appliance in water. Use a soft, dry cloth to clean the housing. Remember to clean the air inlet grille occasionally with a soft brush to remove hairs and dust. Environmental note This product was constructed from high-quality parts and materials which can be re-used and recycled. -
Page 13: Technical Data
INFORMATION -------------------------------------------------------------------------------- Technical data This product conforms to the European directives 2004/108/EU, 2006/95/EU and 2009/125/EU. Voltage supply 120 V, 220 - 240 V, 50/60 Hz Power 350 - 400 W Technical and design modifications reserved. ENGLISH...


Need help?
Do you have a question about the HS 3820 and is the answer not in the manual?
Questions and answers