Table of Contents
Advertisement
Service
This manual is to be used by qualified appliance
technicians only. Maytag does not assume any
responsibility for property damage or personal
injury for improper service procedures done by
an unqualified person.
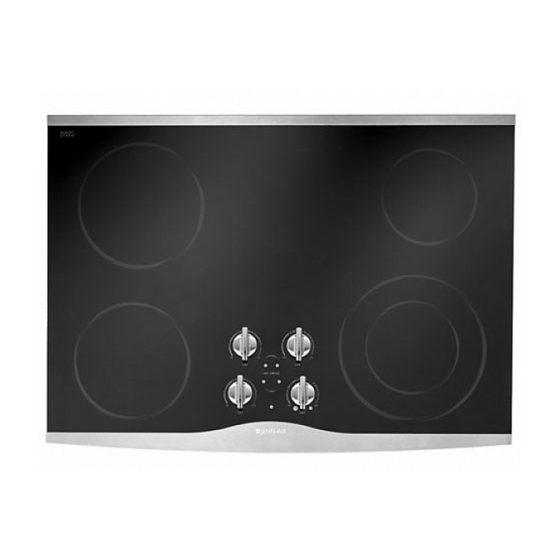
UpDraft Electric
Cooktops
This Base Manual covers general information
Refer to individual Technical Sheet
for information on specific models
This manual includes, but is
not limited to the following:
AKT3040*
AKT3650*
CEC1430AA*
CEC1536AA*
JEC7430AA*
JEC8430AD*
JEC8536AD*
JEC8730AD*
JEC9530AD*
JEC9536AD*
MEC4430BD*
MEC5430BD*
MEC5536BA*
16022159
Revision 0
May 2003
Advertisement
Table of Contents

Related Manuals for Maytag AKT3040 Series


Summary of Contents for Maytag AKT3040 Series
- Page 1 Service This manual is to be used by qualified appliance technicians only. Maytag does not assume any responsibility for property damage or personal injury for improper service procedures done by an unqualified person. UpDraft Electric This Base Manual covers general information...
-
Page 2: Important Information
Important Notices for Servicers and Consumers Maytag will not be responsible for personal injury or property damage from improper service procedures. Pride and workmanship go into every product to provide our customers with quality products. It is possible, however, that during its lifetime a product may require service. -
Page 3: Table Of Contents
Limiter Replacement ..........14 Infinite Replacement ..........14 Electronic Infinite Replacement ......14 Hi-Limit Switch Replacement ....... 14 Indicator Light Replacement ......... 14 Cooling Fan Replacement ........14 Appendix A Installation Instructions ......A–1 — A–6 16022159 Rev. 0 ©2003 Maytag Appliances Company... -
Page 4: Safety Information
3. Smother the fire with nonflammable lid or use a Class “ABC” or “BC” fire extinguisher. Do not use water on a grease fire. Installation and service must be performed by an authorized installer, service agency or gas supplier. 16022159 Rev. 0 ©2003 Maytag Appliances Company... -
Page 5: Safety Practices For Servicer
All shipments, i.e., complete cooktop or parts, are recommends the minimum circuit protector and wire shipped at the buyer’s risk. Maytag responsibility ends size if the appliance is the only unit on the circuit. If when the consignment is accepted by the carrier in smaller sizes of wire is used, the efficiency will be “good order.”... -
Page 6: General Information
Production Code Range, Free-Standing (30") This identifies which Slide-In (30") version of production the Range Hood unit is. Wall Oven RV Range Feature Content RV Top 1000-3999 Brands 4000-6999 Maytag / Amana 7000-9999 Jenn-Air 16022159 Rev. 0 ©2003 Maytag Appliances Company... -
Page 7: Model Identification
• For Amana product call 1-877-232-6771 or visit the Web Site at www.amana.com Web Site at www.amana.com • For Maytag product call 1-800-688-9900 or visit the • For Maytag/Jenn-Air product call 1-800-462-9824 or Web Site at www.maytag.com visit the Web Site at www.maytag.com or www.jennair.com... -
Page 8: Troubleshooting Procedures
This IS NOT a defect in the unit and has no effect on performance. Performance of surface element is 1. See test procedures. poor. 2. Make sure pans are flat on bottom. 16022159 Rev. 0 ©2003 Maytag Appliances Company... -
Page 9: Power Supply
H1 and H2 of the surface control. 3. Turn control to LOW setting and allow it to cycle approximately two minutes. Time the OFF and ON cycle of the control and compare these to the following table. 16022159 Rev. 0 ©2003 Maytag Appliances Company... -
Page 10: Surface Elements (Dual Infinite Switch)
5. Remove wiring from switch. following steps. 6. Set ohmmeter on R x 1K scale. Check for continuity 1. Turn off power to cooktop. according to the following chart. 2. See “Disassembly Procedures” to access switch. 16022159 Rev. 0 ©2003 Maytag Appliances Company... -
Page 11: Control
If a resistance of 0 ohms or infinite ohms is indicated. 3. Disconnect wires from switch terminal connections. Replace the temperature sensor. 4. Attach meter leads to terminals on the switch. At ambient room temperature (70 F ), continuity should ° be indicated. 16022159 Rev. 0 ©2003 Maytag Appliances Company... -
Page 12: Disassembly Procedures
1. Remove main top, see "Main Top Removal" reinstall. procedure. 2. Remove screws securing control mounting bracket to burner box frame. 3. Replace control assembly. 4. Replace infinite switch and reverse procedure to reinstall. 16022159 Rev. 0 ©2003 Maytag Appliances Company... -
Page 13: Disassembly Procedures For Models Listed Jec8430Adb/W/F/N/Sjec8536Adb/W/F/N/Smec5430Bdb/W/S
3. Lift plate to gain access to switch mounting screws. 4. Remove screws securing switch to mounting plate 3. Disconnect and label wiring to element. and remove switch. 4. Replace element and reverse procedure to reinstall. 16022159 Rev. 0 ©2003 Maytag Appliances Company... -
Page 14: Sensor Replacement
4. Remove nut securing switch to mounting plate. 5. Depress tabs securing switch from bottom side. 6. Disconnect and label wiring to infinite switch. 7. Replace infinite switch and reverse procedure to reinstall. 16022159 Rev. 0 ©2003 Maytag Appliances Company... - Page 15 Appendix A 16022159 Rev. 0 A–1 ©2003 Maytag Appliances Company...
-
Page 16: Installation Instructions
Amperes (AWG) cutout. 0 – 4.9 5.0 – 6.9 CAUTION 7.0 – 9.9 Warranty is void on equipment installed other than as 10.0 – 11.9 recommended by manufacturer. 12.0 – 14.9 A–2 16022159 Rev. 0 ©2003 Maytag Appliances Company... - Page 17 5. Test to insure control knobs operate all elements properly. Red House Refer to the following Installation Instructions for Wire detailed information on installing units. Black • AKT3040* and AKT3640* – 8101P469 Green House Wire House Wire • CEC1430AA, CEC1536AA, JEC7430AA, and White MEC4430BD – 8101P480 House Wire •...
- Page 18 Installation Instructions This is the first page of the Installation Instruction (see part number listed in the bottom right corner for complete set of instructions. A–4 16022159 Rev. 0 ©2003 Maytag Appliances Company...
- Page 19 Installation Instructions This is the first page of the Installation Instruction (see part number listed in the bottom right corner for complete set of instructions. 16022159 Rev. 0 A–5 ©2003 Maytag Appliances Company...
- Page 20 Installation Instructions This is the first page of the Installation Instruction (see part number listed in the bottom right corner for complete set of instructions. A–6 16022159 Rev. 0 ©2003 Maytag Appliances Company...