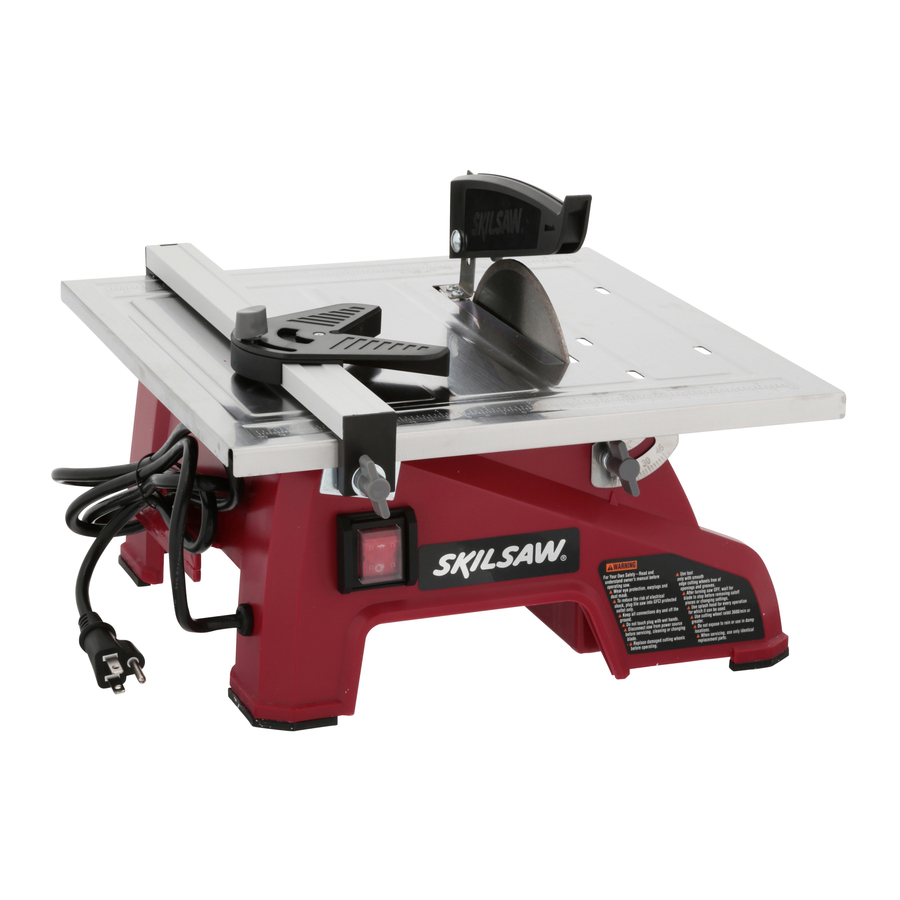
Skil 3540 Operating/Safety Instructions Manual
Hide thumbs
Also See for 3540:
- Operating/safety instructions manual (44 pages) ,
- Owner's manual (76 pages) ,
- Original instructions manual (189 pages)
Table of Contents
Advertisement
Available languages
Available languages
Advertisement
Table of Contents

Summary of Contents for Skil 3540
-
Page 2: General Safety Rules
Safety W RNING General Safety Rules for Bench Top Tools Stay alert, watch what you are doing and use common sense when operating a power tool. Keep work area clean and well lit. Dress properly. Do not wear loose clothing or jewelry. - Page 3 Safety W RNING Safety Rules for Tile Saws Use clamps or other practical way to secure and support the workpiece to a stable platform. • To reduce the risk of electrocution, keep all connections dry and off the ground. Do not touch plug with wet hands.
- Page 4 Safety W RNING cut only one workpiece at a time. Some dust created by power sanding, sawing, grinding, drilling, and other construction activities contains chemicals known to cause cancer, birth defects or other reproductive harm. Be certain the tile saw is mounted or placed on a Some examples of these chemicals are: level, firm work surface before using.
- Page 5 Safety W RNING • KNow YoUR cUTTiNG ToolS • • • • • • • “SaVe TheSe iNSTRUcTioNS”...
- Page 6 Safety W RNING Do not allow familiarity gained from frequent use of your tile saw to become commonplace. The waRNiNGS ShowN Below caN Be foUND oN YoUR Tool. TheSe waRNiNGS aRe oNlY a W RNING coNDeNSeD foRm of The moRe DeTaileD SafeTY RUleS aND pRecaUTioNS ThaT appeaR iN YoUR owNeR’S maNUal.
- Page 7 Safety W RNING D NGER D NGER D NGER “SaVe TheSe iNSTRUcTioNS”...
- Page 8 Table of contents Glossary of Terms woRKpiece leaDiNG eND RippiNG aRBoR ReVolUTioNS peR miNUTe (R.p.m.) cRoSScUT fReehaND...
-
Page 9: Unpacking And Checking Contents
Unpacking and checking contents To reduce the risk of injury, never connect plug to power source outlet until all assembly steps are complete and until you have read and understood the entire owner’s manual. if any parts are missing, do not attempt to assemble the saw, plug in power cord or turn the switch on until the missing parts are obtained and are installed correctly. - Page 10 Getting To Know Your Tile Saw...
-
Page 11: Assembly And Adjustments
assembly and adjustments Disconnect the plug from the power source before making any adjustments or changing accessories. Tile Blade installation Screw lower To reduce the risk of injury, do not use Guard tile blade larger or smaller than 7” diamter, do not use tile blade with speed rating less than 3600 Rpm. - Page 12 assembly and adjustments Top Guard installation Top Guard arm Top Guard arm adjustment Tile Blade Securing Screws operation Tile Saw location TILESAW POWER SUPPLY CORD TILESAW SUPPORT DRIP LOOP To reduce the risk of electrocution, DoN’T unplug the cord if the plug or receptacle gets wet.
-
Page 13: Starting And Stopping
operation Starting and Stopping To reduce the risk of electrocution, keep all connections dry and off the ground. Do not touch plug with wet hands. To reduce the risk of electric shock, plug tile saw into Ground fault circuit interrupter (Gfci) protected outlet only. if a Gfci protected outlet is not available, use a portable receptacle with built-in Gfci protection To reduce the risk of electric shock,... - Page 14 operation making a miter cut angle angle Guide Guide Knob making a Bevel cut Bevel To avoid possible injury, the rip fence Knob should only be used on the right side of the table while making a bevel cut. after Use...
-
Page 15: Troubleshooting
maintaining Your Tile Saw maintenance accessories Troubleshooting Turn switch “off” and always remove plug from the power source before trouble shooting. TRoUBle pRoBlem RemeDY will not start Does not come up to speed excessive vibration... - Page 16 VERTISSEMENT...
- Page 17 VERTISSEMENT...
- Page 18 VERTISSEMENT VERTISSEMENT TILESAW POWER SUPPLY CORD TILESAW SUPPORT DRIP LOOP...
- Page 19 VERTISSEMENT...
- Page 20 VERTISSEMENT VERTISSEMENT...
- Page 21 VERTISSEMENT D NGER D NGER D NGER...
- Page 22 Table des matières...
- Page 23 VERTISSEMENT VERTISSEMENT...
- Page 25 VERTISSEMENT VERTISSEMENT...
- Page 26 TILESAW POWER SUPPLY CORD TILESAW SUPPORT DRIP LOOP...
- Page 30 DVERTENCI...
- Page 31 DVERTENCI...
- Page 32 DVERTENCI DVERTENCI TILESAW POWER SUPPLY CORD TILESAW SUPPORT DRIP LOOP...
- Page 33 DVERTENCI...
- Page 34 DVERTENCI DVERTENCI...
- Page 35 DVERTENCI PELIGRO PELIGRO PELIGRO...
- Page 39 Tornillo protector inferior Tornillo Retirar llave de tuerca para el eje instalar llave de tuerca Tuerca de la hoja para cortar baldosa pestaña exterior Sentido de la hoja para cortar baldosa...
- Page 40 Brazo del protector superior hoja para cortar baldosa Tornillos de sujeción TILESAW POWER SUPPLY CORD TILESAW SUPPORT DRIP LOOP cubeta de agua...
- Page 41 eNceNDiDo apaGaDo Tope-guía Regla de la escala pomo de fijación...
- Page 42 pomo de Guía de la guía de ángulos ángulos pomo de bisel...


