Table of Contents
Advertisement
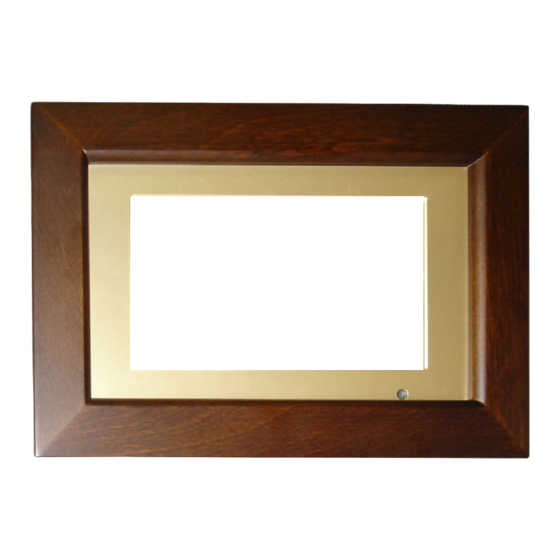
Technical Specifications
®
Compact Flash (CF type I&II), Memory Stick
Input Formats
Multimedia Card (MMC), Secure Digital (SD), USB Pen Drive.
Supported File Formats JPEG, Motion JPEG AVI, Mp3, MPEG1, MPEG2.
Display
7"LCD monitor:480x234 resolution
Composite video output
System: PAL/NTSC
Output
Analog 2-channel audio out
Earphone
Stereo Speakers(1Wx2)
Viewing Modes
Full frame 16:9/4:3 Standard Aspect Ratio, slide show or thumbnail
Image Effects
Rotate, zoom, pan, transitions, slide duration
USB Host
V1.1
Power Input
100V-240V AC, 50-60Hz
Power Output
12V DC, 1.5A
Weight
1.3 LBS
Dimensions
9.05"Wx5.9"Hx1.18"D
®,
Memory Stick PRO ,
19
®
Operating Instructions
Digital Picture Frame
www.visionquestce.com
VQF70WD
Advertisement
Table of Contents

Subscribe to Our Youtube Channel
Related Manuals for VisionQuest VQF70WD


Summary of Contents for VisionQuest VQF70WD
-
Page 1: Technical Specifications
Memory Stick PRO , Input Formats Multimedia Card (MMC), Secure Digital (SD), USB Pen Drive. Digital Picture Frame Supported File Formats JPEG, Motion JPEG AVI, Mp3, MPEG1, MPEG2. VQF70WD Operating Instructions Display 7"LCD monitor:480x234 resolution Composite video output System: PAL/NTSC... -
Page 2: Table Of Contents
Table of Content Appendix (Troubleshooting Guide) Before contacting service personnel, please check possible causes according to the following Important Safeguards instructions. Frequently Asked Questions Quick Start Guide Symptom Possible Cause Remedy 1.Power supply not connected; 1.Connect to the power supply. Contents 2.Bad contact between the power plug 2.Plug again or replace a receptacle. -
Page 3: Important Safeguards
Glossary of Terms Important Safeguards Aspect Ratio IMPORTANT SAFEGUARDS The ratio of the length of an image to its width. Most computer s creens and digitally shot images that have an aspect ratio of 4:3.35mm film and some digital cameras shoot images that have aspect ratio of 3:2. - Page 4 System Setup Important Safeguards grounding of the lead-in wire to an antenna Preference page discharge unit, size of grounding conductors, TV TYPE: location of antenna discharge unit, connection Select TV system. Option include PAL and NTSC, and multi. AUDIO: to grounding electrodes, and requirements To select the Audio Language.
-
Page 5: System Setup
System Setup Important Safeguards SETUP: General setup This symbol alerts the user of the presence of non-insulated “dangerous voltage” 1.TV DISPLAY within the product’s enclosure that may be of sufficient magnitude to constitute a NORMAL: Use this mode for viewing standard picture in unaltered proportions. risk of electric shock to persons. -
Page 6: Frequently Asked Questions
Control Functions Continue Frequently Asked Questions Q: How do I set up my Digital Picture Frame? VIDEO CONTROL A: The Digital Picture Frame setup is very easy from “out-of-the-box” to “up-and-running” in a few 1.Use ' ' Keys to highlight VIDEO icon, Press 'Enter' Button enter VIDEO play short minutes. -
Page 7: Quick Start Guide
Quick Start Guide Control Functions ZOOM Press "ZOOM" button repeatedly during playback, then the size of image will change each press in the sequence as: 100%, 125%, 150%, 200%,50%, 75%. To begin using the Digital Picture Frame, follow these instructions: After the image is enlarged, use the arrow buttons"... -
Page 8: Contents
Contents Control Functions Continue. PHOTO: JPEG still image viewing and slide show playback. MUSIC: MP3/WMA audio playback. VIDEO: Video file Playback. FILE: View the file structure on the memory card. Use the Left and Right Arrows on the Remote Control or on the Control Panel to select a viewing mode. -
Page 9: Connecting To A Tv Set
Control Functions Continue Connecting to a TV Set CARD SELECTION MENU At startup, a menu screen appears for selection of the memory card: Use the Right and Left Arrows on the Remote control or on the control panel to select the correct memory card type or USB Flash driver. -
Page 10: Remote Control
Insert the memory card Remote Control 1. MENU: Press MENU Return to the previous menu. 2. MUTE: Press MUTE to sound off. 3. Display: Press Display to choose the"single MENU MUTE DISPLAY 16:9 elapsed", "single remain" or"display off". 4. 4:3/16:9 : Press 4:3/16:9 to adjust aspect 1.
Need help?
Do you have a question about the VQF70WD and is the answer not in the manual?
Questions and answers