Advertisement
Quick Links
Download this manual
See also:
User Manual
Viking Memory
I N S T A L L A T I O N G U I D E
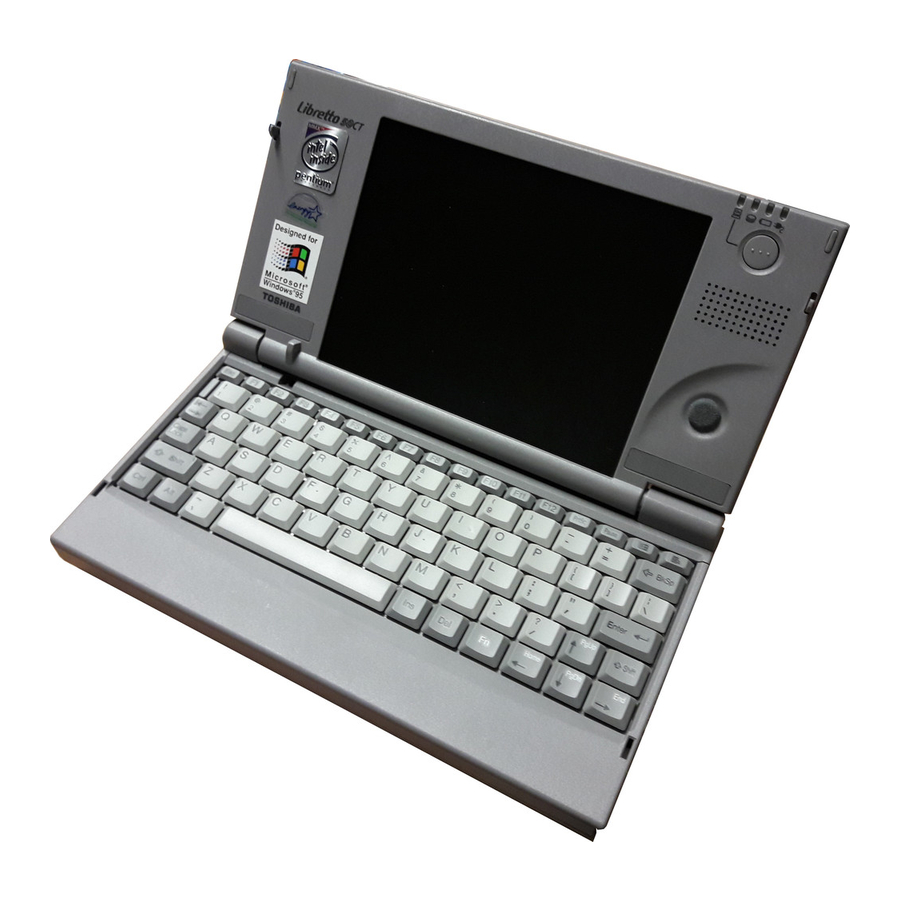
TOSHIBA
Libretto 50CT & 70CT
Manual No. 1005205 • Release 12/97, Rev. B
S P E E D
P O W E R
The Toshiba Libretto 50CT and 70CT come standard with 16MB memory sol-
dered. They can be expanded to a maximum of 32MB by installing the following
Viking Components memory options into their one available expansion slot.
Description
8MB Memory Module
16MB Memory Module
Caution:
Electro Static Discharge (ESD) can damage electronic components. Before
touching the memory module, ensure that you are discharged of static elec-
tricity by touching a grounded metal object.
INSTALLATION INSTRUCTIONS:
1. Turn the computer off and disconnect the AC power supply and any other cables
from the unit.
Note: If the unit appears to be powered down, ensure that it is not in Suspend
mode.
2. Turn the computer upside-down. Remove the battery from the system. If you
are not familiar with this procedure, please refer to your computer's "Owner's
Manual."
5. Locate the holding screw in the area where you have just removed the retaining
strip. Remove the screw with a small Phillips head screwdriver. Then lift the key-
board panel by the edge clos-
est to the display screen and
rest it upside-down at the
base of the system.
Caution: Do not dis-
connect, cut or apply exces-
sive force to the keyboard
cable.
®
P E R F O R M A N C E
Viking P/N
T2055, RT2055
T2056, RT2056
3. Return the system
right-side up and open
the display screen.
4. Locate the keyboard
retaining strip at the
base of the display
screen. With your fin-
ger nail, lift the strip up
by its right edge and
completely remove it.
7. To install the memory module, align the connector on the module with the con-
nector in the system's expansion slot. Firmly press down directly over the con-
nector on the module until it's well seated in the slot. Do not force the module into
position. The module can only be placed in the expansion slot one way due to the
position of the connector.
8. Replace and secure the holding screw, through the memory module, in the upper
right corner of the open compartment. Do not over tighten the holding screw.
9. Replace the keyboard panel to its original position and be sure to secure its hold-
ing screw. Then replace the keyboard retaining strip.
10. Replace the battery back into its compartment.
11. Replace the AC power supply and any other cables you may have disconnect-
ed.
12. Turn the system on. The computer will automatically reconfigure itself to rec-
ognize the newly added memory. The new memory can be verified during the
POST routine at startup and at the SETUP utility.
The installation is now complete.
WARRANTY & DISCLAIMERS:
All Viking Components products have been thoroughly tested free of defects in
material and workmanship. If any malfunction should occur while using one of
our products in its recommended environment, Viking, at its option, will repair or
replace the product at no charge, provided the product or any part thereof has not
been abused, misused, neglected, replaced, repaired or modified. Viking shall
make the final determination as to the existence and the cause of any defect.
Viking will not repair or replace products designated as having a "Limited
Lifetime" which fail solely because their estimated life has expired. No warranty
is made with respect to customer products produced to original purchaser specifi-
cations except as specifically stated in writing by Viking.
All shipping costs shall be the responsibility of the purchaser.
Except as provided herein, there are no express or implied warranties of mer-
chantability or fitness for a particular purpose. Under no circumstances will
Viking Components be liable in any way to the purchaser for any damages, includ-
ing but not limited to lost revenue, lost wages, or any other incidental or conse-
quential damages arising out of the use of or inability to use this product. Viking
reserves the right to make modifications in both hardware and software without
prior notifications.
All Viking Components are 100% guaranteed compatible with the OEM machines
for which they are designed. All OEM's names, trademarks and part numbers are
used for identification purposes only, and in no way imply that any of our products
are original equipment parts.
Toshiba and Libretto are a registered trademarks of Toshiba Corporation.
6. Locate the holding screw at the
top left corner of the open compart-
ment. Remove this screw with a
small Phillips head screwdriver.
Advertisement


