Lenovo ThinkCentre M93 Hardware Maintenance Manual
Hide thumbs
Also See for ThinkCentre M93:
- Hardware maintenance manual (308 pages) ,
- User manual (186 pages) ,
- User manual (176 pages)
Table of Contents
Troubleshooting

Related Manuals for Lenovo ThinkCentre M93


Summarization of Contents
Chapter 1. Safety Information
General Safety and Electrical Safety Precautions
Covers crucial safety rules for handling the computer and its electrical components.
ESD Protection and Safety Inspection
Details ESD precautions and a checklist for identifying unsafe conditions during maintenance.
Chapter 2. General Information
Computer Specifications
Lists physical dimensions, weight, environmental, and electrical input specifications.
Lenovo Programs Overview and Access
Introduces pre-installed Lenovo software and explains how to access and use them.
Chapter 3. General Checkout
Problem Determination Tips
Offers advice on gathering information to assist in identifying and resolving computer problems.
Chapter 4. Troubleshooting and Diagnostics
Basic Troubleshooting Steps
Offers fundamental steps and checks to address common computer issues and symptoms.
Troubleshooting Procedure
Outlines a step-by-step process for diagnosing and resolving computer problems.
Common Hardware Problems
Addresses specific issues like audio, CD/DVD, hard disk, monitor, and network problems.
Chapter 5. Using the Setup Utility Program
Starting and Navigating the Setup Utility
Provides steps to enter and use the BIOS setup utility for system configuration.
Password Management and Security
Details how to set, change, and manage BIOS passwords for system security.
Chapter 6. Symptom-to-FRU Index
Hard Disk Drive Boot Errors and Power Supply Issues
Covers boot errors, power supply problems, and beep symptoms with FRU actions.
POST Error Codes and Miscellaneous Issues
Lists POST error codes and addresses various other error messages and symptoms.
Chapter 7. Locations
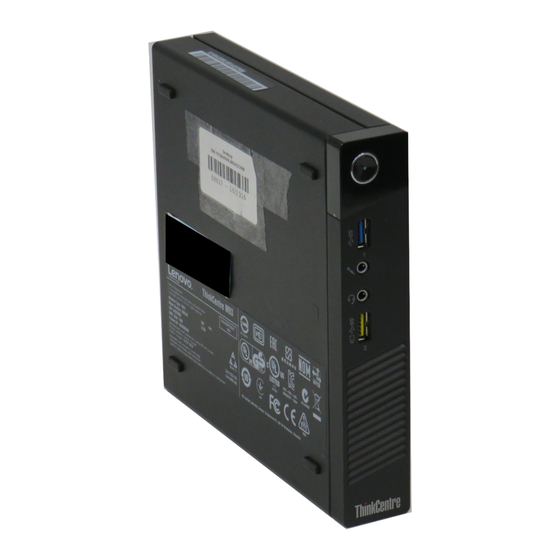
Front and Rear Panel Component Locations
Shows the placement of front panel ports, buttons, indicators, and rear panel connectors.
Locating Major FRUs and System Board Parts
Identifies the locations of key FRUs and system board components.
Chapter 8. Replacing FRUs (Machine Types 10A0-10BE)
Removing Computer Covers and Bezels
Guides users through removing the computer cover and front bezel.
Replacing Core Components
Covers replacing memory modules, optical drives, and hard disk drives.
Replacing Key Internal Components
Details replacing the battery, power supply, heat sink, microprocessor, and system board.
Replacing Wireless and Front Panel Components
Covers Wi-Fi units, front fan, audio/USB assembly, and internal speaker replacement.
Chapter 9. Replacing FRUs (Machine Types 10A2-10AN)
Basic Component Removal and Installation
Covers removing computer covers, bezels, PCI cards, and memory modules.
Replacing Drives, Power, and Thermal Components
Details replacing optical drives, SSDs, hard drives, battery, power supply, and heat sink.
Replacing CPU, System Board, and Connectivity
Covers replacing heat sink, microprocessor, system board, and Wi-Fi units.
Chapter 10. Replacing FRUs (Machine Types 10A4-10EB)
Removing Computer Covers and Bezels
Guides users through removing the computer cover and front bezel.
Replacing Power and Storage Components
Covers AC adapter, vertical stand, VESA bracket, optical drive, and hard drive assembly replacement.
Replacing Internal and Connectivity Components
Details memory modules, battery, power switch, Wi-Fi card, and antennas replacement.
Chapter 11. Additional Service Information
Security Features and BIOS Management
Covers security features, passwords, vital product data, and BIOS levels.
BIOS Updates and Recovery Procedures
Instructions for updating the BIOS and recovering from update failures.
Need help?
Do you have a question about the ThinkCentre M93 and is the answer not in the manual?
Questions and answers