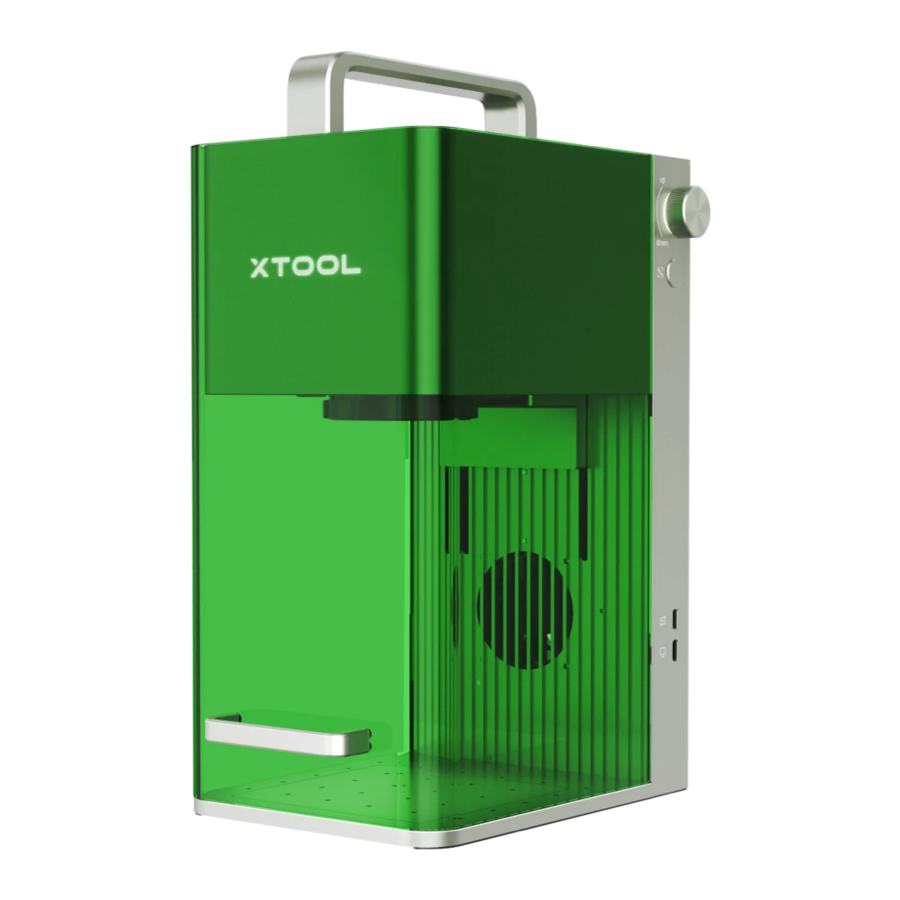
Xtool F1 (MXF-K001-LG4) Manual
- User manual (53 pages) ,
- Quick start manual (17 pages) ,
- Manual (10 pages)
Advertisement

List of items

Meet your xTool F1
Product structure

Indicator description

| Logo indicator | Knob indicator | Machine state |
| Solid on |  Solid white Solid white | Not connected to the software |
 Solid yellow Solid yellow | Setting network | |
 Solid blue Solid blue | Connected to the software | |
 Solid green Solid green | Task completed | |
 Solid purple Solid purple | Firmware updating | |
 Solid red Solid red | Exceptions occur | |
| Blinking |  Blinking red for 3 times Blinking red for 3 times | Invalid operation |
| Going off |  Solid blue Solid blue | Performing a task |
 Blinking white slowly Blinking white slowly | Enters sleep state if no operation is performed within 10 minutes |
Nameplate

Specifications
| Product name | xTool F1 | Connection mode | Wi-Fi, USB cable, hotspot |
| Size | 179 mm × 235 mm × 334 mm | Input power | 24 V 5 A, 120 W |
| Internal working area | 115 mm × 115 mm | Laser module | 455 nm blue-light laser 1064 nm infrared laser |
| Maximum processing speed | 4,000 mm/s | Laser power | 10 W (455 nm) + 2 W (1064 nm) |
Get the machine ready
- Install the pipe.
If you need a desktop smoke purifier, purchase one and connect it to xTool F1 as instructed by the user manual.
![Xtool - F1 - Get the machine ready - Step 1 Get the machine ready - Step 1]()
- Connect to a power supply.
![Xtool - F1 - Get the machine ready - Step 2 Get the machine ready - Step 2]()
- Ensure that the emergency stop button is released. If it is pressed, rotate to release it.
![Xtool - F1 - Get the machine ready - Step 3 Get the machine ready - Step 3]()
Emergency stop button
If an emergency occurs, you can press the emergency stop button to shut off the machine.
![]()
After dealing with the emergency, you can turn the emergency stop button to reset it.
![]()
- Ensure that the key is inserted properly.
Access-control key
You can remove the key to disable the processing and related functions of the machine.
Interlock connector
You can also use the key as an interlock connector.
![Xtool - F1 - Get the machine ready - Step 4 Get the machine ready - Step 4]()
- Remove the field lens protector.
If you won't use the machine for a long period of time, you can install the protector back to prevent the field lens from getting dusty. Ensure that the protector is removed every time before you use the machine.
![Xtool - F1 - Get the machine ready - Step 5 Get the machine ready - Step 5]()
Use your xTool F1
- Power on
Turn on the power switch of xTool F1.
Do not use the emergency stop button as a power switch.
Use the emergency stop button only when an emergency occurs. Using it as a power switch to turn on and off the machine may damage the machine.
![]()
![Xtool - F1 - Use - Step 1 Use - Step 1]()
- Operate xTool F1 using XCS
For computers- Visit xtool.com/software to download and install xTool Creative Space (XCS).
![]()
- Use the USB cable to connect xTool F1 to the computer, and then connect xTool F1 in the software.
![]()
- Visit xtool.com/software to download and install xTool Creative Space (XCS).
For mobile devices
Scan the QR code or search for xTool Creative Space in Google Play or App Store, or visit xtool.com/software to download the XCS app and install it.


For details about how to use XCS to operate xTool F1 to process materials, scan the QR code or visit support.xtool.com/product/2.

More operations
Manual focus setting
Turn the knob to adjust the height of the laser module. When the red and blue light spots overlap, the focus is successfully set.


Use the slatted panel
To cut a material, you are advised to use the slatted panel. It can reduce the areas burned during material processing and protect the baseplate.

Use the L-shaped positioning piece
During batch processing, the L-shaped positioning piece can help you place a material in the same position every time.

Use xTool F1 with the rotary attachment


Maintenance

- If laser power attenuation occurs, for example, engraved patterns are shallow or materials can't be cut as expected, the field lens may get dirty. Clean it with the lint-free cloth moistened with alcohol.
![Xtool - F1 - Maintenance - Step 1 Maintenance - Step 1]()
-
If you can't move the protective enclosure up and down smoothly, apply grease to the edges of the two sides.
![Xtool - F1 - Maintenance - Step 2 Maintenance - Step 2]()
- If smoke runs out of the protective enclosure, the fan and smoke outlet may be blocked due to dust. Clean them to ensure proper smoke exhausting.
To avoid dust falling into the circuit board, slightly tilt the machine.
![Xtool - F1 - Maintenance - Step 3 Maintenance - Step 3]()
Documents / Resources
References
Download manual
Here you can download full pdf version of manual, it may contain additional safety instructions, warranty information, FCC rules, etc.
Advertisement


Need help?
Do you have a question about the F1 and is the answer not in the manual?
Questions and answers