Advertisement
- 1 XPENG Motor Offers Rescuesheet for Each XPENG Model
- 2 Identification/recognition
- 3 Immobilization / stabilization / lifting
- 4 Disable direct hazards/safety regulations
- 5 Access to the occupants
- 6 Stored energy / liquids / gases / solids
- 7 In case of fire
- 8 In case of submersion
- 9 Towing / transportation / storage
- 10 Important additional information
- 11 Explanation of pictograms used
- 12 Documents / Resources
XPENG Motor Offers Rescuesheet for Each XPENG Model
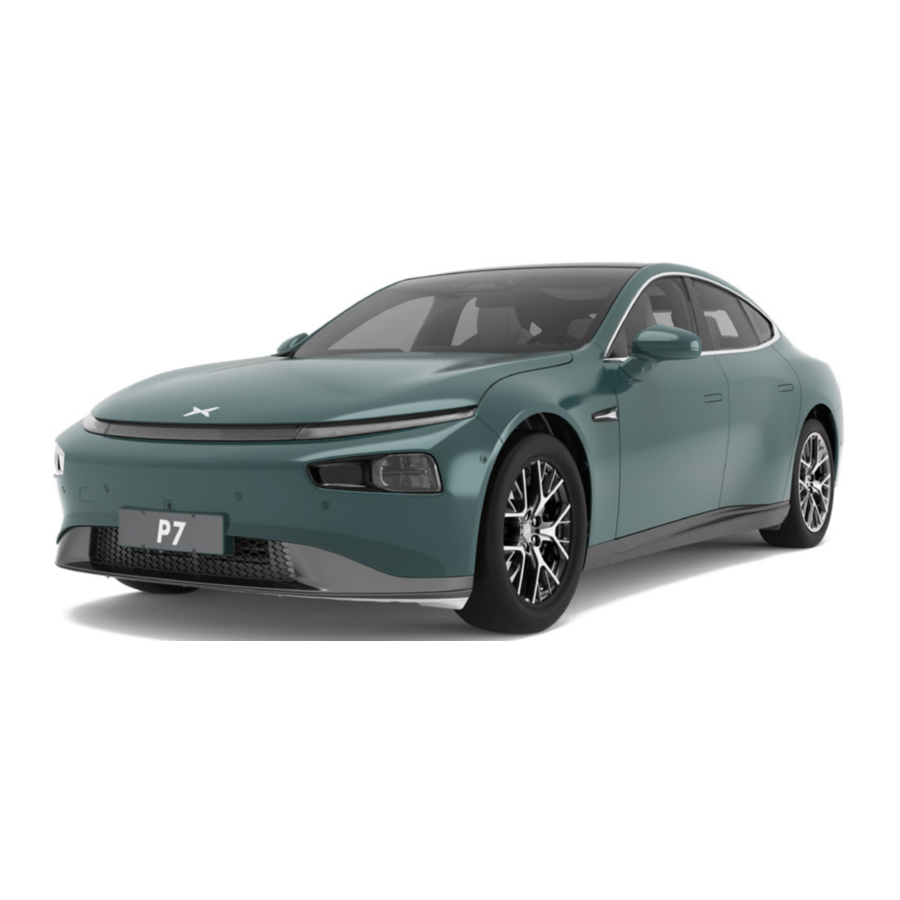
The example shown here is the first page of the XPENG P7 Rescuesheet, which is according to ISO 17840-1: 2022.

Identification/recognition
P7 Logos and Charging

LACK OF ENGINE NOISE DOES NOT MEAN VEHICLE IS OFF: SILENT MOVEMENT OR INSTANT RESTART CAPABILITY EXISTS UNTIL VEHICLE IS FULLY SHUT DOWN. WEAR APPROPRIATE PPE.

The brand can be identified by the logos on the front, rear, and hub of the vehicle.

Vehicle Identification Number (VIN)
- Applied to the bottom left side of the dashboard and can be seen through the windscreen.
![]()
- Applied to the inside of the front compartment cover.
 - Step 1")

 - Step 1")
- Applied to the inside of the trunk lid.
 - Step 2")
- Engraved under the front passenger seat.
- Applied to the inside of the left rear door.
- Applied to the right B-pillar inner panel.
- Applied to the front cross member of the rear floor.
- Applied to the upper of rear body cross member.
 - Step 2")
Smart key

- Lock button
Short-press this button within the effective range (30 meters) to lock the vehicle. For AWD X-Wing Edition, double-tap this button to automatically close the front doors; shortpress the button again to stop closing. Long press this button to accordingly close the front doors; release the button to stop closing. - Trunk button
Long press this button within the effective range (30 meters) to open the trunk or pause the closing trunk. - Unlock button
Short-press this button within the effective range (30 meters) to unlock the doors. For AWD X-Wing Edition, double-tap this button to automatically open the front doors; shortpress the button again to stop opening. Long press this button to accordingly open the front doors; release the button to stop opening. - Charging button
Double-tap this button within the effective range (30 meters) to open the charging port.
Immobilization / stabilization / lifting
IMMOBILISE THE VEHICLE
Chock wheels
When stabilizing the vehicle, take care not to damage the HV battery.
The absence of operation noise does not indicate that the vehicle is powered off. It's possible to restore moving or restart until vehicle is fully shut down. Shift to gear P and wedge the wheels to immobilize the vehicle.

Shift the vehicle to P gear
Push down the brake pedal and then press the gear "P" button on the shift lever. When the gear "P" indicator on the instrument cluster is highlighted, the vehicle is shifted into gear P.

LIFTING POINTS
Do not damage the HV battery when stabilizing/lifting the vehicle.
Only professional rescuers trained by the National Fire Protection Association can perform emergency rescue operations, wearing the required personal protective gear, and being familiar with the vehicle's lifting points. Avoid contact with the HV battery or other HV components when lifting or operating vehicles during emergency rescue operations.
The HV battery is mounted on the chassis of the vehicle. The orange part in the figure below is the HV battery. Only use the designated parts, as shown in the green areas below, to lift or stabilize the vehicle.

 High voltage battery
 Appropriate stabilisation-lifting points
 Appropriate stabilisation points vehicle on side
Disable direct hazards/safety regulations
Be aware that not every high voltage component is labelled. Always wear the appropriate PPE. Do not attempt to open the high voltage battery. The absence of operation noise does not indicate that the vehicle is powered off. It's possible to restore moving or restart until vehicle is fully shut down.
Main Disabling Method

- When the vehicle is stationary, press and hold the emergency power-off switch for 5 s to shut down the HV power.

- Keep the smart key away from the vehicle.
- Disconnect the negative cable of the battery.

Alternative Disabling Method
- Press the button under the trunk to open it.

- Remove the trim assembly cover on the right of the trunk.


- Find the fuse boxes, and disconnect the second 7.5A fuse from bottom to top on the rightmost side.


Access To 12V Battery
- Open the trunk, and prize up the battery trim cover on the right of the trunk.|


- Disconnect the negative cable of the 12V battery.


Emergency Unlocking of AC Charging Port
- Open the trunk, and remove the trim assembly cover on the right of the trunk.

- Find and pull the emergency unlocking ring of the AC charging port. After unlocking, the charging gun can be pulled out.

Airbags
The airbags are located near the areas shown in the figure.
In the event of an accident in which the airbags are deployed, the HV system will be automatically deactivated. The HV system is de-energised approximately 60 seconds after deactivation.

- Passenger airbag
- Right side curtain airbag
- Front side airbag
- Far side airbag
- Front side airbag
- Left side curtain airbag
- Driver airbag
Stored Gas Inflator
Rescuers must not cut or squeeze stored gas inflators, or it may cause serious vehicle damage and even injury or death.
Stored gas inflators (marked in red) are near both sides of the roof and direct toward the rear of the vehicle.

Seat Belt Pretensioner
The circuit and mechanical release of safety belt pretensioners may be affected after a collision.
Seat belt pretensioners (marked in red) are located at the bottom of the B-pillar and outside the seats in the second row.

Access to the occupants
Do not touch, cut, or open HV components and the highvoltage battery! Wear appropriate protective equipment!
Open the door

If the handles of doors are not in the extended position, press the front of the door handle and pull the rear of the handle to open the door.
If the mechanical key is not available, break the side window to open the door from inside.
Front seats come with a multidirection electric adjustment function
Adjust the driver's seat through the switch:

- Seat forward/backward adjustment, height adjustment, and cushion angle adjustment.
- Backrest angle adjustment.
- Lumbar support forward/backward adjustment, and height adjustment.
Adjust the front passenger's seat through the switch:

- Backrest angle adjustment.
- Seat forward/backward, height adjustment, and cushion angle adjustment.
Steering Wheel Position

The steering wheel handle is in the locked position by factory default.
- When the vehicle is stationary, pull the steering wheel handle downward to unlock the steering wheel.
- Move the steering wheel up and down, back and forth to the proper position.
- Pull the steering wheel handle upward to lock the steering wheel.
High-Strength Zones
The vehicle body has been reinforced to protect occupants in the event of a collision. Suitable tools must be applied for cutting or crushing these zones. High-strength steel is shown in the figure below.

Vehicle Cutting Areas
Regardless of any disabling procedure, always assume that all HV components are live! Cutting, crushing or touching HV components may result in serious injury and even death.
When cutting, always use a suitable tool such as a hydraulic cutter and wear proper personal protective equipment. Failure in following the warning may result in serious injury and even death.
During rescue in an accident, if it is required to cut, expand, or penetrate the vehicle body, be careful to shun the airbag-related components, high temperature and high voltage areas. As shown in the figure below, components and parts in the red areas cannot be cut.

 No-cut areas
Windows

- Laminated glass
- Tempered glass
Windows cannot be opened after the battery is disconnected.
Stored energy / liquids / gases / solids
 Battery pack, highvoltage |  | 353V |
 Battery low voltage |  | 12V |
 Air conditioning component |  | R1234yf 1150g±25g |
Operations for Handling Battery Leak
In case of HV battery fluid leak due to a vehicle collision accident, professional rescuers must wear proper personal protective equipment for operation. Do not directly touch the fluid.
Handle as follows in the event of HV battery leak (with visible fluid outflow):
- If a small amount of electrolyte is leaked, keep away from fire, use liquid absorbent pads to absorb it, and then put the pads in a closed container or burn them.
- If a large amount of electrolyte is leaked, collect and dispose it as dangerous chemicals. Calcium gluconate solution can be added to treat toxic gas.
Before storage, the HV battery shall be monitored for temperature at any time. In case of ab- normal temperature rise, physical cooling is required to prevent fire and explosion. If one's body parts accidentally contact the leaked liquid, immediately wash them with plenty of water for 10-15min. In case of no improvement or any discomfort, seek medical attention immediately.
When coolant leaks from the battery pack, it can become unstable with risk of thermal runaway. ![]()
Check battery pack temperature with thermal imaging camera.
HV Components

If any HV component is damaged, be sure to wrap it with insulating tape.

- Front electric drive system (AWD Performance/AWD Wing Edition)
- HV wiring harness
- HV battery
- Rear electric drive system
- DC charging port
- CCS/DCDC converter
- 2WD HV PDU
- PTC heater
- Electric compressor
Battery Pack, High-Voltage

The HV Battery can generate a rated high voltage up to 353V, which may cause serious injury or even death to human body. Please beware of the high voltage danger!
Non-professionals are prohibited from disassembling, inspecting, modifying, and repairing the HV Battery and its circuits, as this may lead to electric shock injuries or even death due to improper operation.
The HV Battery is mounted on the chassis of the vehicle. Be careful when driving over mud, potholes, curbs, high and wide speed bumps, sidewalk ramps and other special roads to avoid scratches or damage to the HV Battery caused by chassis collisions.

Main Parameters of HV Battery
| Item | P7 | Unit | |
| Cell | Type | NCM | / |
| Rated Voltage | 3.68 | V | |
| Rated Capacity | 122.00 | Ah | |
| HV Battery | Rated Voltage | 353.28 | V |
| Rated Capacity | 244.00 | Ah | |
| Rated Energy | 86.20 | kWh | |
| Mass (with Underbody Guard) | 545.00 | kg |
Battery Low Voltage (12V Battery)

In addition to the HV system, the vehicle also has a LV electrical system. Its 12V battery powers the restraint system, airbags, windows, door locks, CID, and internal & external lights. The HV battery charges the 12V battery, which powers the HV contactor, allowing HV current to flow into and out of the HV battery.
The 12V battery is on the right of the trunk, under the battery trim cover.

In case of fire
Operations for Handling Vehicles on Fire
If a vehicle is on fire, do not touch any part of the vehicle directly. It should be operated by professional rescuers wearing proper personal protective equipment.
In case of fire occurrence in the vehicle, when the fire is small and under control, appropriate extinguishing agents such as dry sand, chemical dry powder, or carbon dioxide should be applied.
If the vehicle is on fire or if the battery suffers severe compression and bending, and the fire is developing rapidly out of control, please notify the rescuer to continuously use a plenty of fire-fighting water to extinguish the fire for 30 minutes (vehicle windows can be broken for water spraying). In addition, keep any surrounding combustible items away from the burning vehicle to prevent fire expansion.
When the fire is extinguished, you need to keep observing the vehicle to prevent it from reigniting. Check battery pack temperature with thermal imaging camera.
![]()
When extinguishing the fire with water, it is recommended to use a thermal imaging camera or infrared ray to monitor the temperature of the HV battery during the process, until the temperature reaches or below the environmental temperature indicated by the thermal imager. After stopping the water spray, wait for a period of time, which is long enough to let the heat inside the HV battery transfer to its casing. During firefighting, be sure to use insulated tools and avoid touching any HV components.

DO NOT SUBMERGE VEHICLE TO EXTINGUISH BATTERY!
In case of a vehicle fire, always assume that all HV components are live. Be sure to wear proper personal protective equipment.
In case of submersion
Operations for Handling Flooded Vehicles
Handling submerged vehicles without wearing proper personal protective equipment may result in serious personal injury or even death.

When handling a vehicle flooded or submerged in water, the professional rescuer should wear appropriate protective equipment. They should first pull the vehicle out of the water, and then disconnect the HV circuit normally.
It is recommended not to drive in deep water area for a long time when wading through water, as this could easily cause damage to the vehicle's HV components.
After the vehicle is salvaged, it should be left to stand for at least 30 minutes, while the HV battery temperature should be monitored in realtime to ensure that there is no thermal runaway of the battery before the vehicle is pulled away.
Towing / transportation / storage
Car towing operation
Make sure that the hook is securely locked before towing.
BATTERY RE-IGNITION!
![]()
The vehicle is not suitable for towing by the way of wheels contacting the ground. Please do not use tow rope or tow bar or other similar ways to directly tow the vehicle. If a vehicle needs to be towed, please use a flatbed trailer to transport the vehicle. The steps are as follows:
- At the Arrow position, press slightly with your fingers on the tow hook cover to raise it, and then remove the tow hook cover.

- Insert tow hook, then, rotate clockwise until it is secured.
- Tie the towing rope to the tow hook.

- Pull the shift lever in the N position.
- Secure the towing rope on the trailer hook and slowly tow the vehicle to the flatbed trailer. Only towing way in Figure
![]() (flatbed trailer) can be applied unless others specified by XPeng Motors. It is strictly prohibited to tow in any way shown in Figures
(flatbed trailer) can be applied unless others specified by XPeng Motors. It is strictly prohibited to tow in any way shown in Figures ![]() .
. - After the vehicle is towed to the designated position on the flatbed trailer, secure wheels with braking stopper or wheel strapping tapes.


 (flatbed trailer) can be applied unless others specified by XPeng Motors. It is strictly prohibited to tow in any way shown in Figures
  .
.
STORE AT SAFE DISTANCE FROM OTHER VEHICLES!
If the vehicle cannot be towed normally using a flatbed truck, a rigid connection may be used to tow the vehicle to a safe area, in an emergency and then await rescue.
When using rigid towing, long towing distances should be avoided and the speed of the trailer should not be faster than 5 km/h.
The vehicle can only be towed from the site after it is ensured that there is no safety risk. Any safety risks, such as deformation, fluid leaking, and smoking of the vehicle battery pack, shall be addressed first.
Do not transport the vehicle with its wheels running on the ground. Otherwise, it may cause serious vehicle damage and overheating. In rare cases, extreme overheating may cause nearby components to catch fire.
Important additional information
Far side airbag
Driver's seat has a far side airbag in addition to the side airbag. Location of far side airbag is shown in the mark.

X-Wing Door (for AWD Wing Edition only)
AWD Wing Edition is equipped with X-wing doors. The front doors are electric scissor doors with an obstacle avoidance feature.
 - Step 1")
The red boxes are gas struts, which need to be avoided when cutting.
 - Step 2")
Explanation of pictograms used
Sign Information

Documents / ResourcesDownload manual
Here you can download full pdf version of manual, it may contain additional safety instructions, warranty information, FCC rules, etc.
Advertisement


Need help?
Do you have a question about the P7 and is the answer not in the manual?
Questions and answers