Advertisement
Quick Links
INSTALLATION MANUAL
Level of Difficulty
Moderate
Installation difficulty levels are based on time
and effort involved and may vary depending on
the installer level of expertise, condition of the
vehicle and proper tools and equipment.
Weight Carrying Capacity
Gross trailer weight (GTW)
Tongue weight (TW)
Parts List
Item Qty Description
1
1
Trailer hitch
2
4
Carriage bolt, 1/2" - 13 x 1.75"
3
4
Serrated-flange nut, 1/2"-13
4
4
Spacer, .25" x 1.00" x 2.50"
Tools Required
Ratchet
Socket extension, 3"
Torque wrench
Die grinder
Socket, 7mm
Rotary tool
Socket, 3/4"
--
* For a tools reference guide visit
curtmfg.com/trailer-hitch-installation
CURTMFG.COM
•
PRODUCT SUPPORT: 877.287.8634
WARNING
Never exceed the vehicle manufacturer's recommended towing capacity.
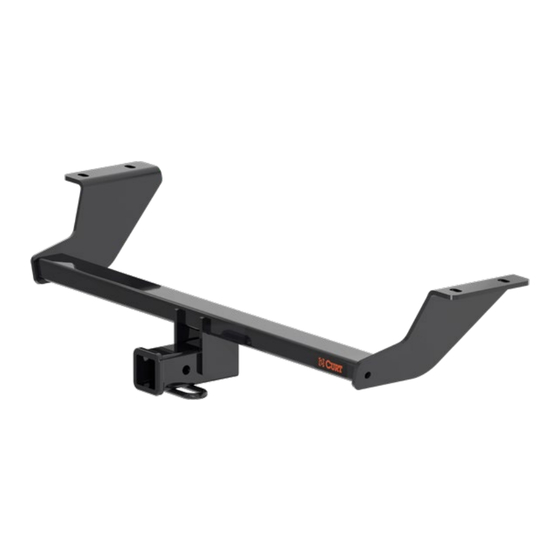
Product Photo
3,500 lbs.
350 lbs.
NOTICE
Visit www.curtmfg.com for a full-color copy of this
instruction manual, as well as helpful videos, guides and much more!
Before you begin installation, read all instructions thoroughly.
Proper tools will improve the quality of installation and reduce the time required.
This installation requires:
• Temporary underbody panel removal and trim
• Bumper fascia trimming required
• Hole enlargement required
Periodic inspection of the trailer hitch should be performed to ensure all
mounting hardware remains tight and structural components are secure.
To help prevent damage to the product or vehicle, refer to the specified
torque specifications when securing hardware during the installation process.
SAFETY INSTRUCTIONS
Safety glasses should be worn at all times while installing this product.
Product Registration and Warranty
CURT stands behind our products with industry-leading warranties. To get copies of the product
warranties, register your purchase or provide feedback, visit: warranty.curtgroup.com/surveys
•
13589-INS-RA
•
11/29/2023
•
ECN11407
•
PAGE 1
13589
Advertisement

Subscribe to Our Youtube Channel
Related Manuals for curt 13589


Summary of Contents for curt 13589
- Page 1 Safety glasses should be worn at all times while installing this product. Product Registration and Warranty CURT stands behind our products with industry-leading warranties. To get copies of the product warranties, register your purchase or provide feedback, visit: warranty.curtgroup.com/surveys CURTMFG.COM •...
- Page 2 MOUNTING out mounting hole. Use HOLE fishwire to guide hitch during mounting and prevent loss of bolt or spacer inside frame rail. CURTMFG.COM • PRODUCT SUPPORT: 877.287.8634 • 13589-INS-RA • 11/29/2023 • ECN11407 • PAGE 2...
- Page 3 Raise the hitch into position rotating the main body behind the bumper cover. Carefully remove the fishwires and loosely secure using the 1/2" serrated flange nuts (#3). CURTMFG.COM • PRODUCT SUPPORT: 877.287.8634 • 13589-INS-RA • 11/29/2023 • ECN11407 • PAGE 3...
- Page 4 Torque the hardware to 90 ft-lbs. and reinstall the underbody panel removed in step 1. TOWING BASICS & SAFETY INFORMATION For information on safely towing your trailer, visit curtmfg.com/understanding-towing. CURTMFG.COM • PRODUCT SUPPORT: 877.287.8634 • 13589-INS-RA • 11/29/2023 • ECN11407 • PAGE 4...
Need help?
Do you have a question about the 13589 and is the answer not in the manual?
Questions and answers